Spoil your furry friend with a unique and stylish collar crafted entirely by your own hands! This easy DIY tutorial will guide you through the process of creating a custom leather collar for your beloved dog or cat, saving you money and allowing you to personalize it perfectly to their size and your aesthetic preferences. Forget overpriced store-bought options – you’ll be surprised at how simple it is to make a durable and beautiful collar that reflects your pet's personality. Choosing the right leather, hardware, and even adding personalized touches like stitching or studs becomes a fun and rewarding experience.
Imagine the satisfaction of seeing your pet strut their stuff in a collar you made yourself! This tutorial caters to beginners and requires only basic tools and readily available materials. We'll walk you through each step, from measuring your pet for the perfect fit to securely attaching the buckle and adjusting the length. Ready to get started on creating a one-of-a-kind accessory for your four-legged friend? Let's dive into the step-by-step process!
Preparation and Safety Guidelines
- Scissors
- Pattern
- Hole punch
- Wire cutters
- Hard hammer
- Leather cutter
- Rivet setter
- Soft hammer
- Measuring tape
- Always supervise your pet while wearing a new collar. Check regularly for any signs of wear, tear, or tightness that could cause injury.
- Ensure the collar buckle is securely fastened and the collar fits comfortably but not too tightly. Two fingers should fit comfortably under the collar.
- Never leave a leather collar on your pet unattended for extended periods, especially during sleeping or strenuous activity. Leather can stretch or break, posing a choking hazard.
Step-by-Step Instructions
Measure and Prepare
- Measure your pet's neck tightly. Add 8 inches to the measurement for the collar length.
- Cut out the collar pattern from the provided instructions and trace it onto your leather.

Measure and Prepare Cut and Punch
- Mark all rivet holes and buckle placement on the leather.
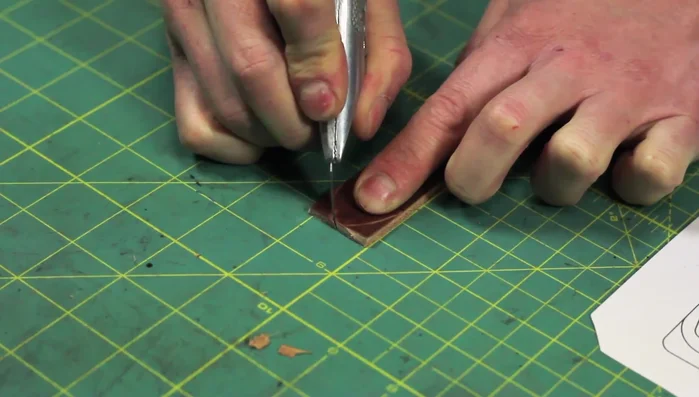
- Cut out the leather pieces according to the traced pattern.
- Punch out all the marked holes using a hole punch large enough for the rivets.
Cut and Punch Assemble and Connect
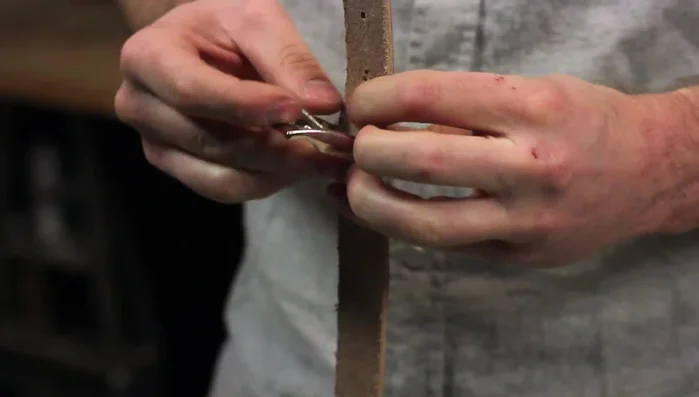
- Cut slits for the prongs to fit through and connect the holes to create the collar shape.
- Dry fit the buckle and all components before setting the rivets to ensure proper placement.
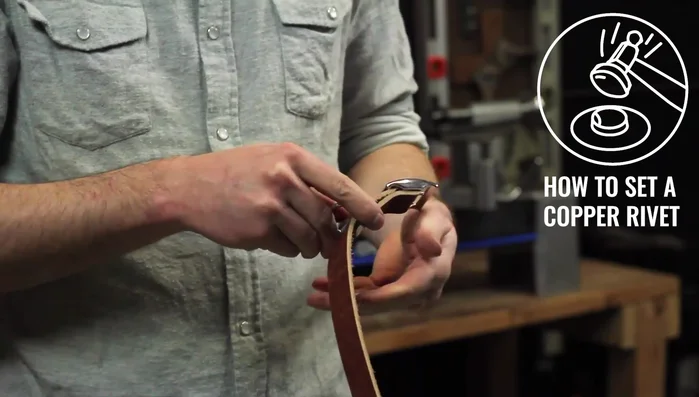
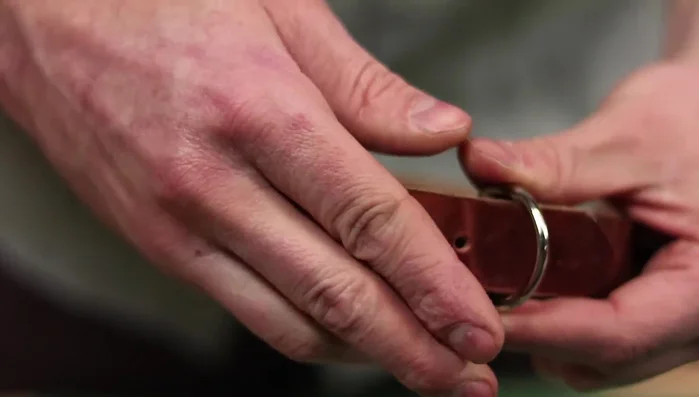
Assemble and Connect Set Rivets and Finish
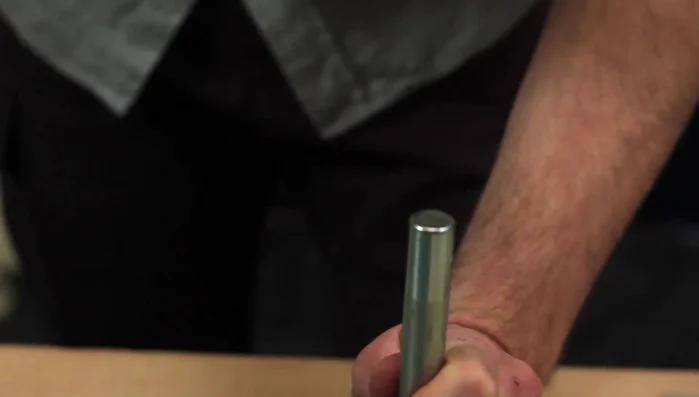
- Set the rivets using a rivet setter and hammers (refer to the linked video for instructions).
- Slide on the ring and set the remaining rivets.
- Burnish the edges of the collar (refer to the linked video for instructions).
Set Rivets and Finish
Read more: DIY Cat Leash: Easy-to-Make Cat Harness for Safe Outdoor Adventures
Tips
- Measure your pet's neck tightly to ensure a proper fit.
- Use a hole punch that is large enough to accommodate your rivets.
- Always dry fit before setting rivets to avoid mistakes.