Spoiled cats deserve spoiled accommodations! But expensive, store-bought cat houses often leave pet owners feeling their wallets a little lighter. Thankfully, creating a cozy and stylish abode for your feline friend doesn't require a hefty price tag or advanced carpentry skills. This guide focuses on crafting a DIY cat house using the absolute fastest and easiest method, perfect for even the most novice DIY enthusiast. Forget complicated designs and intricate measurements; we’re prioritizing simplicity and speed without sacrificing comfort or style.
We’ll be utilizing readily available materials and a straightforward technique that minimizes effort and maximizes cuteness. Prepare to be amazed at how quickly you can transform basic supplies into a purrfect haven for your cat. Ready to embark on this rewarding project and give your cat the ultimate upgrade? Let's dive into the simple step-by-step process now!
Preparation and Safety Guidelines
- Hardwood plywood (18mm)
- MDF (12mm)
- Table saw
- Bandsaw
- Miter saw
- Beam compass
- Parallel clamps
- F clamp
- Screws
- Wood glue
- Grip fill (or instant grab adhesive)
- Brad nails
- Countersink bits
- Wood filler
- Sandpaper (120 grit, 400 grit)
- Paint
- Varnish (water-based, acrylic spray)
- Foam (25mm)
- Fabric
- Hot glue
- Electric felt file
- Speed square
- Use non-toxic paints, stains, and glues. Cats often lick surfaces, so ensure all materials are safe for ingestion.
- Provide ample ventilation to prevent overheating and dampness. Avoid enclosed spaces with poor airflow.
- Secure all loose parts and sharp edges to prevent injury. Cats are curious and can easily get hurt on poorly constructed houses.
Step-by-Step Instructions
Prepare Cat House Panels
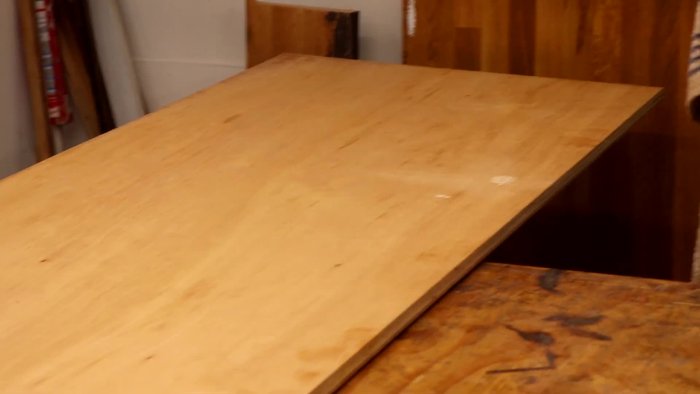
- Cut plywood into manageable pieces for the cat house panels.
- Create rebates at the top and bottom of the front and back panels using a table saw. (Make sure the blade height cuts only 3/4 through for the initial cut)
- Mark and cut out the arched shapes on the front and back panels simultaneously using a bandsaw for cleaner cuts.

Prepare Cat House Panels Assemble Cat House Base
- Glue and clamp together the bottom panels, top rails and the previously cut front/back panels.
Assemble Cat House Base Create and Attach Legs
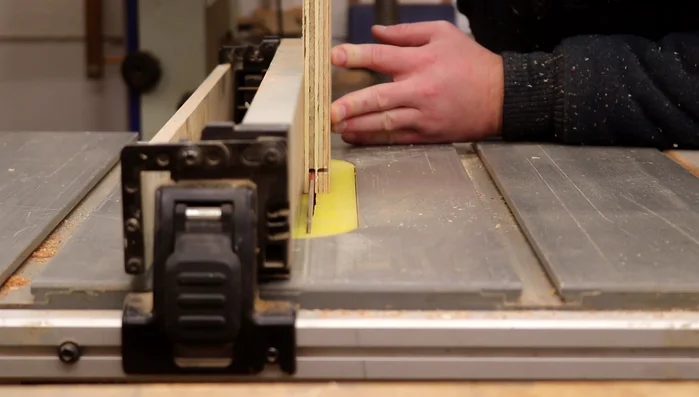
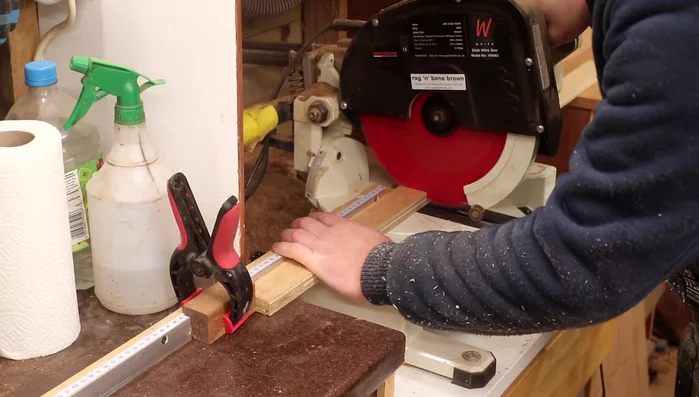
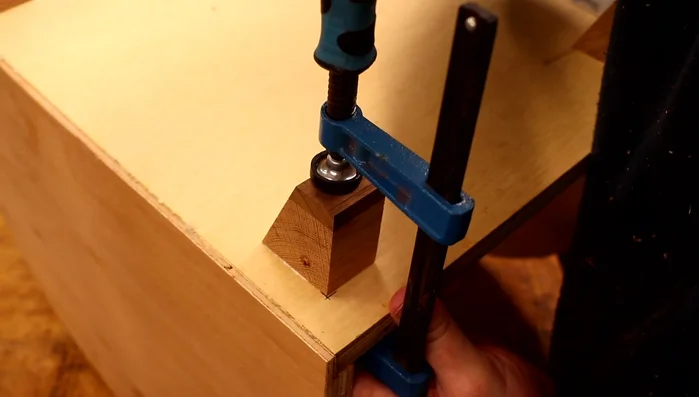
- Make tapered legs from offcuts, squaring one side at the table saw, marking the desired thickness, and cutting consistently using a miter saw.
- Glue and clamp the legs to the bottom panels, ensuring sufficient space for later screw insertion.
- Reinforce the leg attachments by drilling pilot holes and driving screws from the inside of the cat houses.
Create and Attach Legs Prepare Cladding
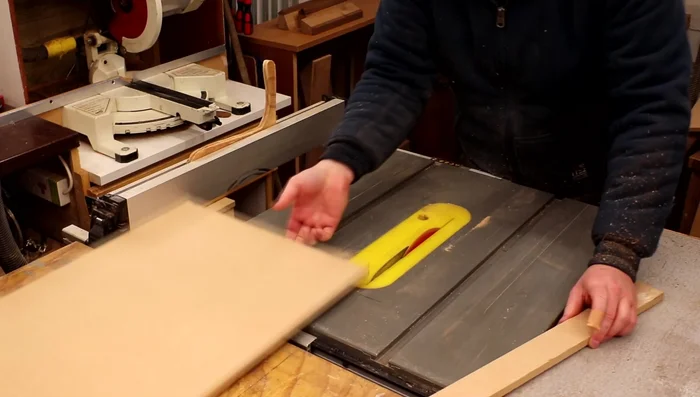
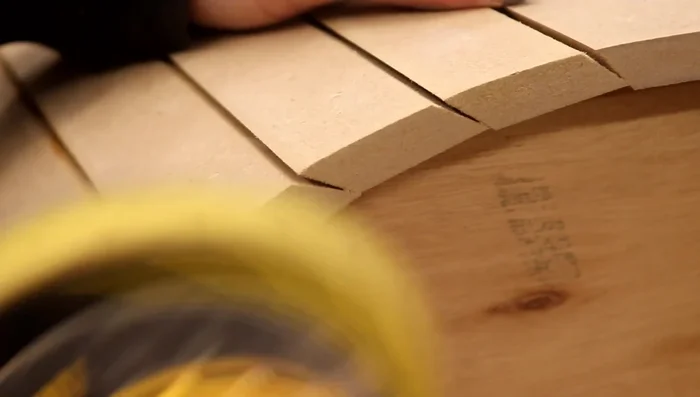
- Cut cladding pieces from MDF using a table saw at a 45-degree angle, creating slats with consistent spacing.
Prepare Cladding Attach Roof and Cladding
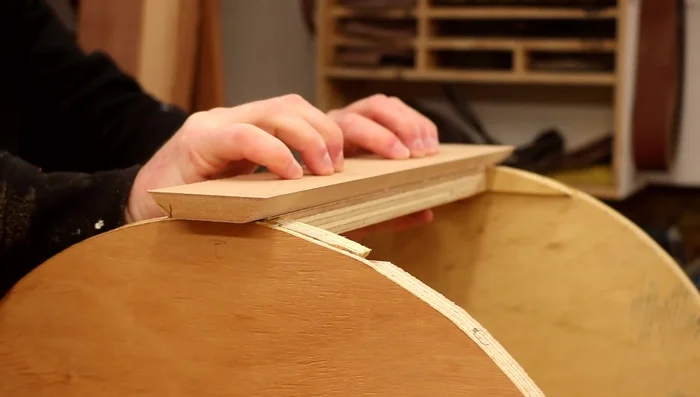
- Cut and attach the roof cap using wood glue and brads.
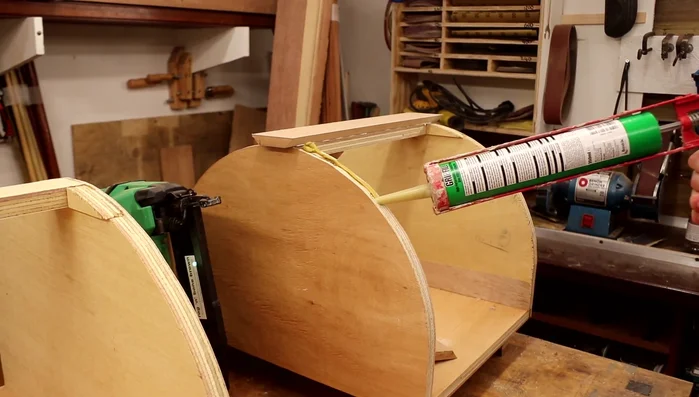
- Glue the cladding pieces onto the cat houses using gap-filling adhesive (Grip fill or similar), securing with brads.
Attach Roof and Cladding Finish Cladding
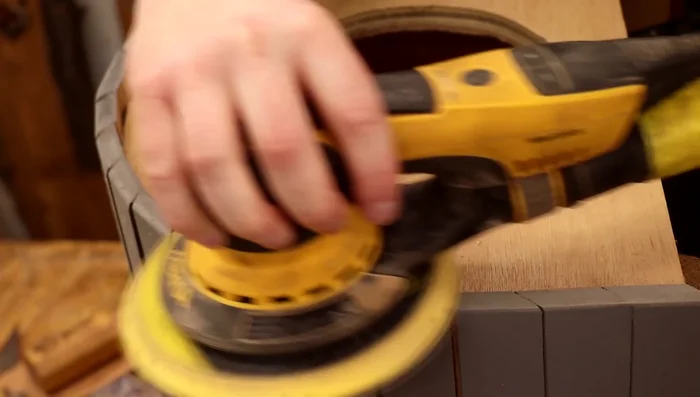
- Fill nail holes with wood filler, sand (120 grit, then 400 grit), and paint the cladding.
Finish Cladding Cut Entrance Hole
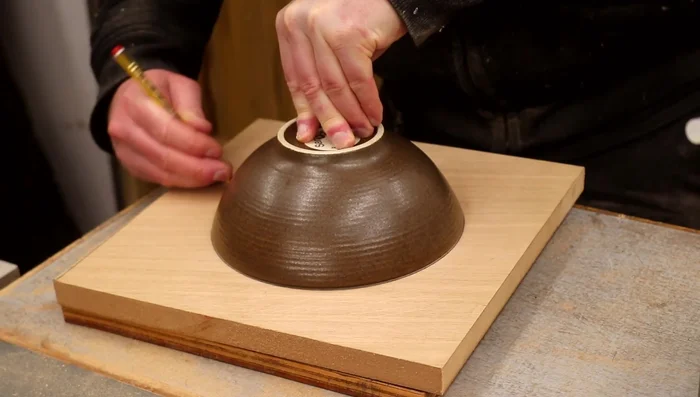
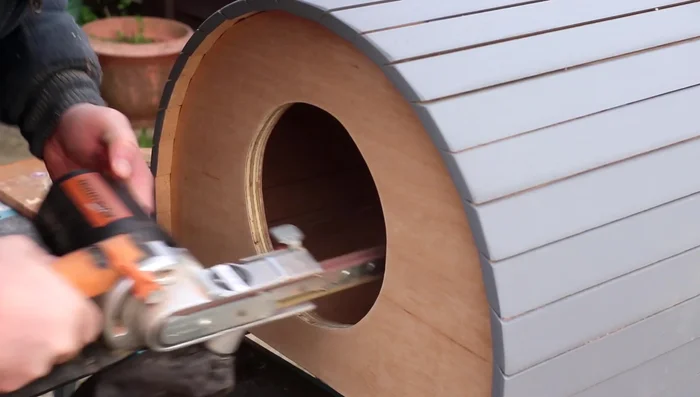
- Create a router template from MDF to cut the entrance hole. (Single layer is sufficient!)
- Cut the entrance hole using a router and template, making multiple passes to avoid burning the wood.
Cut Entrance Hole Refine and Paint Interior/Exterior
- Sand and re-coat the MDF edges with paint.
- Sand and smooth the entrance hole; use an electric felt file for the inside of the hole. Paint the inside of the cat houses.
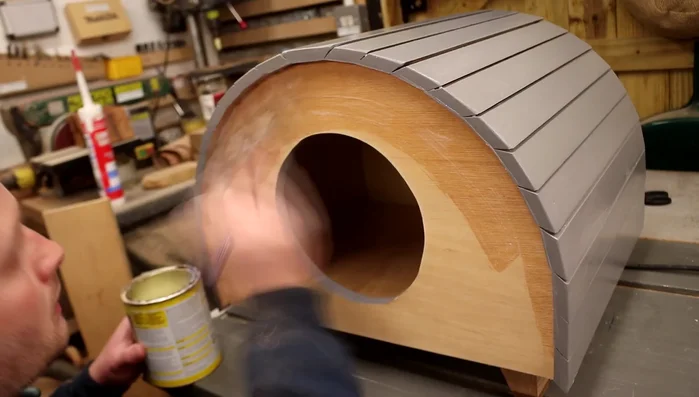
Refine and Paint Interior/Exterior Finish and Protect
- Apply a topcoat of varnish (water-based and acrylic spray) to protect the paint, sanding with 400 grit between coats.
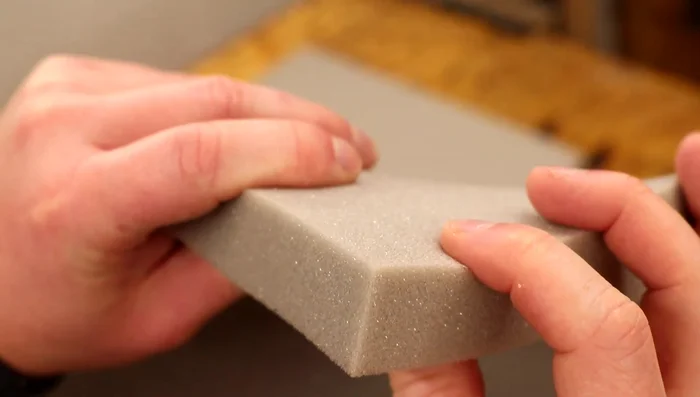
Finish and Protect Make Cushions
- Make cushions from foam, cut using a bandsaw (or sharp knife), and cover them with fabric using hot glue.
Make Cushions


Read more: DIY Cuddly Cat & Dog Bed: A Super-Warm, Easy Tutorial
Tips
- Use a beam compass for accurate arc drawing on the panels.
- Position workpieces firmly against the fence when using the table saw for safer cuts.
- Cut multiple pieces at once to save time (where applicable).
- Use gap-filling adhesive for cladding to ensure a strong bond.