Feral and stray cats face harsh weather conditions, often lacking adequate shelter for warmth and protection. Providing a safe haven can significantly improve their well-being, and surprisingly, you can create a comfortable and durable shelter using readily available materials. One surprisingly effective and cost-efficient option is repurposing an old tire. This surprisingly sturdy material offers excellent insulation and protection from the elements, making it ideal for a DIY cat shelter project. Think of the satisfaction of providing a warm, safe place for a needy feline, all while creatively upcycling a discarded item.
This guide will walk you through a simple, step-by-step process to build a cozy and weatherproof cat shelter from a used tire. From gathering the necessary materials to the final touches, we'll ensure you have everything you need to create a welcoming home for a community cat or a stray in need. Let's get started!
Preparation and Safety Guidelines
- Tire
- Piece of board
- Jigsaw
- General purpose blade
- Plastic sheet
- Gorilla glue
- Drill
- Drill bit
- Twist ties
- Hot glue gun
- Pipe insulation (or similar soft material)
- Straws
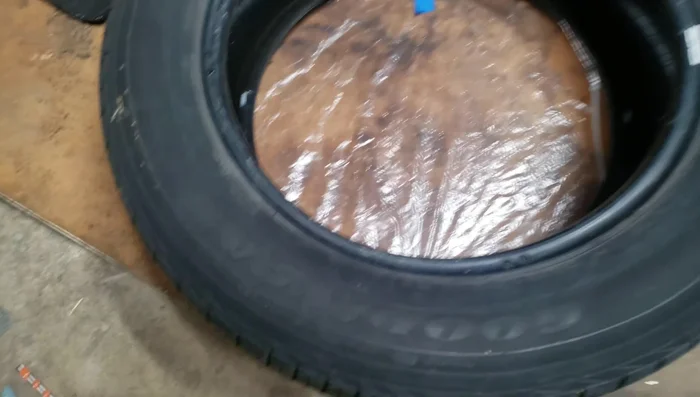
- Thoroughly clean the tire before starting. Remove any dirt, debris, and especially any potential hazards like sharp metal or chemicals.
- Ensure the tire is securely positioned and will not move or tip over, especially in windy conditions. Consider anchoring it to the ground or a sturdy surface.
- Provide adequate ventilation to prevent overheating and ensure good air circulation within the shelter. Avoid completely sealing the structure.
Step-by-Step Instructions
Prepare the Tire Base
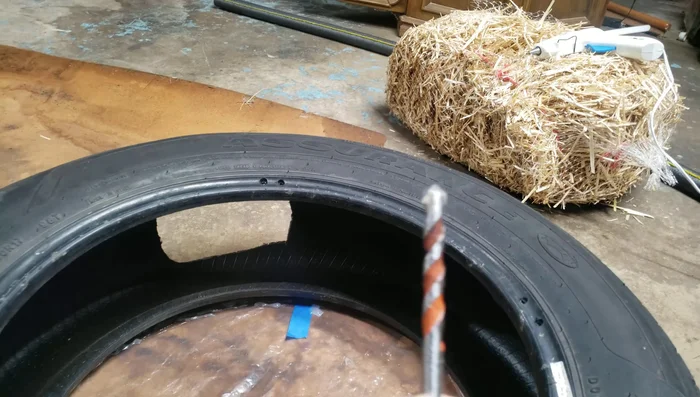
- Measure the tire and cut two circles (one for the roof and one for the bottom) using a jigsaw and general purpose blade.

Prepare the Tire Base Waterproof the Tire
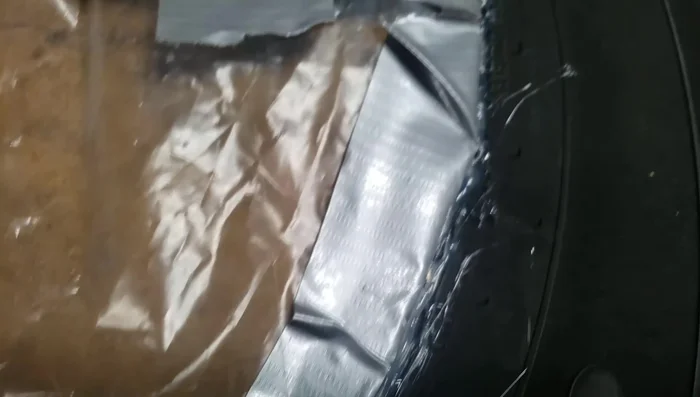
- Wrap plastic around the tire to prevent water from entering. Secure with gorilla glue.
Waterproof the Tire Prepare for Attachment
- Drill four sets of holes on the tire, using a large drill bit.
Prepare for Attachment Attach Top and Bottom
- Use twist ties to attach the top and bottom circles to the tire through the drilled holes.
Attach Top and Bottom Seal and Secure
- Secure the twist ties with hot glue for added protection against moisture.
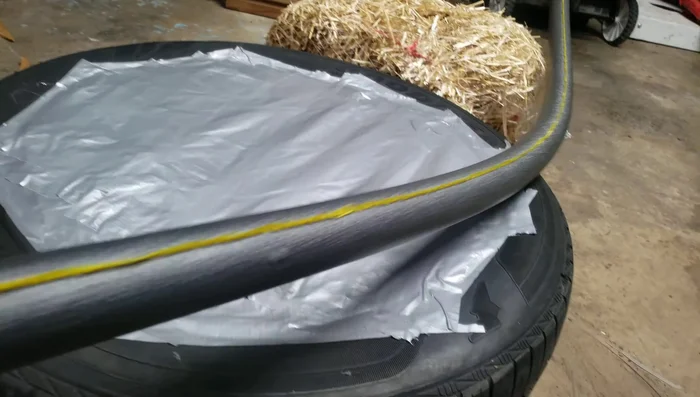
Seal and Secure Protect the Entrance
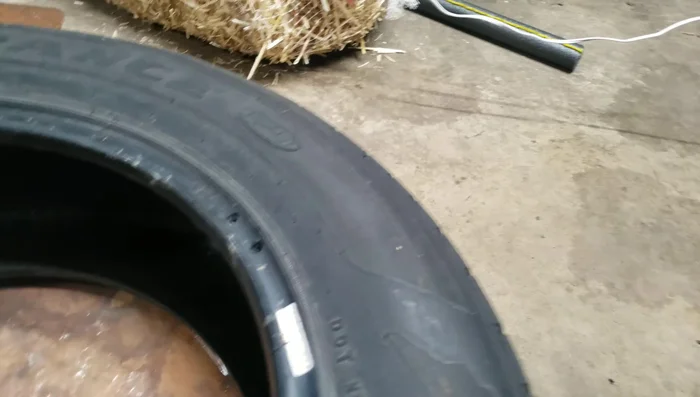
- Protect the sharp edges of the tire entrance with soft pipe insulation or a similar material.
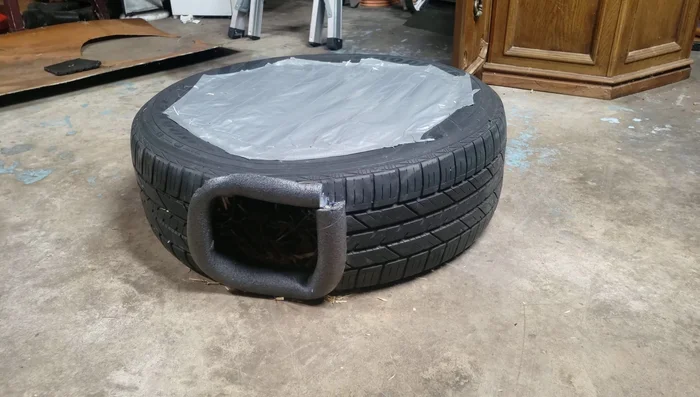
Protect the Entrance Add Finishing Touches
- Add straws inside the shelter for extra insulation and comfort.
Add Finishing Touches

Read more: DIY Cuddly Cat & Dog Bed: A Super-Warm, Easy Tutorial
Tips
- Ensure the holes drilled in the tire are large enough for the twist ties to pass through easily.
- Use hot glue to further seal any potential leaks, especially around the seams where the top and bottom are attached.
- The entrance of the shelter is sharp, so covering it with soft material is crucial to prevent cat injuries.