Are you a cat lover with a passion for DIY projects and a limited budget? Then get ready to transform ordinary wooden crates into an extraordinary cat haven! This guide will show you how to build a stylish and functional cat tower and bookshelf combination using readily available and inexpensive materials. Forget expensive, mass-produced cat furniture; with a little creativity and elbow grease, you can craft a unique piece that perfectly complements your home decor while providing your feline friend with a much-needed climbing and lounging space.
This project offers a fantastic opportunity to recycle and repurpose, resulting in a truly one-of-a-kind piece of furniture. We'll guide you through each step, from selecting the right crates and prepping them for assembly to the final touches that will make your cat (and you!) purr with delight. Let's dive into the step-by-step instructions and create the ultimate budget-friendly cat tower and bookshelf!
Preparation and Safety Guidelines
- Wooden crates
- 220 grit sanding sponge
- Mini wax wood stain (Early American)
- Polycrylic
- Anchors (60 lbs capacity)
- Drill
- Drill bits (small and 1/4 inch)
- Level
- Hammer
- Paint (Deep smoky blue)
- Thoroughly sand all wood surfaces to remove splinters and sharp edges before assembly and finishing. Cat safety is paramount!
- Use non-toxic wood stains, paints, and sealants that are safe for pets if you choose to finish the wood. Ensure they are completely dry before allowing your cat near the structure.
- Securely fasten all crate components. Make sure the entire structure is sturdy enough to support your cat's weight and activity, preventing tipping or collapse.
Step-by-Step Instructions
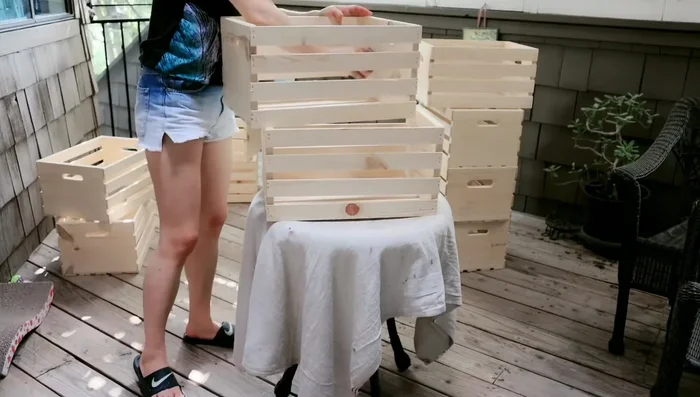
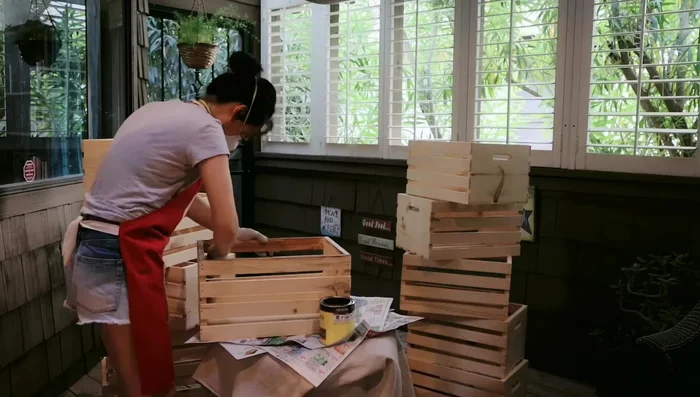
Prepare the Crates
- Sand the wooden crates to remove splinters.
- Apply two coats of mini wax wood stain (Early American color).
- Apply one coat of polycrylic to protect the stain.

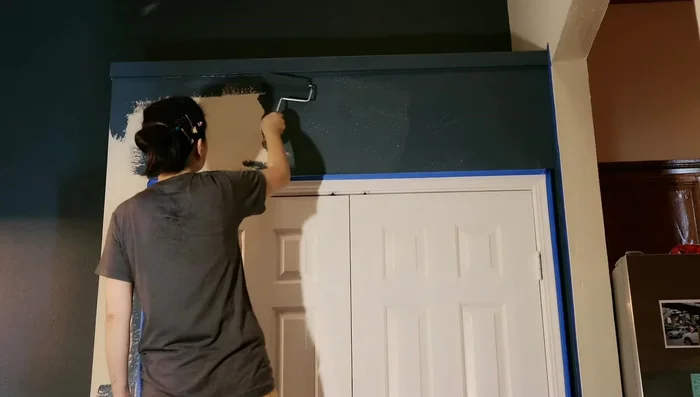
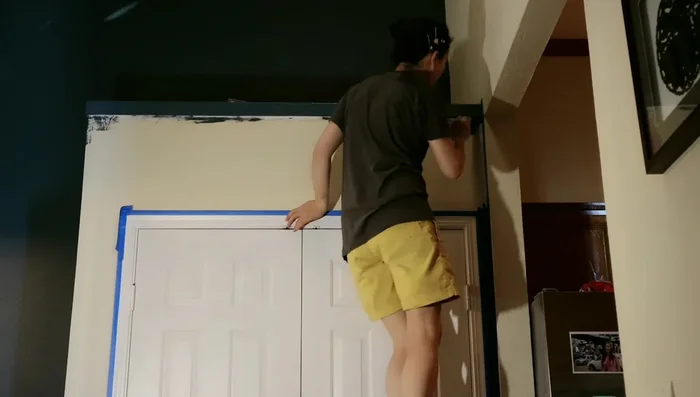
Prepare the Crates Prepare the Wall
- Paint the wall with deep smoky blue paint.
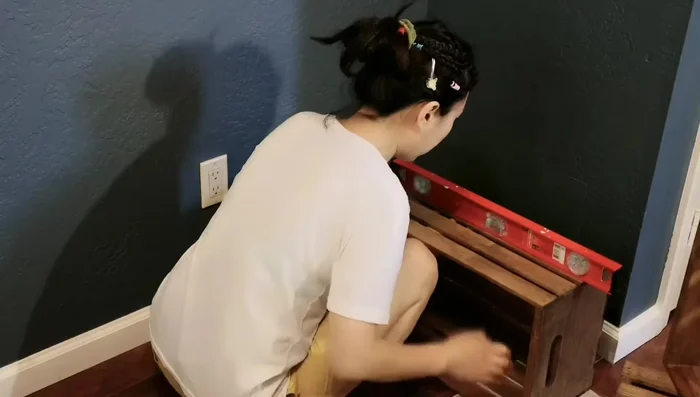
Prepare the Wall Install Anchors
- Drill pilot holes for anchors, ensuring 4 inches spacing between crates and slightly away from the corner for cat jumping space.
- Install anchors into the wall using a hammer.
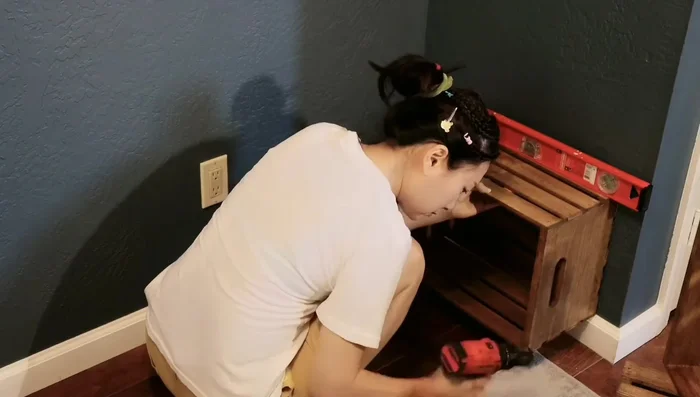
Install Anchors Mount the Crates
- Secure the crates to the wall using the anchors. Use a level to ensure proper alignment.
Mount the Crates

Read more: DIY Cuddly Cat & Dog Bed: A Super-Warm, Easy Tutorial
Tips
- Buy wooden crates on sale to save money.
- Use strong anchors to support the weight of books and cats.
- Use a level to ensure the crates are evenly aligned on the wall.
- Add a third nail for extra support to each crate.