Winter's chill can be tough on even the most resilient canine companions, making a warm, protective coat a necessity for many dog owners. But commercially available dog coats can be expensive and often lack the perfect fit or features you desire for your furry friend. This is where the magic of DIY comes in! This guide will walk you through creating a custom-made, wonderfully warm, and surprisingly waterproof dog coat using readily available fleece and nylon fabrics. You'll learn how to tailor the coat to your dog's unique shape and size, ensuring optimal comfort and protection against the elements.
Forget generic, ill-fitting coats; this project empowers you to craft a truly bespoke winter warmer for your beloved pet. We’ll combine the softness and warmth of fleece with the waterproof protection of nylon to create a durable and stylish coat that will keep your dog snug all season long. Ready to get started and transform scraps of fabric into a practical and stylish dog coat? Let's dive into the step-by-step instructions.
Preparation and Safety Guidelines
- Patterned paper or large paper
- Measuring tape
- Ruler
- Fabric marker
- Scissors
- Clips or pins
- Sewing machine
- Fleece
- Sherpa fleece
- Nylon ripstop
- Velcro
- Thread
- Snaps (optional)
- Always accurately measure your dog before cutting any fabric. An ill-fitting coat can restrict movement and be uncomfortable or even dangerous.
- Ensure all seams are securely stitched and reinforced, especially around stress points like the leg openings and neck. Loose threads or weak stitching could lead to the coat coming apart during wear.
- Test the finished coat for durability before letting your dog wear it unsupervised. Check for any sharp edges or loose parts that could injure your pet.
Step-by-Step Instructions
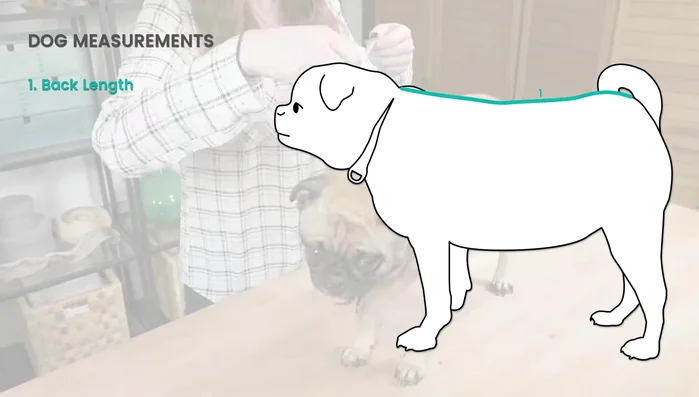
Measure Your Dog
- back length, collar circumference, chest circumference, side height, chest height, neck to bottom strap, front strap length, and front strap width.

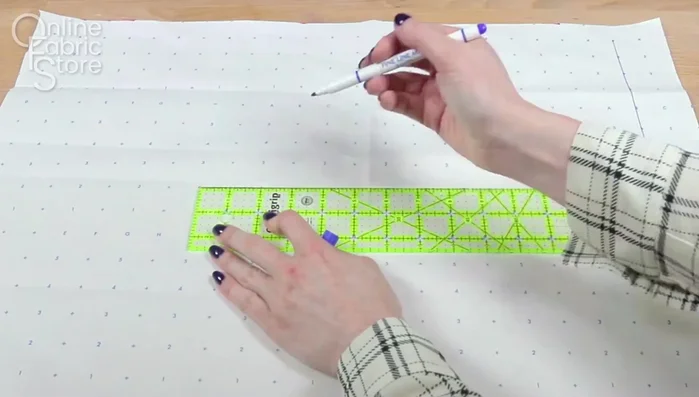
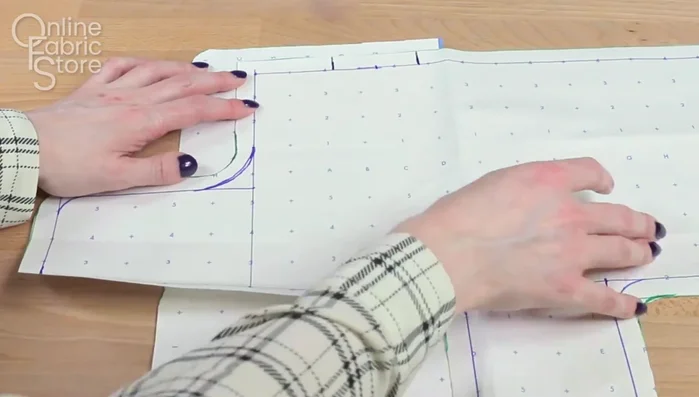
Measure Your Dog Create Body Template
- Draw a rectangle representing the back length and side height. Mark the neck to bottom strap distance. Mark the chest height. Calculate and mark the chest circumference midpoint. Draw rectangles for the bottom and front straps using measurements. Round corners and add seam allowance.
Create Body Template Create Collar Template
- Trace the neckline onto paper, adding width and seam allowance. Design the collar shape.
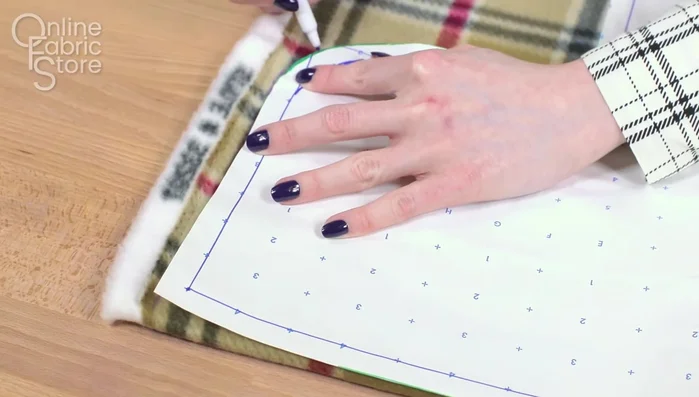
Create Collar Template Cut Fabric Pieces
- Cut out the body and collar pieces from the outer fabric (fleece), lining fabric (Sherpa), and nylon fabric. If making a harness opening, mark and cut that on all three layers.
Cut Fabric Pieces Construct Harness Opening (Optional)
- Sew and open the seam on the nylon layer to create the opening. Repeat on the lining. Prepare and attach a fleece flap with snaps for reinforcement.
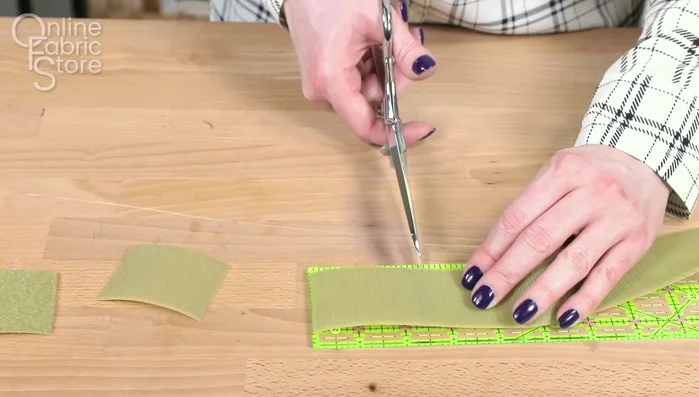
Construct Harness Opening (Optional) Attach Velcro Straps
- Sew Velcro to the lining and fleece straps.
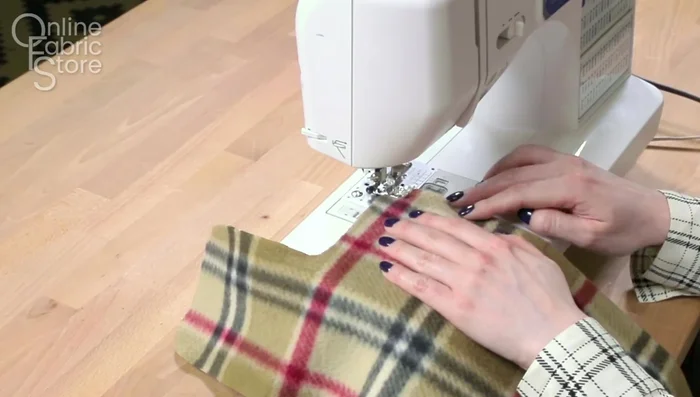
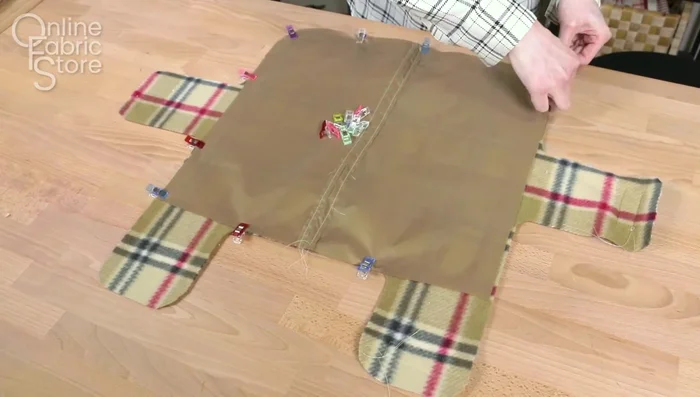
Attach Velcro Straps Assemble Coat Layers
- Sew the nylon to the fleece. Attach snaps to the fleece and harness flap. Sew the collar to the body, leaving a gap to turn it right-side out. Sew the lining to the body, leaving a gap.
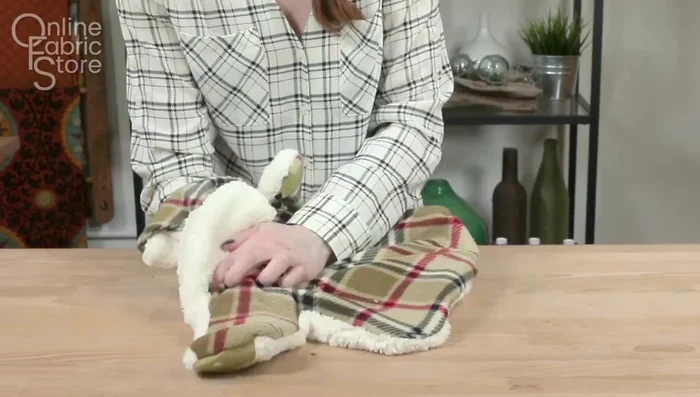
Assemble Coat Layers Finish and Turn Coat
- Turn the coat right-side out and hand sew the gaps closed. Hand-sew the lining around the harness opening if applicable.
Finish and Turn Coat
Read more: DIY Dog Sweater: Cozy Knit Creations for Your Pup
Tips
- Use washable fabrics for easy cleaning.
- Consider a smaller seam allowance (1/4 inch) for the fleece and nylon layers for easier sewing and a more flexible coat.
- Use heavy-duty snaps for better durability.
- Test the body template with a scrap fabric before cutting the final pieces.