Does your furry friend deserve a roar-some new outfit? Then get ready to unleash your inner crafter with this adorable DIY dinosaur dog shirt! Forget expensive pet boutiques; this guide shows you how to create a unique and stylish shirt for your canine companion, using simple materials and techniques that are perfect for beginners. Imagine the compliments you'll receive when your dog struts their stuff in this one-of-a-kind creation – guaranteed to be the envy of every pup in the park.
This project is surprisingly easy, and even if you've never sewn before, you'll be amazed at how quickly you can whip up this charming dinosaur-themed shirt. We’ll be guiding you through each step, from choosing the right fabric to adding the finishing touches. So grab your sewing supplies, and let's dive into the step-by-step process to create the most paw-some dinosaur dog shirt ever!
Preparation and Safety Guidelines
- Sewing machine
- Serger (optional)
- Fabric (jersey material)
- Curved ruler (optional)
- Pins
- Chalk
- Scissors
- Stuffing (poly fiber fill)
- Bias tape maker (optional)
- Always supervise your dog while wearing the shirt to prevent chewing or entanglement. Remove the shirt immediately if your dog shows signs of distress.
- Ensure all stitching is secure and there are no loose threads or embellishments your dog could swallow.
- Choose fabrics that are soft, breathable, and non-irritating to your dog's skin. Avoid using anything with small parts that could be a choking hazard.
Step-by-Step Instructions
Prepare Pattern and Cut Fabric
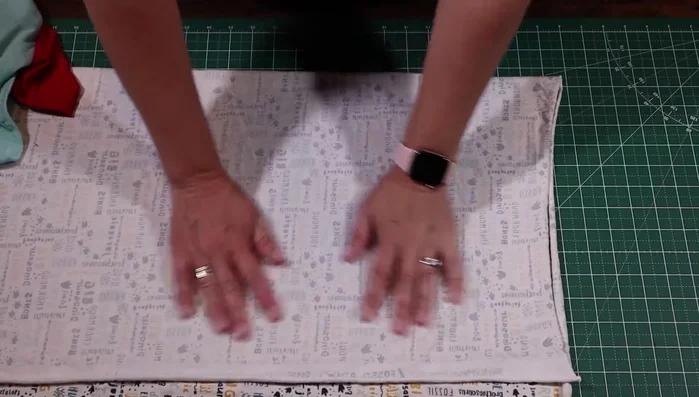
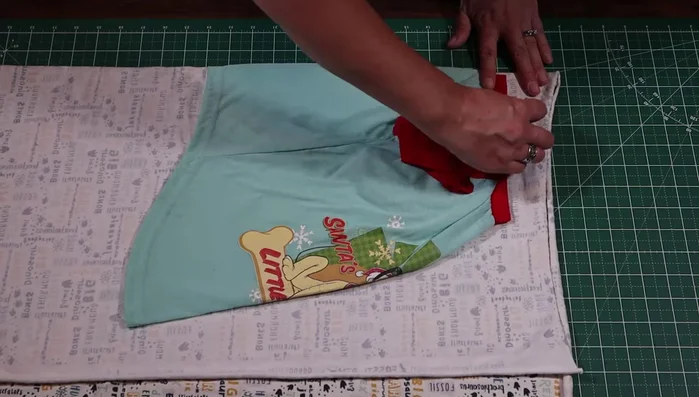
- Fold the fabric and shirt in half, use the existing shirt as a pattern to chalk the outline, adjusting neckline and length as needed.
- Cut out the main body of the shirt, remembering seam allowances. Create the armholes using your finger as a guide, add seam allowance, and cut.

Prepare Pattern and Cut Fabric Sew Sleeves
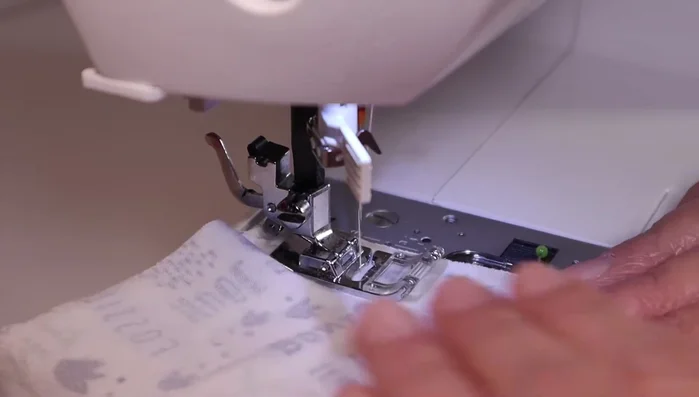
- Cut out two sleeve pieces, sew the long edge of each, turn right side out, and pin them to the armholes. Sew securely, ensuring alignment.
Sew Sleeves Create and Attach Dinosaur Spikes
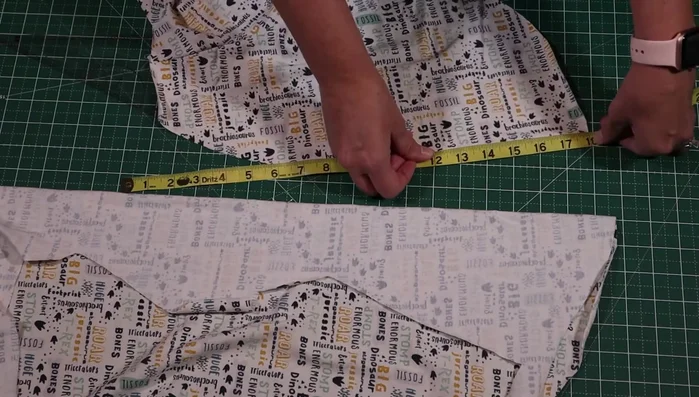
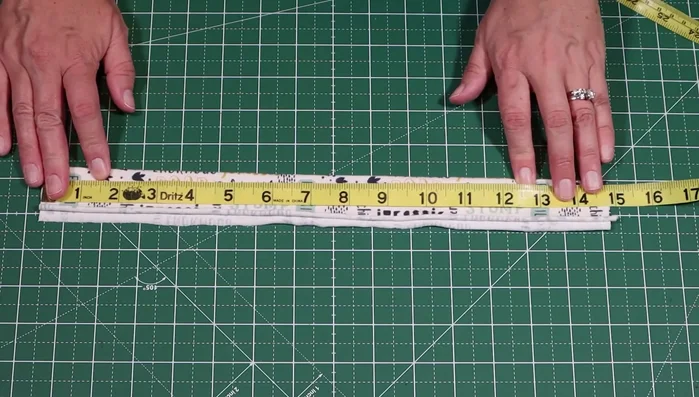
- Measure and mark the back panel for the spikes. Sew each spike, leaving one end open. Clip corners, turn right side out, and stuff with poly fiber fill.
- Attach the filled spikes to the back panel, making sure they stand up straight. Sew together, securing the spikes and the layers.
Create and Attach Dinosaur Spikes Sew Neckband
- Measure the dog's neck. Construct a neckband, sew it into a tube, and attach it to the neckline of the shirt.
Sew Neckband Finish Hem
- Create bias tape from the shirt's material. Attach the bias tape to the bottom hem, folding over the edges for a clean finish.
Read more: DIY Dog Sweater: Cozy Knit Creations for Your Pup
Tips
- Use a serger to finish raw edges for a professional look (optional).
- Use clips to hold the layers of fabric together for easier sewing when attaching the spikes.
- Take your time sewing near the spikes to maintain their upright position.
- Poly fiber fill helps the spikes stand up straight. Experiment with stuffing techniques to achieve the desired results.