Is your dog tired of their ill-fitting or uncomfortable harness? Are you looking for a more affordable and personalized solution? Then crafting your own DIY dog harness is the perfect project! Not only will you save money compared to store-bought options, but you'll also have the satisfaction of creating a custom-fitted harness tailored to your furry friend's unique measurements and style preferences. You'll be able to choose the fabric, colors, and even add personalized touches, making it truly one-of-a-kind.
This guide provides a comprehensive, easy-to-follow tutorial for sewing your own dog harness, from selecting the right materials to the final stitching. We'll walk you through each step, complete with clear instructions and helpful illustrations, ensuring even beginner sewers can achieve professional-looking results. Let's get started with the step-by-step process below!
Preparation and Safety Guidelines
- Sewing Machine
- Iron
- Lighter
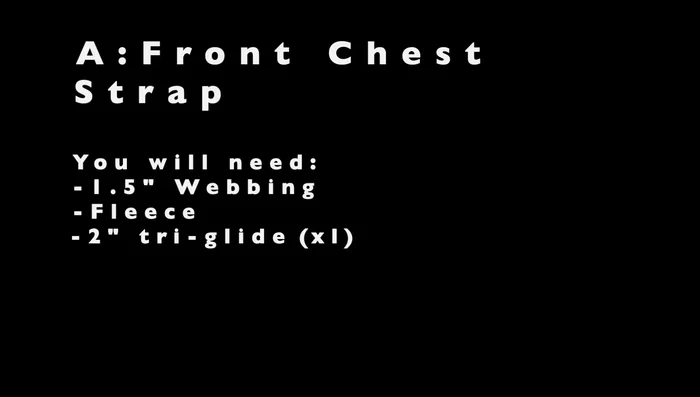
- Webbing
- Fleece
- Thread
- Tri-Glide Slides
- Plastic Buckle
- D-rings
- Trigger Snaps
- Corset Boning or Plastic Tubing (optional)
- Scissors
- Always double-check all seams and stitching before use. A poorly sewn harness can easily break, leading to your dog escaping and potentially getting lost or injured.
- Use strong, durable fabric specifically designed for pet products. Avoid fabrics that fray easily or are prone to tearing. The harness should be able to withstand your dog's pulling strength.
- Ensure the harness fits your dog properly. It should be snug but not restrictive, allowing for comfortable movement and breathing. A harness that's too tight or too loose can cause injury or allow escape.
Step-by-Step Instructions
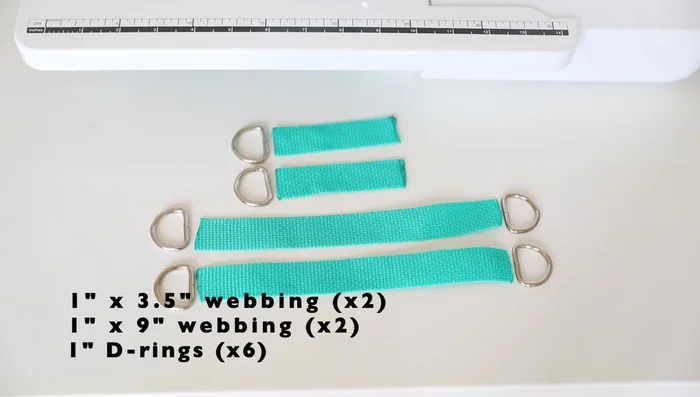
Prepare Materials
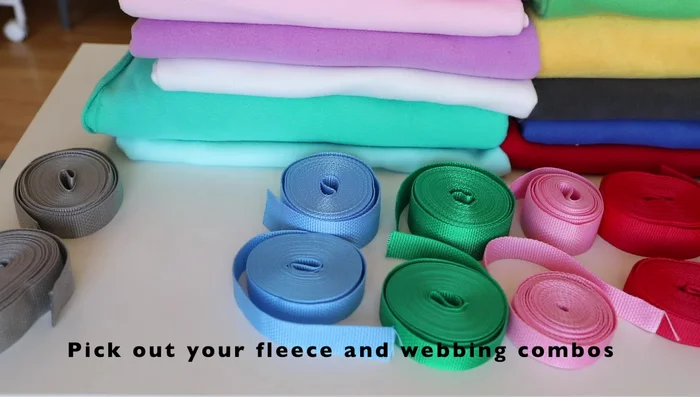
- Choose webbing and fleece colors.
- Cut fleece based on dog measurements from the description.
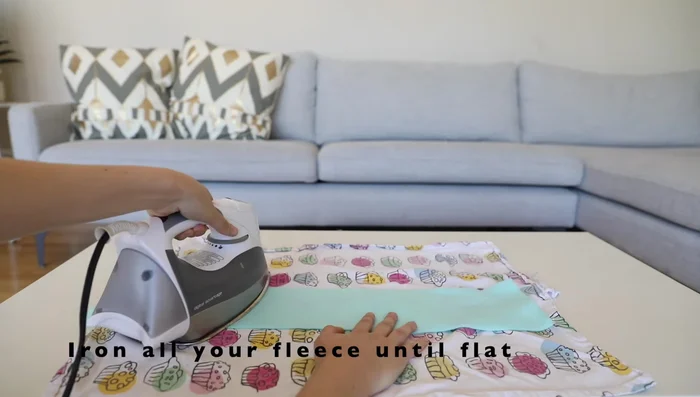
- Iron down fleece pieces.
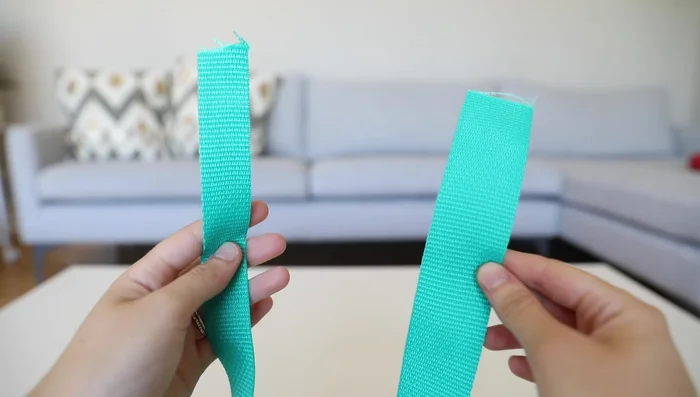
- Cut webbing and use a lighter to seal edges to prevent fraying.

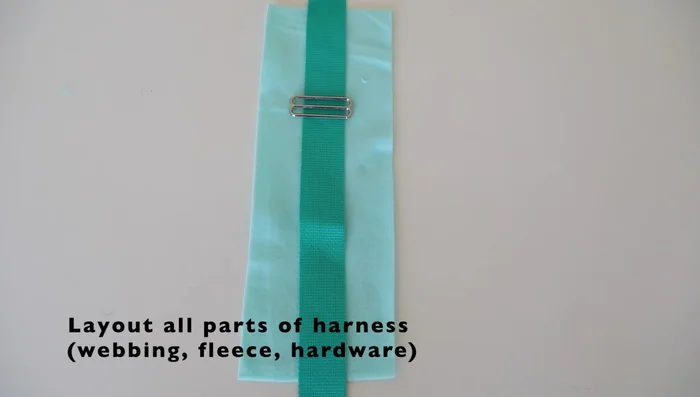
Prepare Materials - Lay out all harness parts to check materials.
Prepare Materials Prepare Sewing Machine and Dog Measurements
- Set up sewing machine, matching thread to webbing.
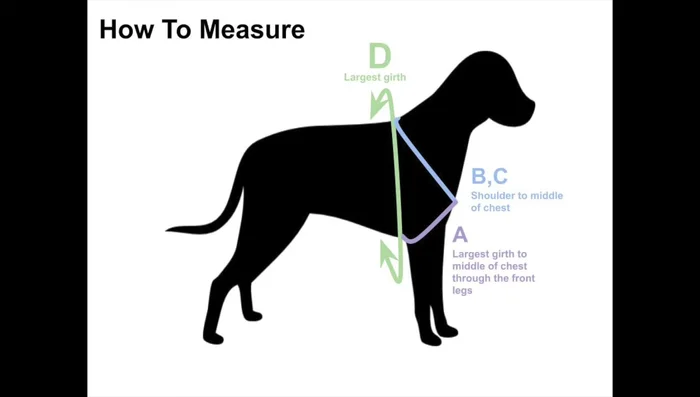
- Measure dog for front chest strap (chest to largest part of belly).
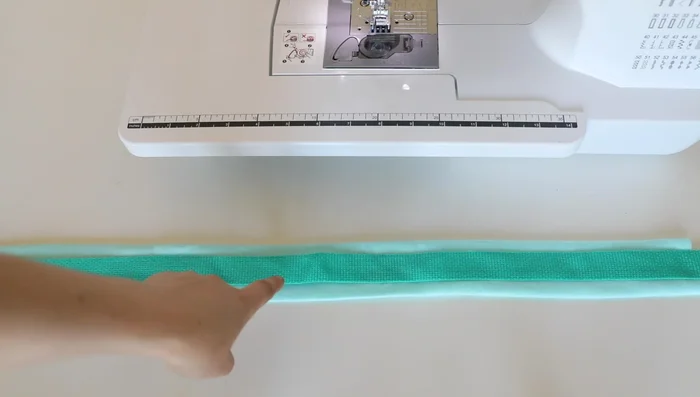
Prepare Sewing Machine and Dog Measurements Create Chest Strap
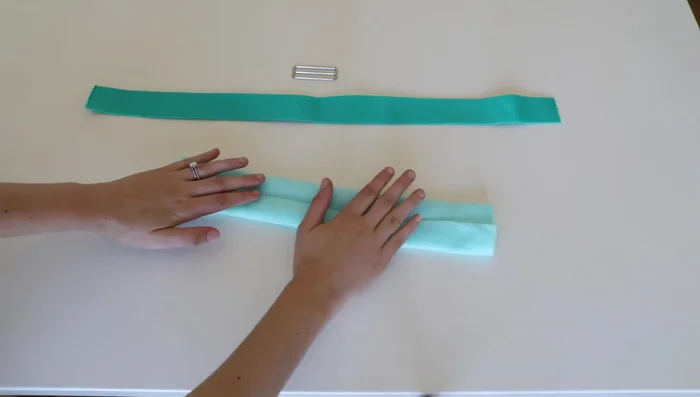
- Fold and iron fleece for chest strap; place webbing (leaving 6 inches on one end, 3 inches on the other).
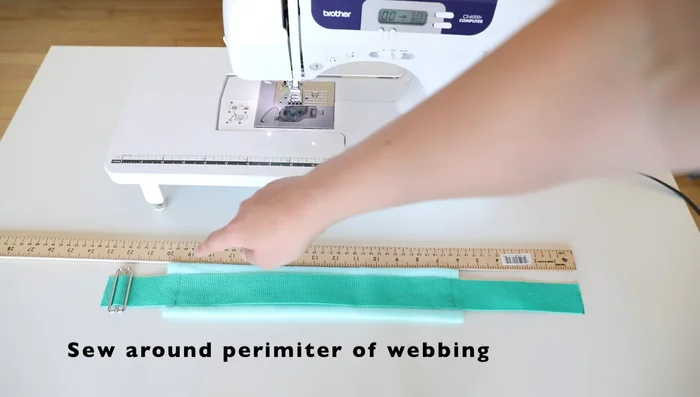
- Sew around webbing perimeter to secure it to fleece.
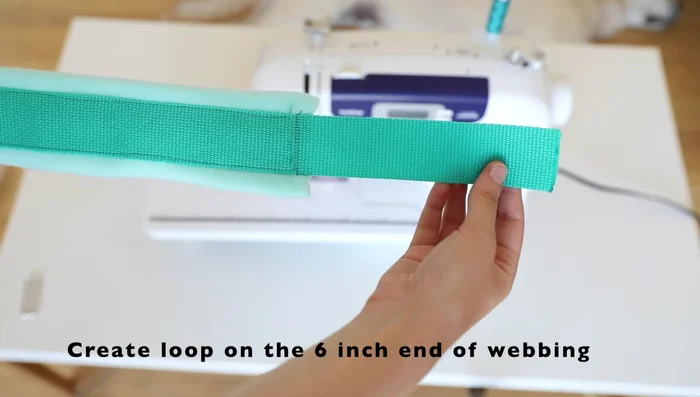
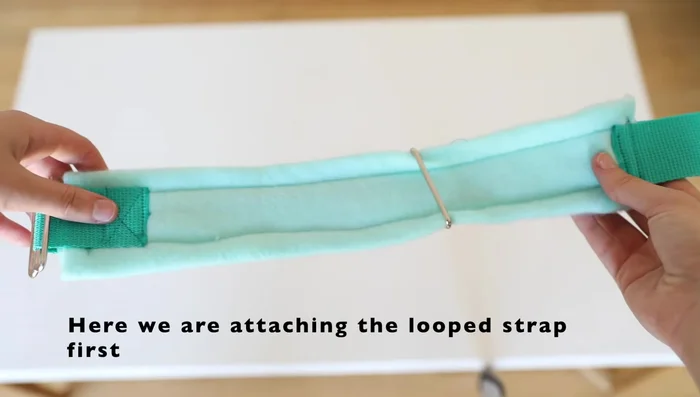
- Create a loop on the 6-inch end for the buckle; sew securely.
- Attach tri-glide to the other end (3-inch end) of the chest strap; reinforce with stitches.
Create Chest Strap Create Shoulder Straps
- fold, iron, place webbing, sew perimeter.
- Attach tri-glide to one end of each shoulder strap; reinforce stitches.
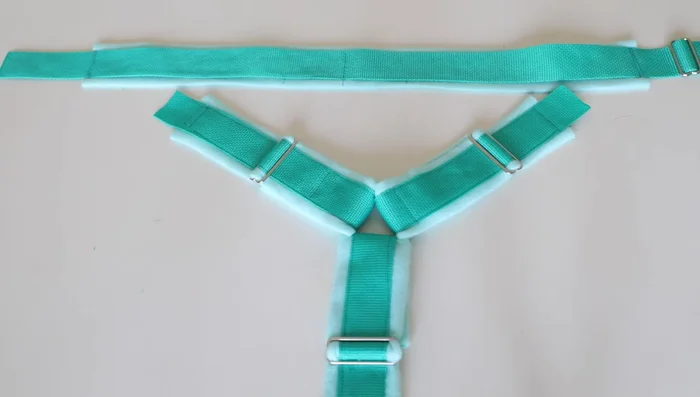
Create Shoulder Straps Assemble Front Harness
- Attach shoulder straps and chest strap to a 2-inch triangle loop.
Assemble Front Harness Prepare Back Strap Materials
- Measure dog for back strap (largest part of ribcage).
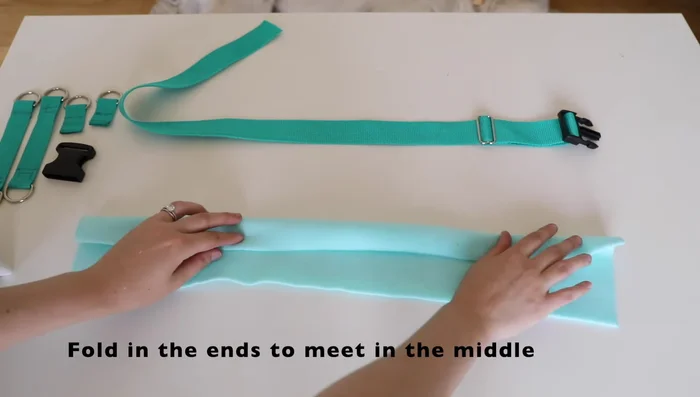
- iron flat, fold edges, fuse (optional).
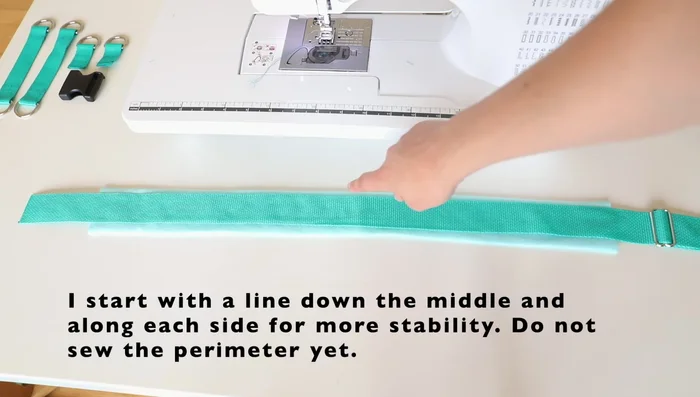
- Place webbing on fleece, sew down center and sides for stability.
Prepare Back Strap Materials Create Back Strap
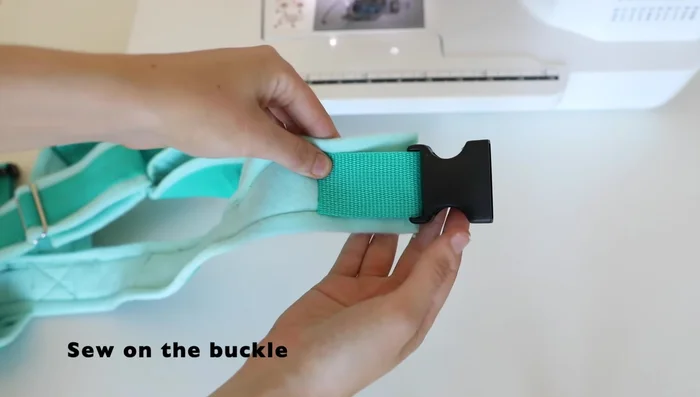
- Sew plastic buckle and tri-glide onto back strap (similar to previous steps).
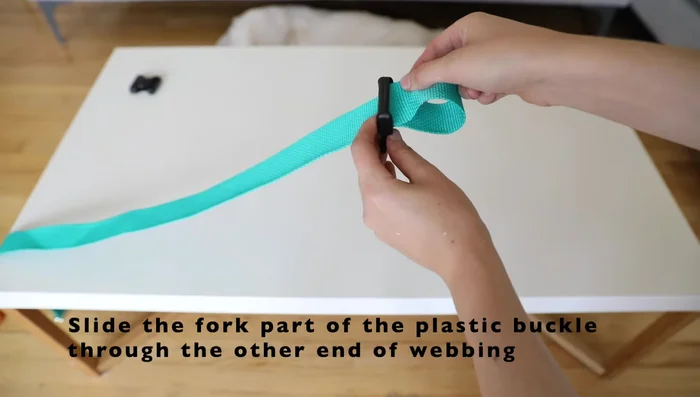
- Create adjustable girth strap by threading webbing through buckle and tri-glide.
- Sew on the plastic buckle for the back strap.
Create Back Strap Attach Front and Back Straps
- Attach shoulder straps to the back strap, sewing across the top to secure.
Attach Front and Back Straps Attach Optional Leash Attachments
- Attach optional leash attachments (e.g., D-rings, pull straps).
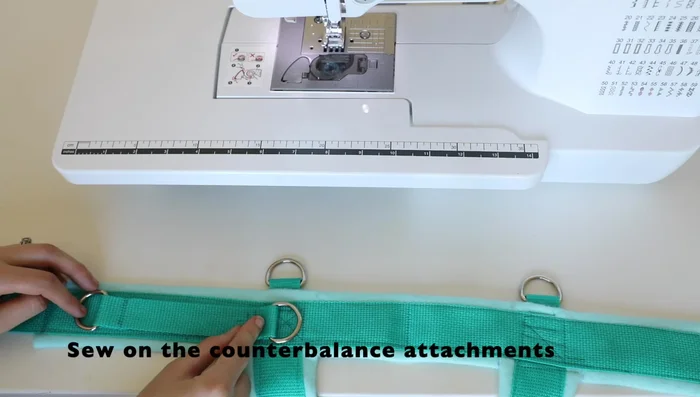
- Attach counterbalance handle attachments with D-rings.
- Attach smaller counterbalance attachments behind the fleece.
- Attach larger counterbalance attachments; these might require multiple attempts.
Attach Optional Leash Attachments Create Pull Straps
- place webbing on fleece, sew perimeter, attach trigger snaps.
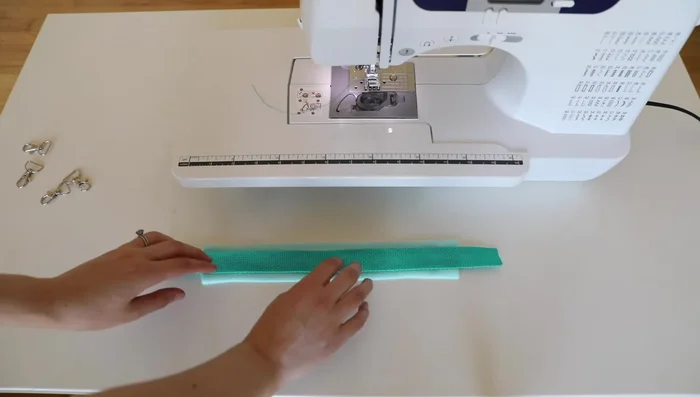
Create Pull Straps Create Semi-Rigid Handle
- fold and sew fleece and webbing; insert plastic tubing or corset boning.
Create Semi-Rigid Handle


Read more: DIY Dog Sweater: Cozy Knit Creations for Your Pup
Tips
- Use a lighter to seal webbing edges to prevent fraying.
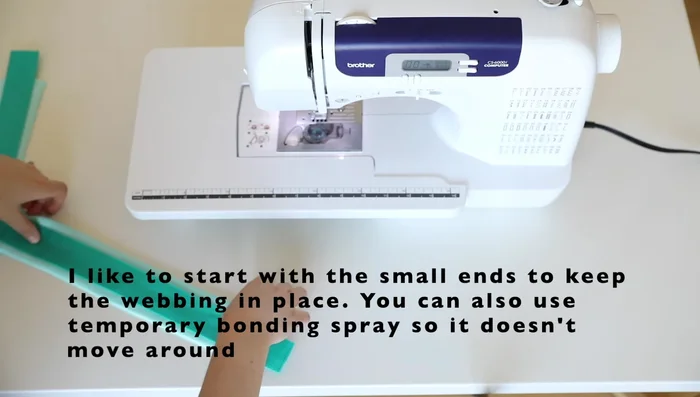
- Use starch spray or pins to keep webbing in place while sewing.
- Reinforce stitches on tri-glides and other high-stress areas.
- Leave extra webbing on ends for attaching harness parts.
- Reinforce connections with multiple stitches.