Does the thought of your furry friend getting drenched in the rain fill you with worry? Then look no further! Many commercially available dog raincoats can be surprisingly expensive, and finding one that fits your dog perfectly can be a real challenge. But fear not, because crafting a custom-made, adorable, and functional raincoat for your beloved canine companion is easier than you think. This simple DIY project requires minimal sewing skills and readily accessible materials, saving you money while ensuring your dog stays dry and comfortable during even the heaviest downpours.
Forget expensive pet stores and frustrating online searches! This quick and easy tutorial will guide you through each step of creating a perfectly tailored raincoat for your dog. From selecting the right materials to mastering a few basic sewing techniques, we'll show you how to create a stylish and protective raincoat in no time at all. Ready to get started? Let's dive into the step-by-step process!
Preparation and Safety Guidelines
- Plastic table covering (from Michaels or similar craft store)
- Velcro
- Scissors
- Marker
- Jacket that fits your dog
- Ensure the raincoat fits comfortably but not too tightly, allowing your dog freedom of movement and preventing chafing. A snug but not restrictive fit is key.
- Always supervise your dog while wearing the raincoat, especially initially, to ensure they don't chew on or become entangled in the material.
- Use waterproof and durable materials. Avoid fabrics that might absorb water and become heavy, potentially causing discomfort or hindering your dog's movement.
Step-by-Step Instructions
Taking Measurements
- Measure your dog's length from neck to tail, add 2 inches.
- Measure around your dog's face.

Taking Measurements Creating the Template
- Lay out the plastic. Pretend it's not cut yet.
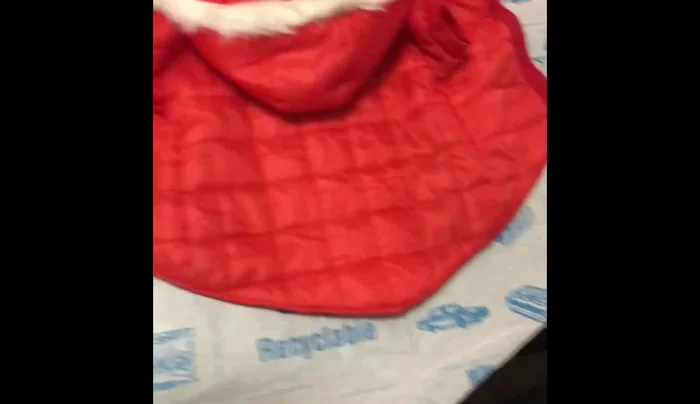
- Fold back a jacket that fits your dog to use as a template. Add extra length to cover the tail (about 2 inches).
Creating the Template Cutting the Raincoat Pieces
- Cut a large circle for the body of the raincoat, ensuring it's big enough to fit your dog's body and cover its tail.
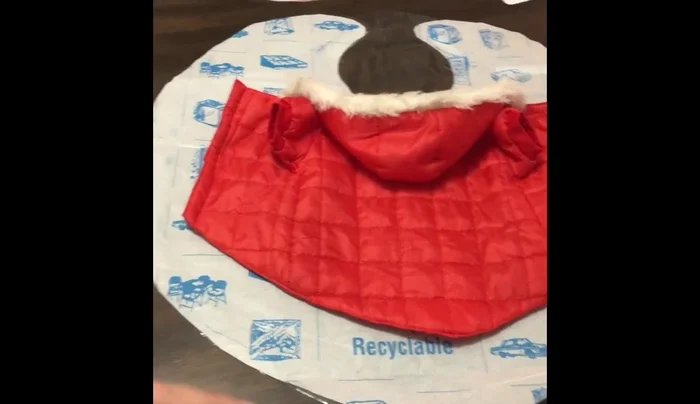
- Cut out a hood shape (vase-like or upside-down head shape) that is large enough to fit over your dog's head and neck, leaving space for their nose and ears. Remember to make a fold line for the hood to allow your dog to look up and down.
Cutting the Raincoat Pieces Assembling the Raincoat
- Attach the hood to the main body circle.
Assembling the Raincoat Attaching the Fastener
- rough side to the top, soft side to the underside. This will be used to fasten the raincoat.
Attaching the Fastener


Read more: DIY Dog Sweater: Cozy Knit Creations for Your Pup
Tips
- Use treats to keep your dog still during the measuring and cutting process.
- Use the thinnest plastic available to make the raincoat more comfortable for your dog.