Does your furry friend deserve a wardrobe upgrade? Tired of expensive, ill-fitting dog clothes? Then get ready to unleash your creativity and save money with this simple DIY project! We'll show you how to transform an old, unwanted sweater into a perfectly tailored t-shirt for your canine companion, ensuring a comfortable and stylish fit. This project is perfect for those with basic sewing skills and a desire to upcycle pre-loved items, minimizing textile waste and maximizing adorable pup-style.
Forget generic pet store designs; with a little imagination and some easy-to-follow steps, you can create a unique and personalized tee that reflects your dog's personality. This guide will walk you through the entire process, from choosing the right sweater to the final stitch. Ready to get started and create a custom-fit masterpiece for your beloved dog? Let's dive into the step-by-step instructions!
Preparation and Safety Guidelines
- Sweater
- Paper
- Pins
- Pen/Pencil
- Scissors
- Fabric
- Sewing Machine (with twin needle and serger recommended)
- Double needle thread
- Dual cone thread holder
- Always supervise your dog while wearing the shirt, and remove it immediately if they show signs of distress or try to chew on it.
- Ensure all seams are securely stitched and there are no loose threads or embellishments your dog could ingest.
- Choose a soft, breathable fabric for the sweater to avoid skin irritation. Avoid using fabrics with small parts that could pose a choking hazard.
Step-by-Step Instructions
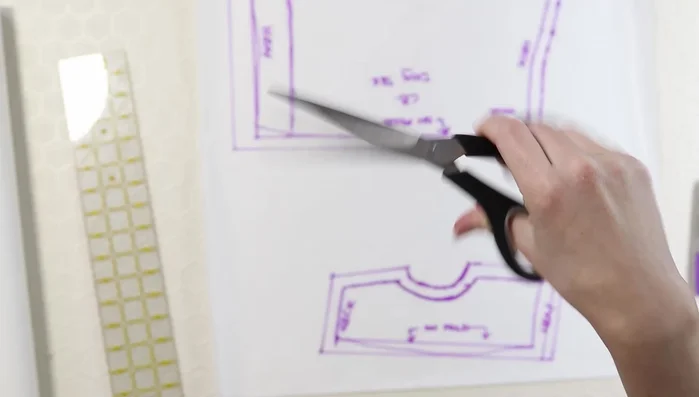
Create the Pattern
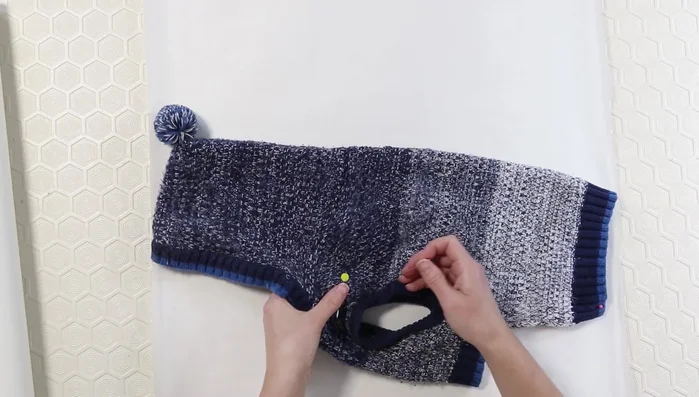
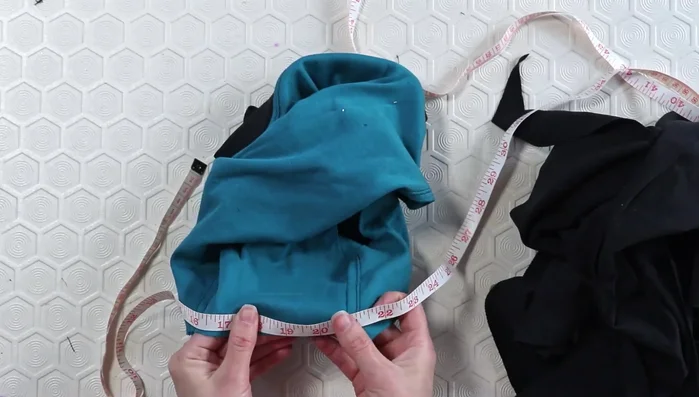
- Draft a pattern from an existing sweater.
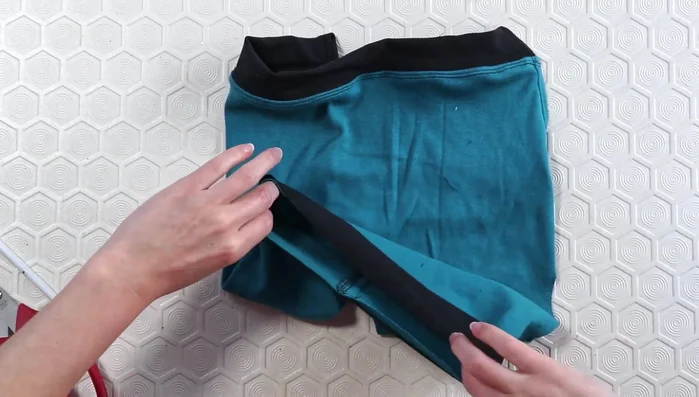
- Pin seams together to prevent shifting (side seams and next seam).
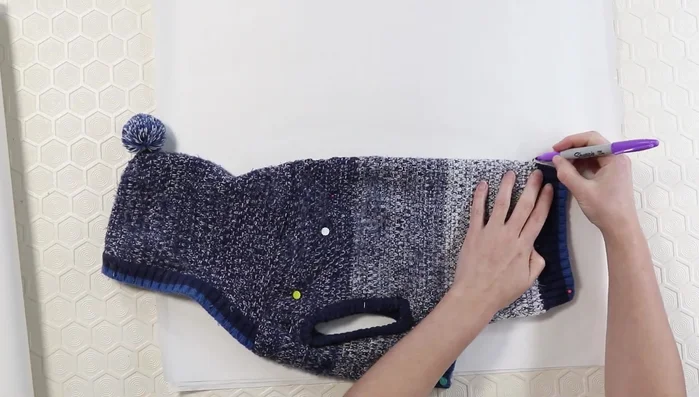
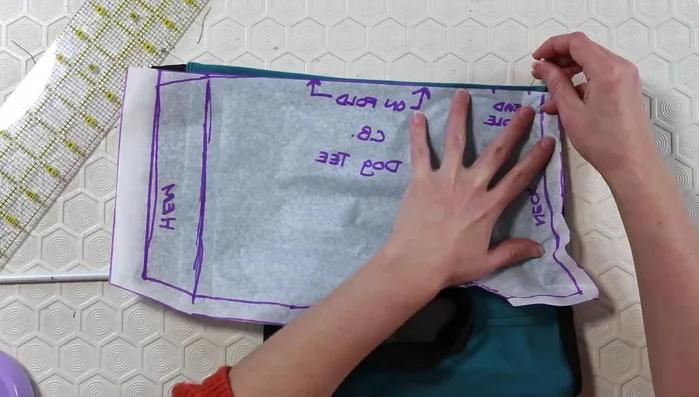
- Trace around the outside of the sweater on paper, making notches at key points.
- Use pins to transfer seam markings from the sweater to the paper.

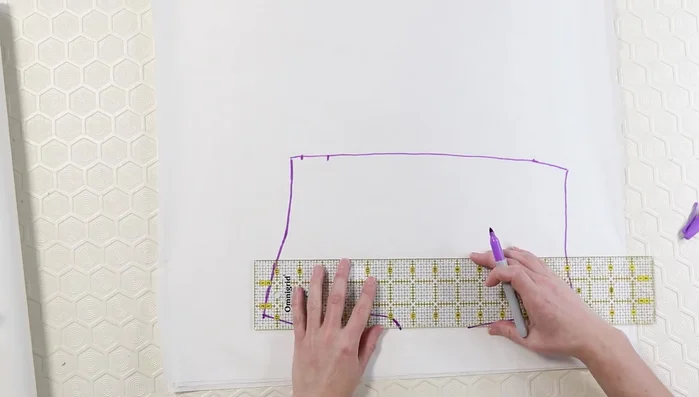
Create the Pattern - Connect the pin marks to complete the pattern.
- Add seam allowance (1/4 inch recommended for stretchy fabrics).
- Cut out the paper pattern pieces.
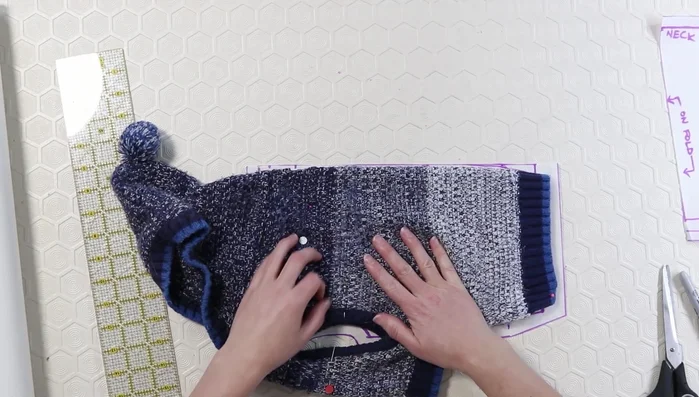
- Double-check pattern accuracy by laying the sweater onto the pattern.
Create the Pattern Prepare the Fabric
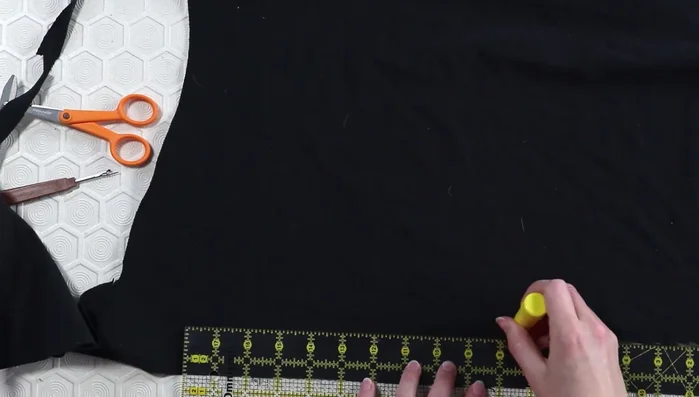
- Lay out fabric, ensuring stretch runs correctly around the body.
- Cut out fabric pieces, adding seam allowance (Consider adding extra seam allowance for hem binding).
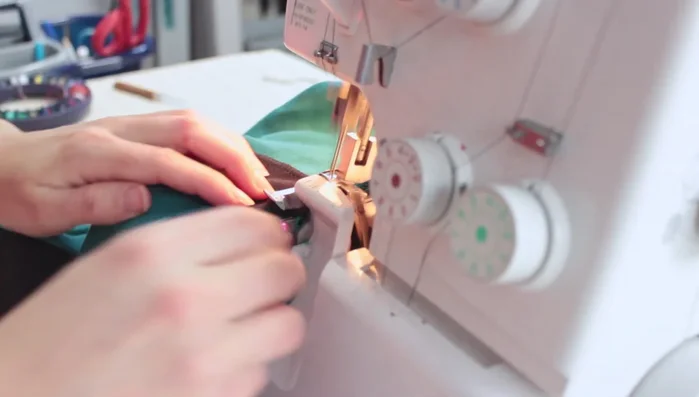
Assemble the Shirt Body
- Pin and serge (or use a stretch stitch) binding to the hem.
- Pin and stitch side seams, serging raw edges first for a cleaner finish.
- Topstitch side seams with a double needle.
- Fold and topstitch the hem with a double needle.
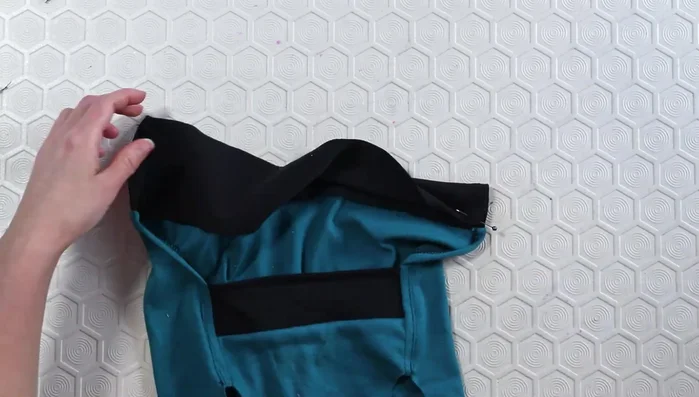
Assemble the Shirt Body Attach Neck Binding
- Measure and cut neck binding (slightly smaller than neck opening for a snug fit).
- Serge neck binding edges and pin to neckline. Stitch with a single needle (then serge edges again for a cleaner finish, then topstitch with the double needle)
Attach Neck Binding Attach Sleeves
- Measure, cut, and attach sleeves following the same process as the neck binding.
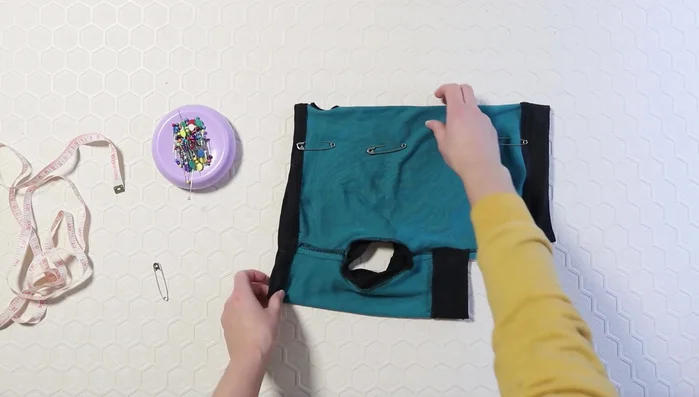
Attach Sleeves Add Lead Hole and Refine Fit
- Create a lead hole using a buttonhole stitch and seam ripper (Adjust if necessary).
- Make alterations to the pattern based on the first fitting (take in the back, add darts if needed).
Add Lead Hole and Refine Fit

Read more: DIY Dog Sweater: Cozy Knit Creations for Your Pup
Tips
- Use a stretchy fabric for best results.
- Adding notches at points and intersections helps with accurate pattern making.
- Using a serger creates clean, professional-looking seams.
- A twin needle creates a neat, professional-looking finish on stretchy fabrics.
- Always double-check your pattern before cutting your fabric.