Spoil your furry friend with a unique and stylish collar crafted entirely by your own hands! Forget overpriced pet accessories – this guide shows you how to create a beautiful, durable fishtail braid collar, perfect for dogs and cats alike. Using readily available materials and a simple, surprisingly quick technique, you can personalize your pet's everyday wear with a touch of homemade charm. Imagine the compliments you'll receive on your pet's one-of-a-kind accessory, knowing you created it yourself with love and care.
This DIY project is perfect for beginners and seasoned crafters alike, offering a satisfying blend of creativity and practicality. The fishtail braid method is easier than you think, and we'll walk you through each step with clear instructions and helpful images. Ready to get started on this fun and rewarding project? Let's dive into the step-by-step guide to creating your pet's new favorite collar.
Preparation and Safety Guidelines
- String
- Tape measure (optional)
- Lighter
- Pliers
- Scissors
- Always supervise your pet while wearing the DIY collar. Check regularly for wear and tear and replace if necessary to prevent choking or injury.
- Ensure the collar fits comfortably but not too loosely. Two fingers should fit comfortably under the collar. Too tight can restrict breathing and circulation, too loose can allow escape.
- Use strong, pet-safe materials. Avoid using materials that could fray easily, contain small parts your pet could swallow, or are toxic if chewed.
Step-by-Step Instructions
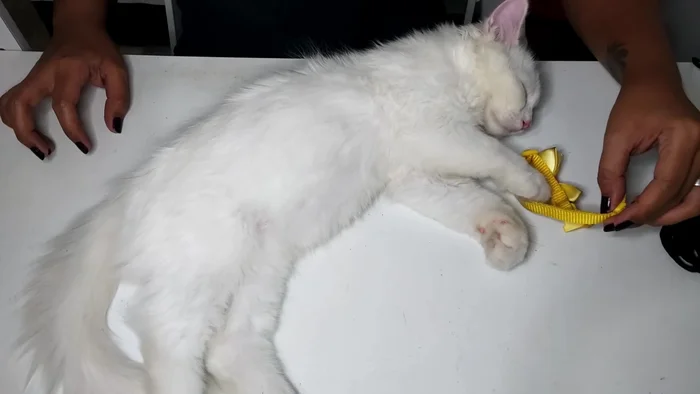
Measure and Prepare
- Measure your pet's neck. Use your fingers or a tape measure. Add extra length (multiply by 6-8) for the knot and allowance.
- Measure the desired collar length, leaving extra allowance for the cobra knot (approximately half an inch on each side).

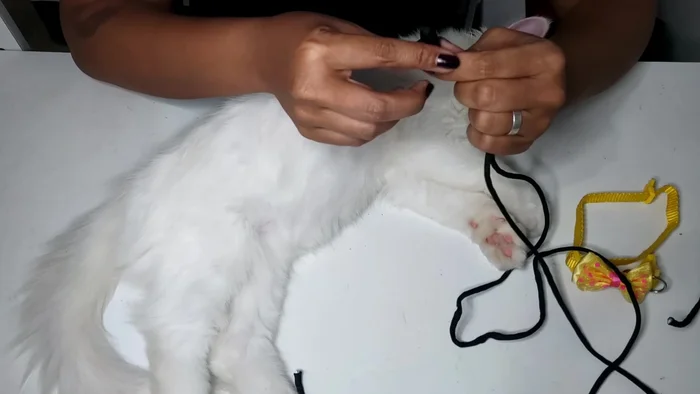
Measure and Prepare Form Initial Knot
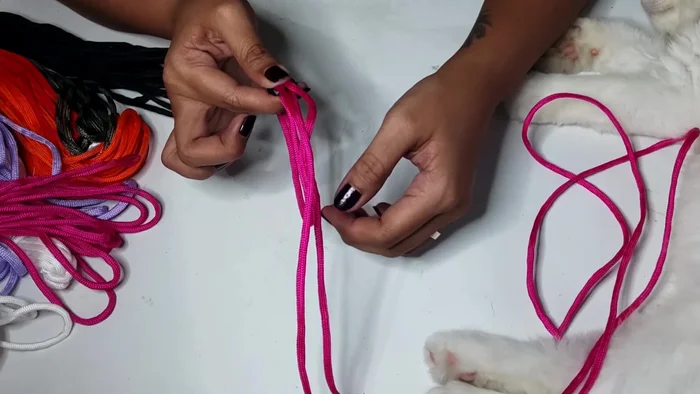
- Straighten the strings, put the two ends together, and create a loop.
- Pull the loop through itself to form a knot, tightening it securely.
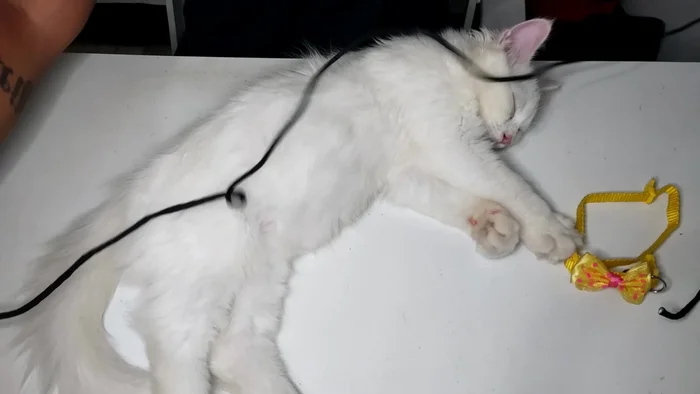
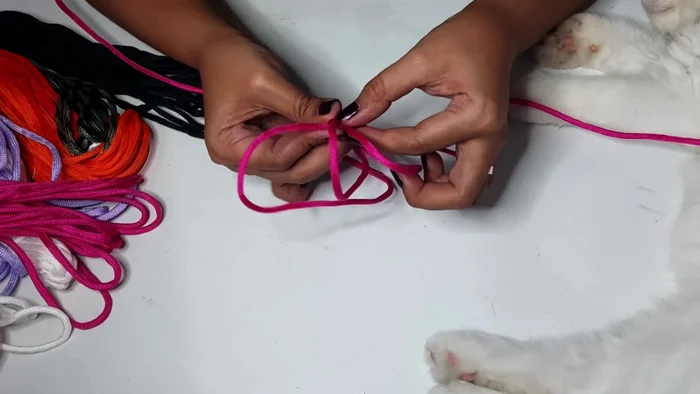
Form Initial Knot Create Fishtail Braid
- Take the left string, pass it under the right loop, and then the right string under the left loop. Repeat this pattern, keeping the braid tight.
- Continue braiding until you reach the desired length.
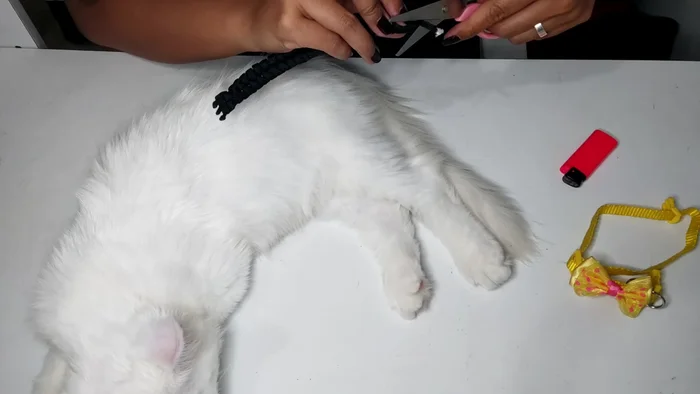
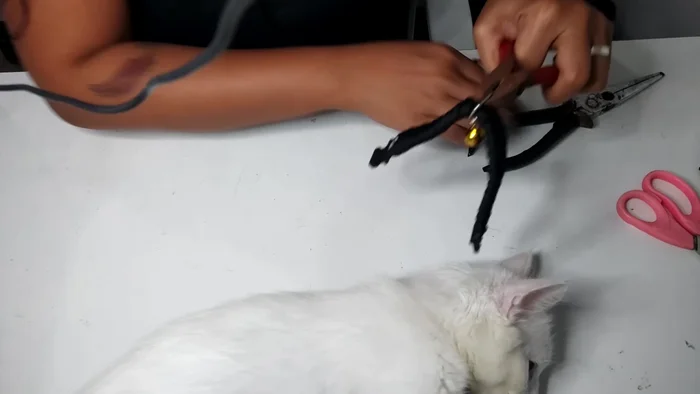
Create Fishtail Braid Seal the Braid Ends
- Use a lighter to melt and seal the ends of the braid to prevent fraying.
Seal the Braid Ends Prepare Buckle
- Create a small slit in the center of the unbraided portion of the string.
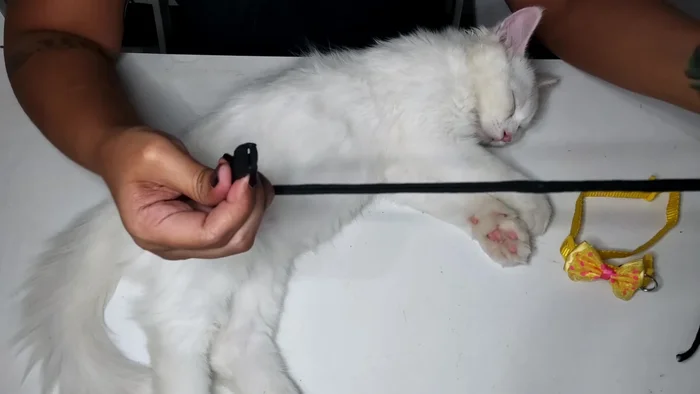
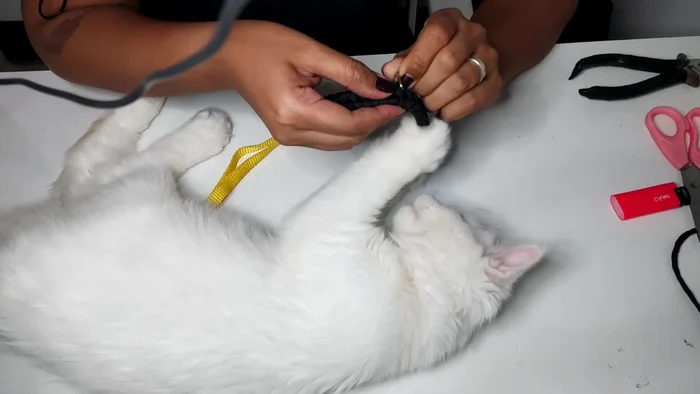
Prepare Buckle Attach to Buckle
- Use pliers to carefully open the buckle and insert the unbraided portion of the string through the buckle.
- Close the buckle securely.
Attach to Buckle

Read more: DIY Cat Leash: Easy-to-Make Cat Harness for Safe Outdoor Adventures
Tips
- Add extra string length to account for the knot and the thickness of the braid.
- Maintain consistent tension throughout the braiding process for an even result.
- Use a lighter to securely melt and seal the ends of the string.
- Make sure the buckle is correctly aligned and securely fastened before putting the collar on your pet.