Have you ever dreamed of designing and crafting your own unique clothing? The world of DIY garment creation is more accessible than you might think, offering a rewarding blend of creativity and practicality. Forget the limitations of mass-produced fashion; learn to transform fabric into personalized pieces that reflect your individual style and perfectly fit your body. From simple alterations to ambitious new designs, the possibilities are limitless, empowering you to express yourself through the art of clothing creation. This journey might seem daunting at first, but with the right guidance, it becomes surprisingly straightforward.
This guide provides a clear and concise step-by-step process to help you navigate the world of DIY garment making, from choosing your fabric and pattern to mastering essential sewing techniques and finishing your creation. Whether you're a complete beginner or have some basic sewing skills, prepare to unlock your inner fashion designer and embark on a fulfilling creative adventure. Let's dive into the detailed steps that will turn your fabric dreams into wearable reality.
Preparation and Safety Guidelines
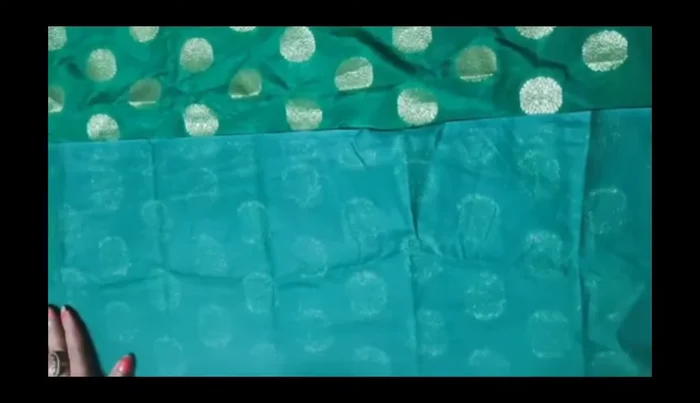
- Fabric
- Scissors
- Measuring Tape
- Needle and Thread
- Velcro
- Always use sharp, well-maintained scissors and cutting tools to prevent accidents and ensure clean cuts. Never rush when cutting fabric.
- Pinning fabric securely before sewing prevents shifting and ensures accurate stitching. Be mindful of where you place your fingers when using a sewing machine.
- When using a sewing machine, always unplug it before making adjustments or cleaning it. Follow the manufacturer's instructions carefully.
Step-by-Step Instructions
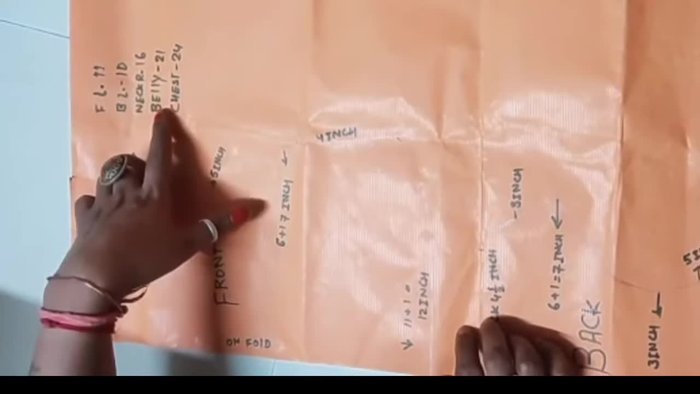
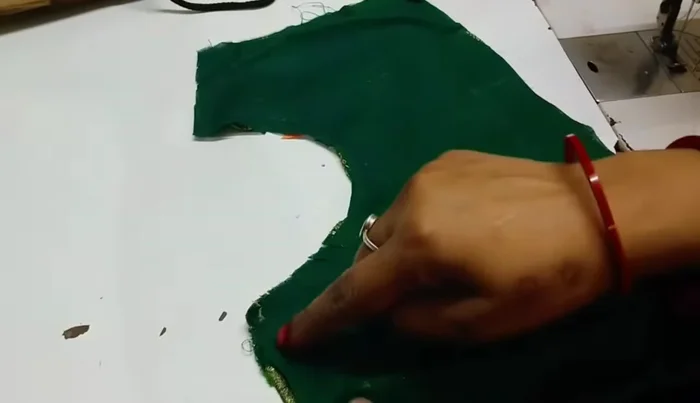
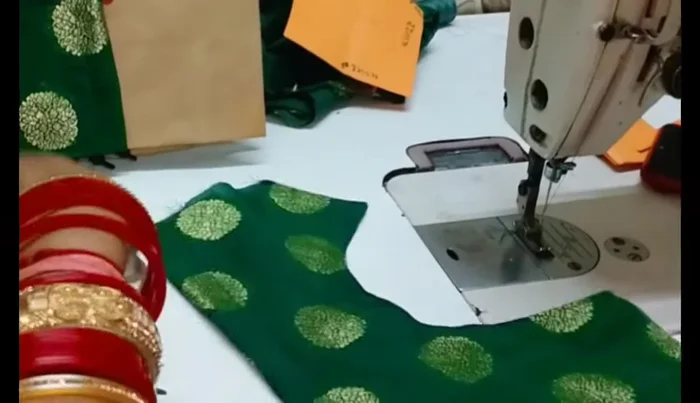
Prepare and Cut Fabric
- Prepare the fabric and mark the cut lines for the front and back pieces.
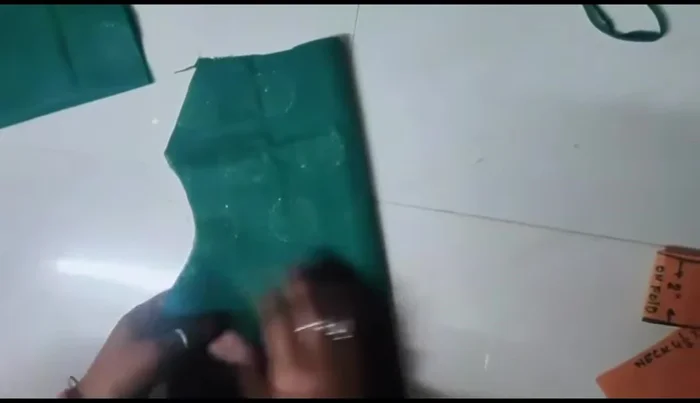
- Cut the front piece of the fabric based on the marked lines.
- Cut the back piece of the fabric, mirroring the front piece's cut.
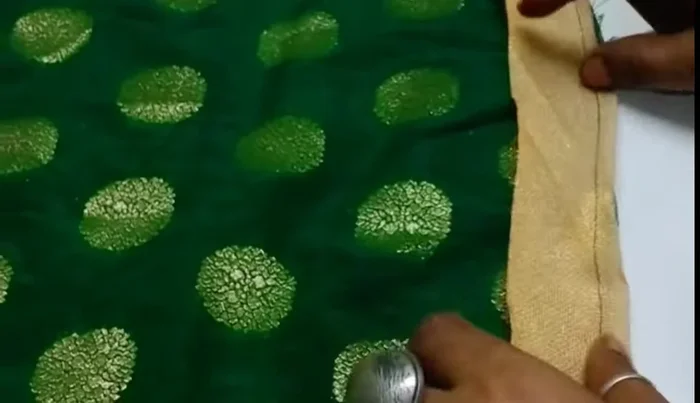
- Add 1-inch seam allowance to the back piece.

Prepare and Cut Fabric - Cut out the additional pieces for the shoulder and leg sections.
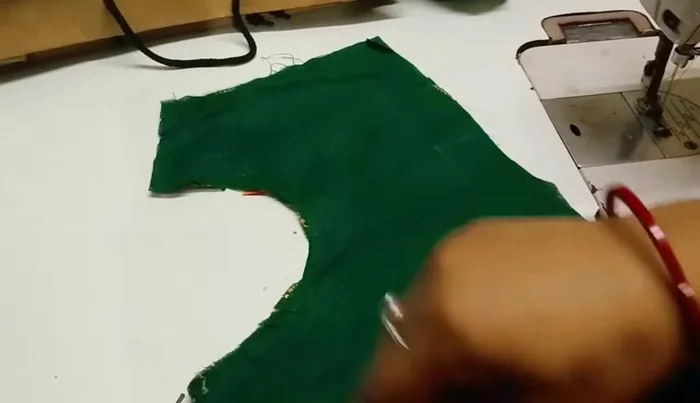
Prepare and Cut Fabric Assemble Garment Pieces
- Join the shoulder and leg pieces to the main garment pieces.
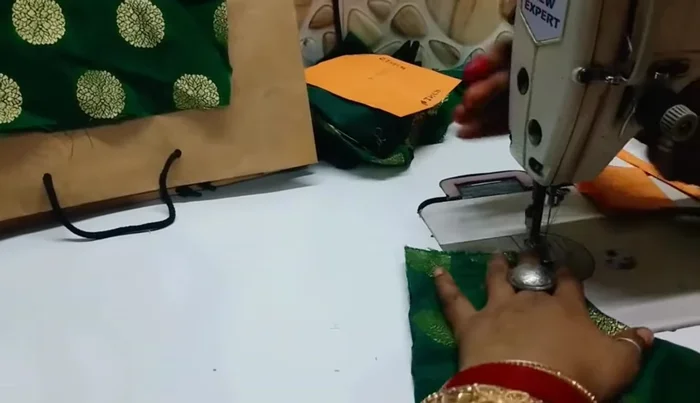
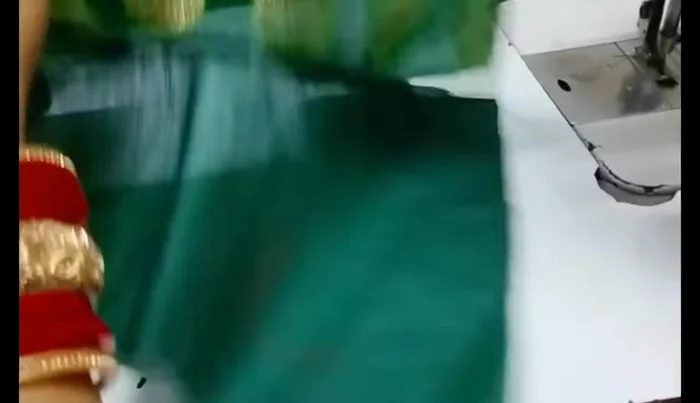
Assemble Garment Pieces Stitch and Sew
- Stitch the seams of the garment pieces together.
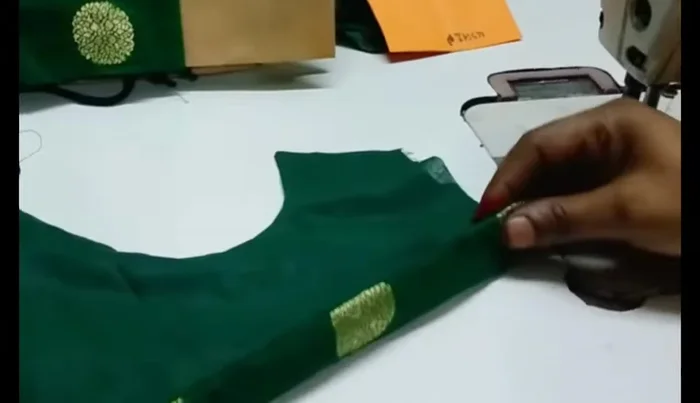
Stitch and Sew Add Closure and Finishing
- Attach Velcro to the closure.
- Fold and stitch the edges to create a neat finish.
Add Closure and Finishing Final Touches and Quality Check
- Add finishing touches and embellishments (if any).
- Final adjustments and quality check.
Final Touches and Quality Check

Read more: DIY Dog Sweater: Cozy Knit Creations for Your Pup
Tips
- Use a sharp pair of scissors for clean cuts.
- Ensure accurate measurements to avoid discrepancies.
- Maintain consistent stitch length for a professional finish.