Spoiling your feline friend doesn't have to break the bank! Commercial cat trees can be surprisingly expensive, but your cat deserves a place to climb, scratch, and nap in comfort. This guide shows you how to build a fantastic, functional, and affordable cat tree entirely from recycled materials you likely already have around the house or can easily source for free. Forget overpriced pet store purchases; we'll transform discarded cardboard boxes, sturdy branches, old blankets, and more into a purrfect climbing paradise.
Building your own cat tree is a rewarding project that not only saves money but also allows for complete customization to suit your cat's preferences and your home's décor. From selecting the right materials to assembling the final product, we'll walk you through each step of the process with clear instructions and helpful tips. Let's get started with our comprehensive step-by-step guide to creating your own unique and budget-friendly cat tree!
Preparation and Safety Guidelines
- Carpet scraps
- Recycled lumber
- 3/4 inch plywood
- Screwdriver
- Hot glue gun
- Staple gun
- Saw
- Drill
- Nails
- Screws
- Carpet padding
- Ensure all materials are thoroughly cleaned and free of any harmful chemicals or sharp edges before assembly. Thoroughly inspect for splinters or rough surfaces.
- Use strong and sturdy materials capable of supporting your cat's weight. Avoid using materials that could easily break or collapse.
- Supervise your cat when they are using the cat tree, especially during the initial period. Make sure it is stable and that your cat is not engaging in destructive behavior that could compromise its safety.
Step-by-Step Instructions
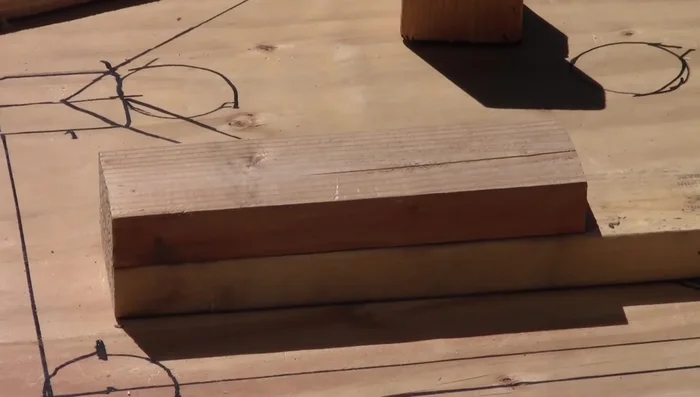
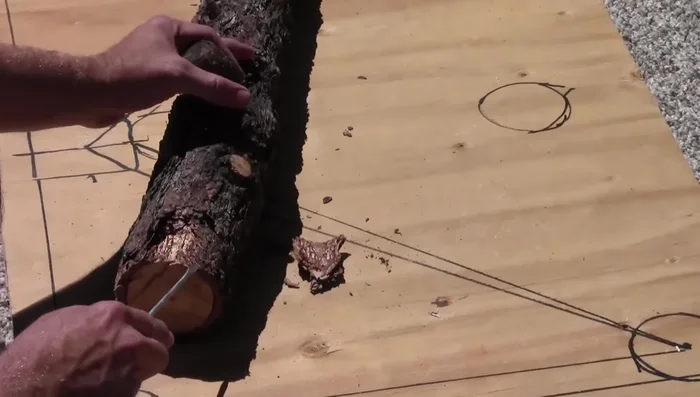
Prepare Base and Posts
- Assemble the base using two 2x4s (one cut to 1 foot, the other to 2 feet).
- mark, and gently pry the bark using a screwdriver.
- Cut the legs of the cat tree (one side 12 inches, the other 12 1/4 inches).

Prepare Base and Posts Create Top Platform
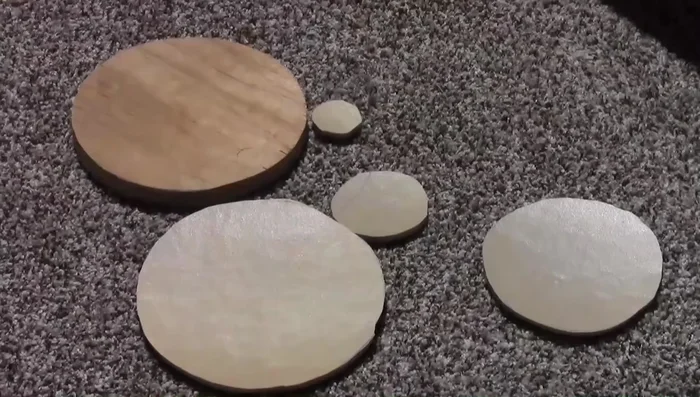
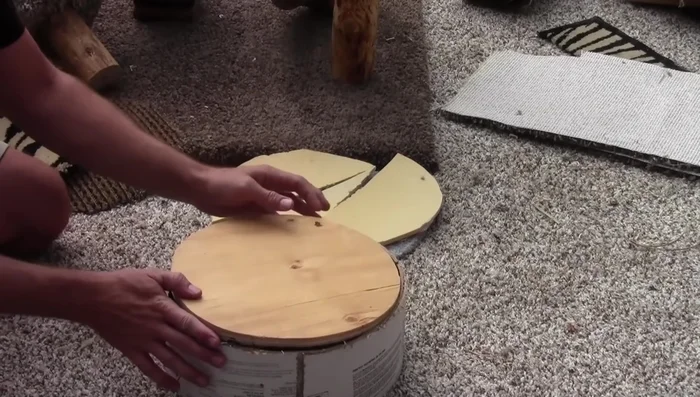
- Cut out triangle and circle pieces from plywood for the cat tree's top platform.
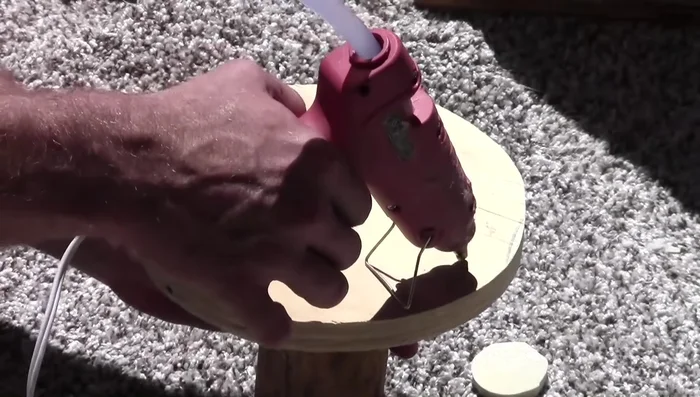
- Cut four progressively smaller circles from carpet padding for the mushroom-shaped platforms.
- Glue the carpet padding circles onto the platform supports to create mushroom shapes.
Create Top Platform Assemble Top Platform and Posts
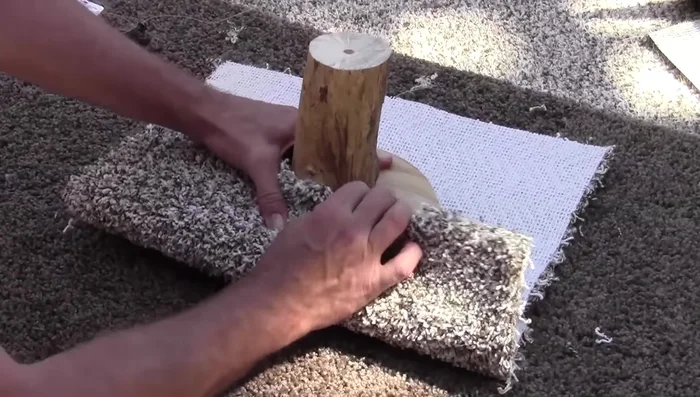
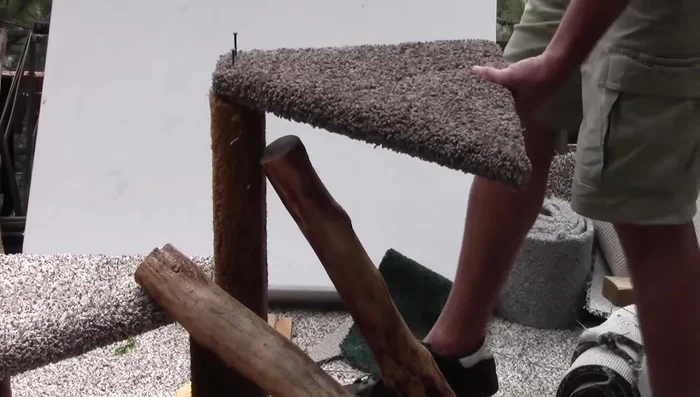
- Cover the platforms with carpet, pulling it tight and stapling it securely. Fold and staple excess carpet to create a “fortune cookie” effect.
- Attach the platforms to the upright posts using screws.
Assemble Top Platform and Posts Create and Attach Shelf
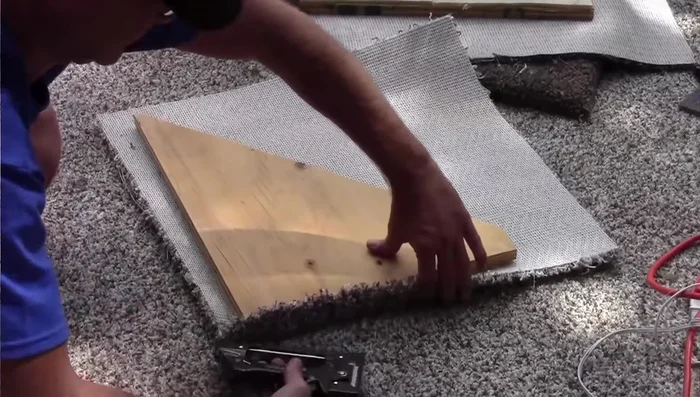
- Cover the shelf with carpet, using hot glue and staples. Ensure a one-inch overhang for a clean finish.
Create and Attach Shelf Construct Round Bed
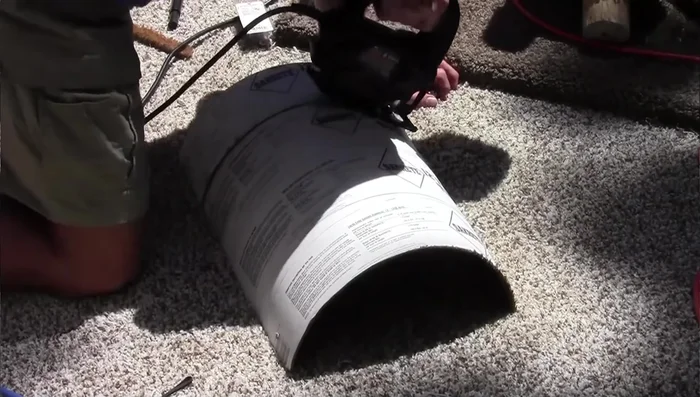
- Create the round bed using leftover scraps of tube material, cutting it into four equal parts and reassembling it into a circle.
- Attach carpet padding and carpet to the bottom of the round bed using staples and glue.
Construct Round Bed Final Assembly
- Attach the round bed to the cat tree using screws.
Final Assembly

Read more: DIY Cuddly Cat & Dog Bed: A Super-Warm, Easy Tutorial
Tips
- Use leftover materials creatively.
- Pull the carpet tight and staple for a secure and neat finish.
- Give yourself plenty of leeway when stapling the carpet to allow for shaping and trimming.
- Use hot glue beads to secure carpet edges and create a smooth finish.