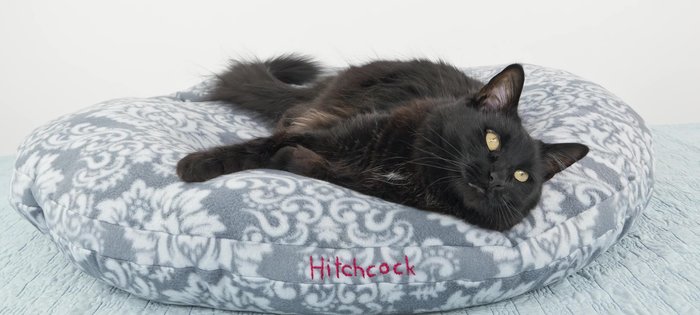
Spoil your furry friend with a cozy and comfortable new bed – without ever picking up a needle and thread! This no-sew fleece pet bed is the perfect DIY project for even the most novice crafters, requiring minimal time, effort, and materials. Forget expensive pet store prices and embrace the satisfaction of creating a custom-made haven for your beloved companion. You'll be amazed at how quickly and easily you can transform a simple piece of fleece into a snuggly sleeping space your pet will adore.
This incredibly easy project utilizes readily available materials and a clever no-sew technique that guarantees a durable and attractive bed. From choosing the perfect fleece fabric to the final shaping and fluffing, we'll guide you through every step of the process. Ready to get started on crafting the ultimate comfort zone for your pet? Let's dive into the step-by-step instructions below!
Preparation and Safety Guidelines
- Fleece fabric
- Polyester stuffing
- Embroidery floss
- Fabric scissors
- Fabric marker
- Pencil
- Ruler
- Thread
- Pins
- Needles
- Sewing machine
- Always supervise your pet with their new bed, especially initially, to ensure they don't ingest any fleece fibers or stuffing.
- Choose a high-quality fleece that is free from harmful dyes or chemicals. Avoid fleece that sheds excessively.
- Ensure all stuffing material is securely contained within the fleece. Loose stuffing presents a choking hazard.
Step-by-Step Instructions
Cut Fleece Pieces
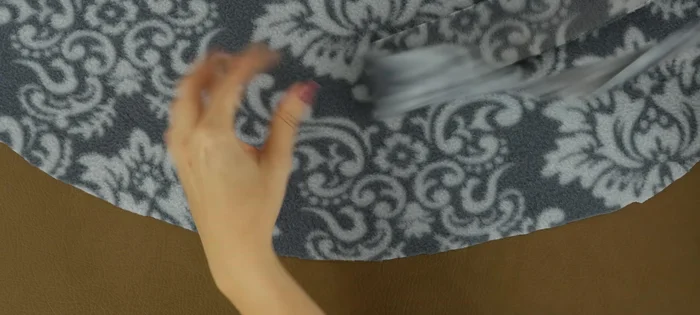
- Cut out two identical shapes for the top and bottom of the pet bed. For simple shapes (square, rectangle), measure and cut directly from the fabric. For more complex shapes (circle), create a pattern (e.g., from tissue paper) of a quarter circle, fold the fabric, and cut.
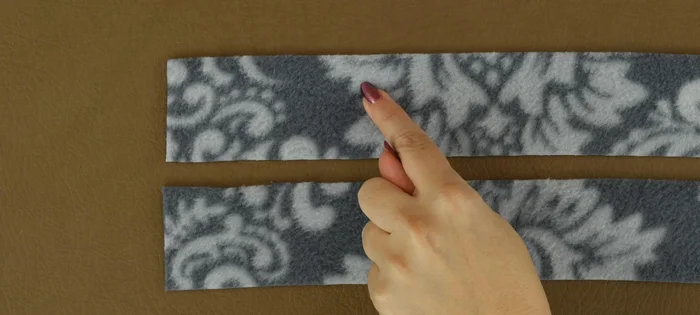
- Calculate and cut the fabric strips for the sides. For squares/rectangles, add up all side lengths. For circles, calculate the circumference using the formula 2πr (where r is the radius). Account for seam allowance (1/4 inch) on each strip.

Cut Fleece Pieces Optional: Personalize the Bed
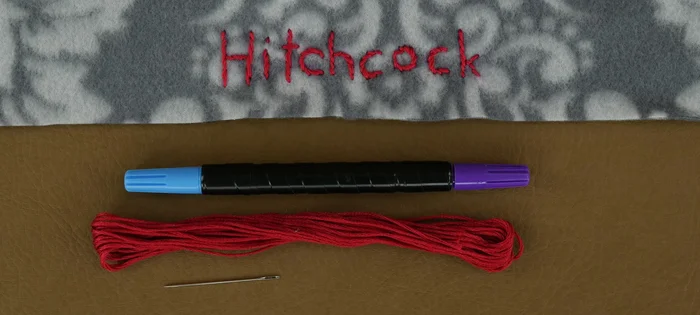
- Personalize the bed with embroidery. Use a fabric marker to draw your design (e.g., pet's name) on one of the strips, ensuring sufficient distance from the edges for seam allowance. Use a stem stitch for lettering.
Optional: Personalize the Bed Join Side Strips
- Sew the strips together to create one long loop. Sew the short ends of each strip together (right sides together), then join all strips to form a continuous loop. Use a 1/4 inch seam allowance and back stitch.
Join Side Strips Attach Side Strip to Top
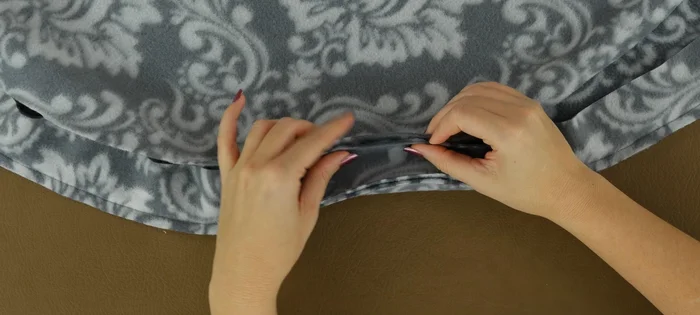
- Pin the strip to the top fabric piece (right sides together). Ease the fabric to distribute the strip evenly around the perimeter. Begin by pinning the middle points, then divide and pin each section.
- Sew the strip to the top piece, leaving an opening for turning and stuffing. Sew along the edge using a 1/4 inch seam allowance. Make small cuts in the seam allowances to help the corners lay flat.
Attach Side Strip to Top Attach Bottom to Side Strip
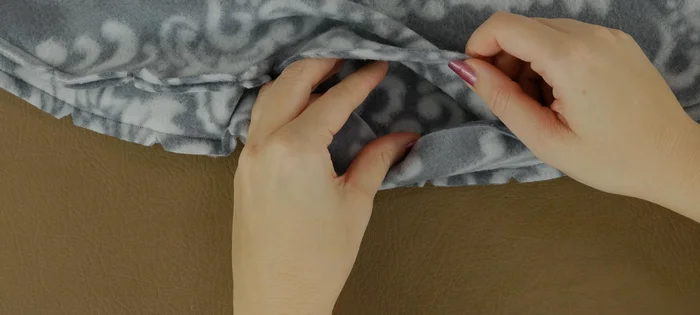
- Pin the bottom piece to the remaining raw edge of the strip (right sides together), leaving an opening. Use X's to mark the start and end points of your seam to leave an opening for turning and stuffing.
- Sew the bottom piece to the strip, again using a 1/4-inch seam allowance, remembering to backstitch at the beginning and end. Leave the marked opening unsewn.
Attach Bottom to Side Strip Stuff and Finish
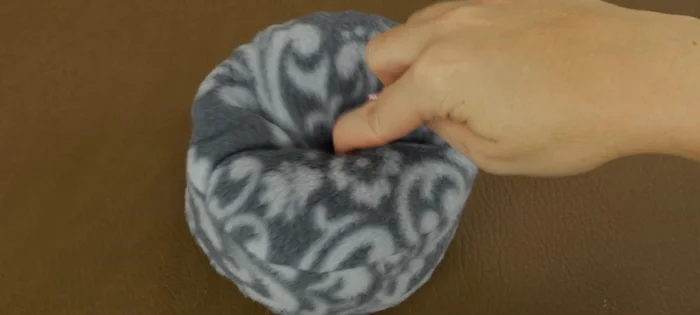
- Turn the bed right side out through the opening, and stuff with polyester filling. Don't over-stuff.
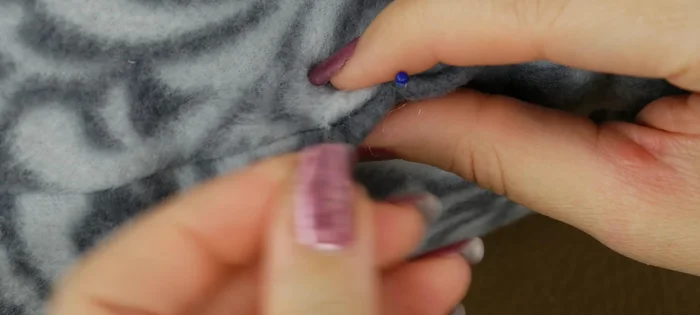
- Close the opening using a slip stitch. Tuck in the raw edges before stitching.
- Create a dimple in the bed using embroidery floss. Insert the needle from the bottom, pushing through to the center top. Repeat on the opposite side. Tie knots on the bottom to secure.
Stuff and Finish


Read more: DIY Cuddly Cat & Dog Bed: A Super-Warm, Easy Tutorial
Tips
- Use a rotary cutter and mat for faster and more accurate fabric cutting, especially for simple shapes.
- Always add seam allowance to your measurements. A 1/4 inch is a good starting point.
- When sewing strips, easing the fabric helps to distribute the strip evenly.
- Use a slip stitch to close the opening for a neat, invisible finish.