Feline companions, even the most independent, deserve a safe and comfortable haven, especially when the weather turns foul. A poorly protected outdoor cat can suffer from hypothermia, heatstroke, or exposure to the elements, leading to serious health problems. This is why building a truly weatherproof outdoor cat house is a rewarding project for any cat lover. More than just a simple shelter, a well-constructed house provides crucial protection against rain, snow, wind, and extreme temperatures, ensuring your cat's comfort and well-being year-round. It's a project that's both practical and deeply caring, showing your beloved pet just how much you value their safety.
This DIY guide will equip you with all the necessary knowledge and step-by-step instructions to create the ultimate weatherproof outdoor cat house, tailored to your cat's needs and your available resources. Let's delve into the process, from selecting the right materials to the final touches that will make your cat's new home a luxurious sanctuary.
Preparation and Safety Guidelines
- Styrofoam insulation
- Polyurethane coating
- Clear caulking
- Wool sweater
- Pet heating pad
- Clear tape
- Duct tape
- Clear vinyl
- Silicone sealant
- Concrete pavers
- Ensure all materials used are non-toxic and safe for cats. Avoid using treated lumber or paints containing chemicals that could harm your cat if ingested or inhaled.
- Provide adequate ventilation to prevent moisture buildup and mold, but protect against drafts and extreme cold. A balanced approach is key.
- Regularly inspect the house for damage or wear and tear, especially after inclement weather. Promptly repair any issues to maintain its weatherproofing and your cat's safety.
Step-by-Step Instructions
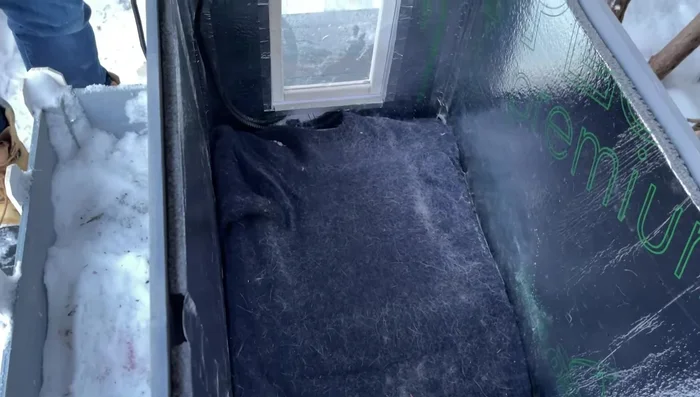
Interior Insulation
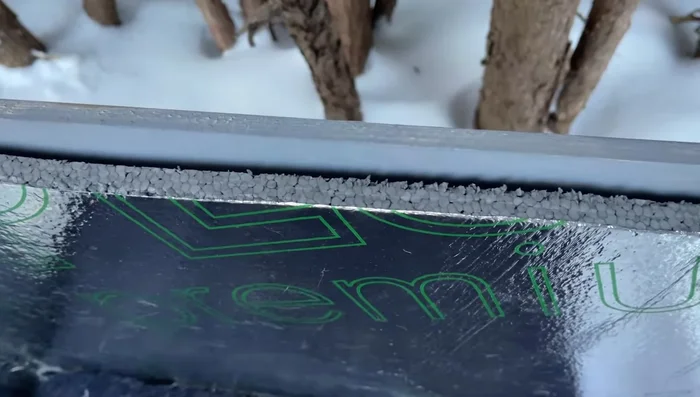
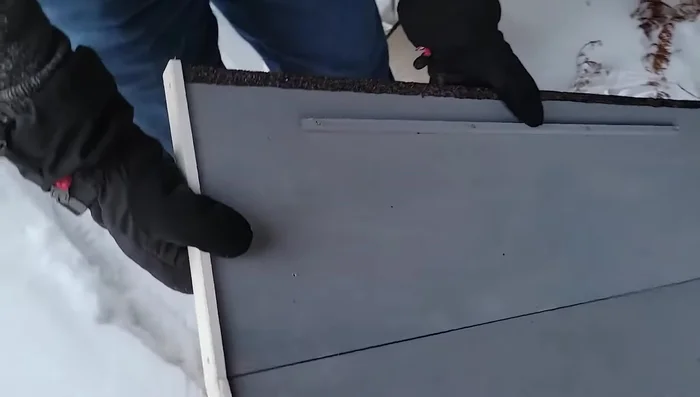
- Insulate the interior with styrofoam insulation with a reflective coating.

Interior Insulation Exterior Weatherproofing
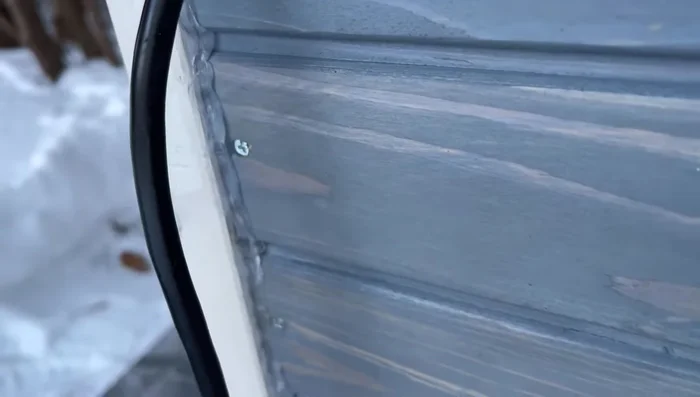
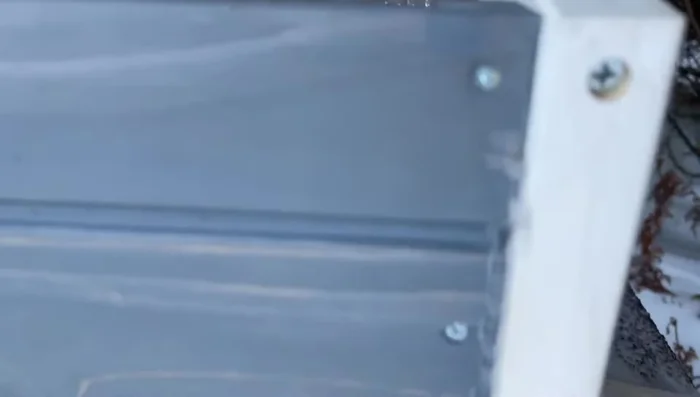
- Apply a polyurethane coating to the exterior for weather protection.
- Seal all gaps and spaces between wood panels with clear caulking to prevent water infiltration.
- Apply white silicone caulking where the wooden frame meets the shingles for added waterproofing.
- Apply polyurethane coating to all exposed wood parts.
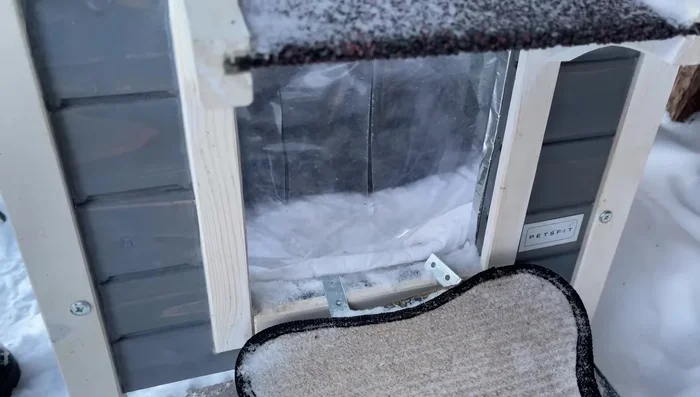
Exterior Weatherproofing Door & Gap Sealing
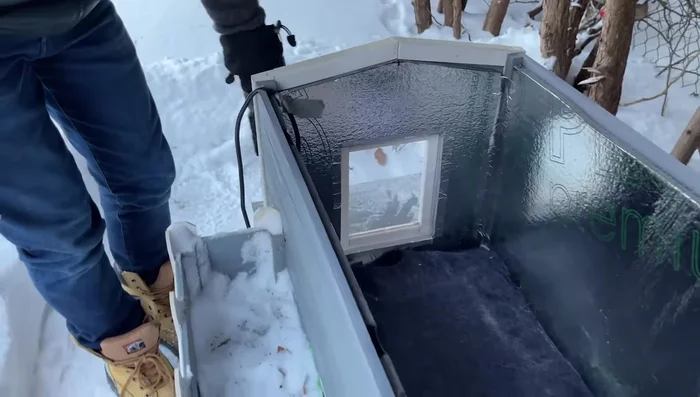
- Reinforce and seal the doors to prevent drafts.
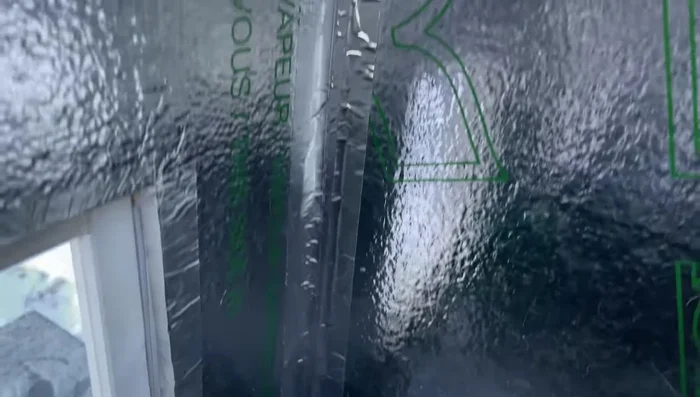
- Seal small air holes with clear tape.
- Further seal seams and corners with duct tape to create an airtight seal, preventing drafts.
- Add a clear vinyl layer as an additional door flap to reduce drafts.
Door & Gap Sealing Interior Comfort
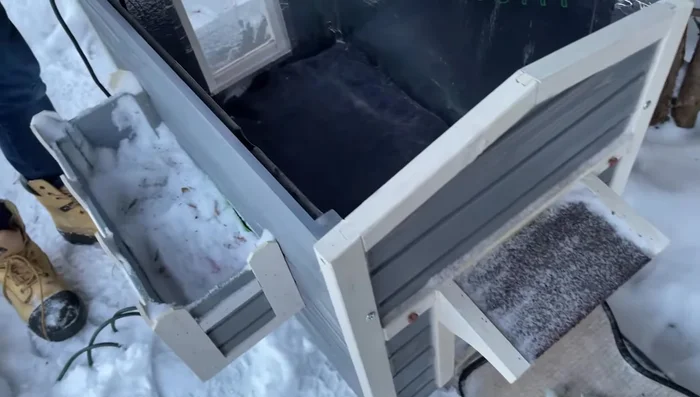
- Add padding (wool sweater and pet heating pad) for warmth and comfort.
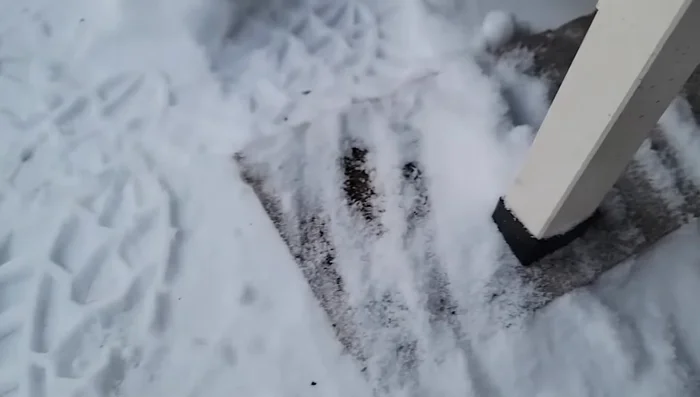
Interior Comfort Base Stabilization
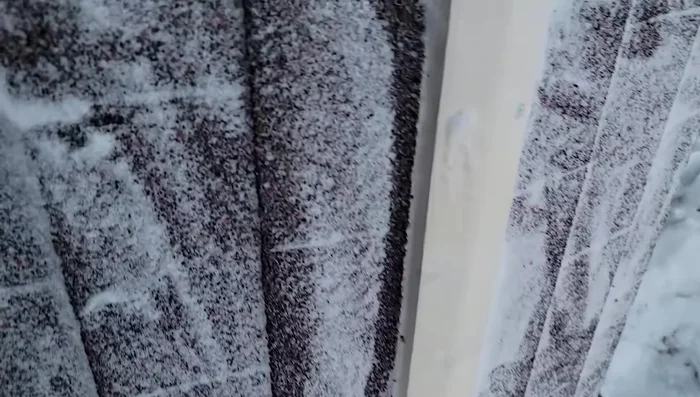
- Place concrete pavers under the legs for stability and to prevent sinking.
Base Stabilization
Read more: DIY Cuddly Cat & Dog Bed: A Super-Warm, Easy Tutorial
Tips
- Regularly check the cat house (every couple of months) for any water damage or cleanliness issues.
- Adjust the amount of coating based on your local weather conditions.
- Shovel a path to the cat house after heavy snowfall.