Spoil your furry friend without breaking the bank! This guide shows you how to effortlessly transform an old, unwanted sweater into a cozy and comfortable pet bed in minutes. Forget expensive pet store purchases – with just a few simple steps and some readily available materials, you can create a unique and snug haven for your beloved canine or feline companion. This project is perfect for beginners, requiring no advanced sewing skills or specialized tools. You'll be surprised at how quickly you can upcycle a forgotten item into a treasured piece for your pet.
Giving your pet a luxurious new bed needn't be a complex or time-consuming endeavor. This incredibly fast and easy method uses only the sweater itself, minimizing both cost and effort. Ready to get started and create the purrfect (or paw-some!) sleeping spot? Let's dive into the step-by-step instructions below.
Preparation and Safety Guidelines
- Old sweater
- 16-inch round pillow form
- 20 oz polyfill
- Sewing machine
- Walking foot (recommended)
- Needles
- All-purpose thread
- Ensure all buttons, zippers, and embellishments are removed from the sweater to prevent your pet from ingesting them or getting tangled.
- Wash and thoroughly dry the sweater before using it to create the pet bed. This removes any potential allergens, dirt, or detergents that could irritate your pet's skin.
- Closely supervise your pet with the new bed, especially initially, to make sure they don't try to eat or destroy it.
Step-by-Step Instructions
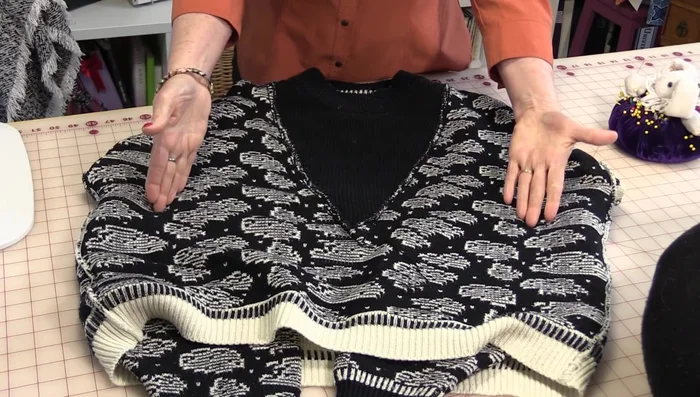
Prepare the Sweater
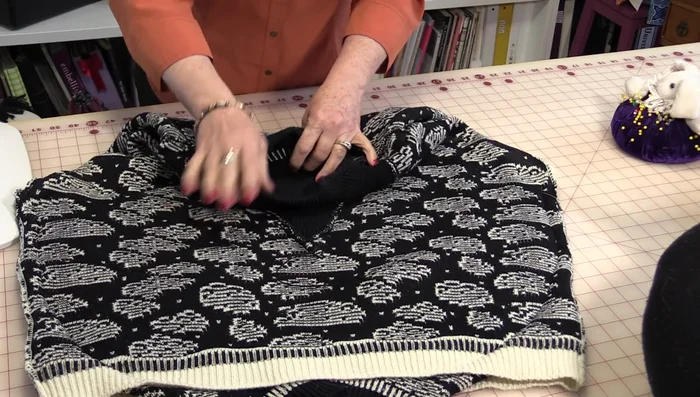
- Turn the sweater inside out. Tuck the sleeves inside, ensuring the side seams and arm seams lie flat and untwisted.
- Match up the armpit seam with the inside arm seam on both sides. Pull the seams together until they touch, ensuring all seams are flat.
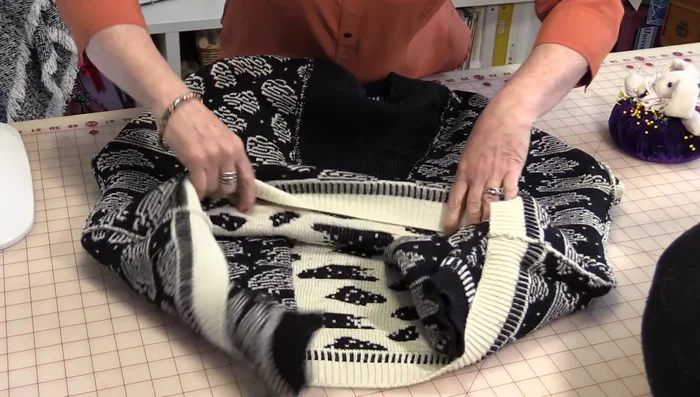
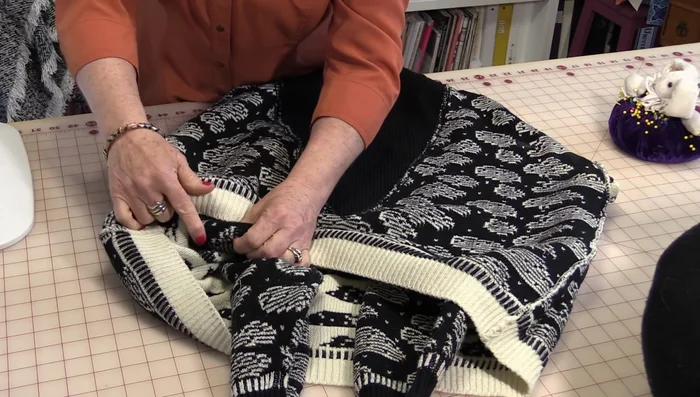
- Pull both ends of the sweater together to meet in the middle, creating a gap in the corner. Match up the bottom and sleeve seams.

Prepare the Sweater Sew the Sweater
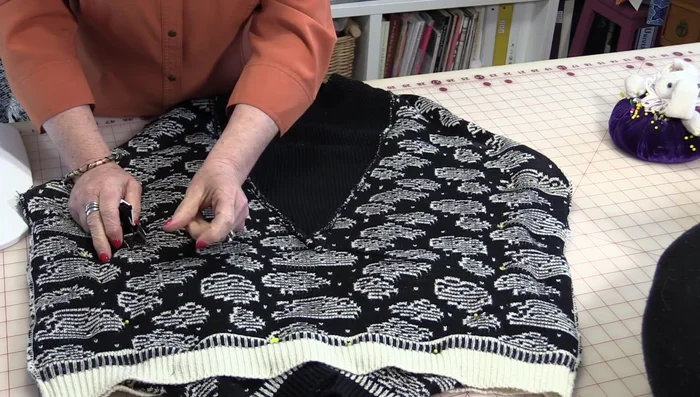
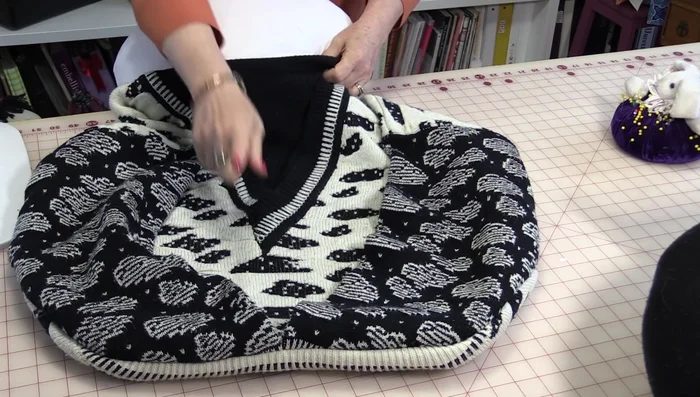
- Pin all layers together along the bottom, edges, and up to the ends.
- Using a walking foot (or hand-sewing), stitch around the pinned edges with larger stitches than usual. Sew all the way around, including the small triangular gap.
Sew the Sweater Insert Pillow and Shape
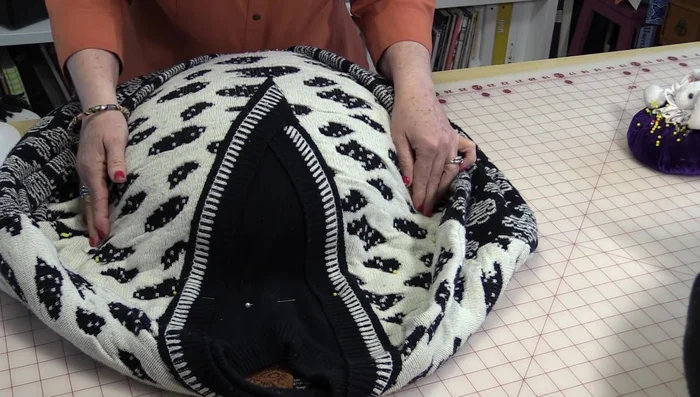
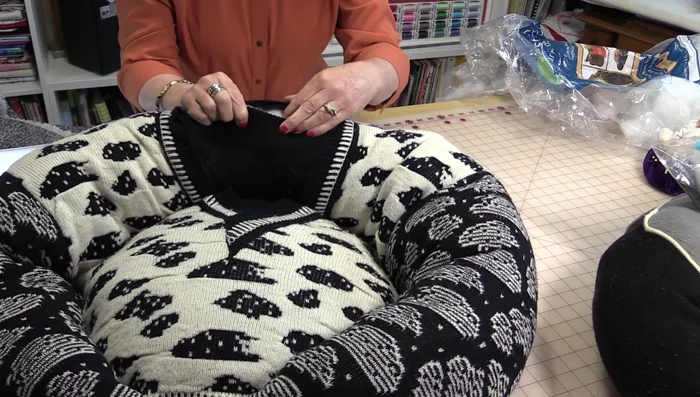
- Turn the sweater right-side out. The arms should be tucked inside, and the seam should be completely closed.
- Insert the round pillow form into the sweater through the neck opening. Smooth out the front and pin to maintain shape.
- Stitch around the pillow form, creating a half-circle shape. You can hand-sew this step if you prefer.
Insert Pillow and Shape Stuff and Close
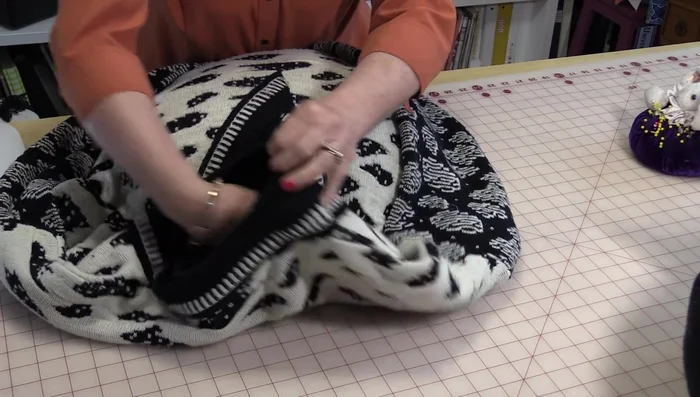
- Stuff the arms and the remaining inside of the sweater with polyfill.
- Close the remaining opening (neck area) by hand-sewing. Tuck in excess fabric for a smooth finish.
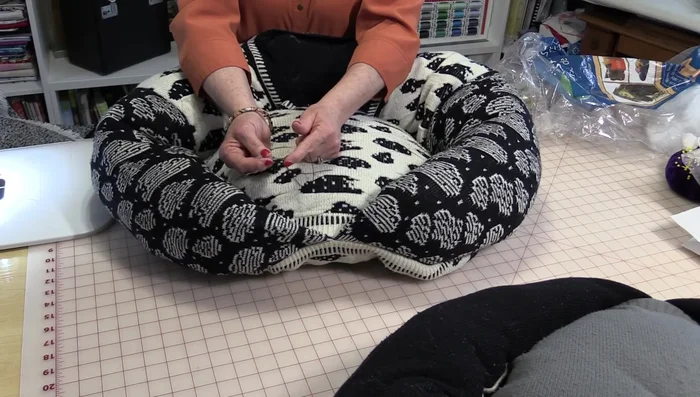
Stuff and Close Create Center Dimple
- Create a dimple in the center of the pillow by using a needle with at least four strands of thread to create a strong seam. Push the needle through the top and then back out a half-inch away. Pull tightly to create the dimple and tie off.
Create Center Dimple
Read more: DIY Cuddly Cat & Dog Bed: A Super-Warm, Easy Tutorial
Tips
- A walking foot on your sewing machine prevents fabric bunching when sewing multiple layers.
- Use larger stitches when sewing the sweater layers together.
- If uncomfortable with machine sewing multiple layers, hand-sew instead.
- Use multiple strands of thread (at least four) when creating the dimple in the pillow to prevent breakage.