Halloween's just around the corner, and what better way to celebrate than by dressing up your furry best friend? This year, skip the expensive pet stores and unleash your inner crafter with this incredibly easy DIY puppy costume tutorial! We're going to transform plain foam sheets into an adorable, and importantly, comfortable outfit for your canine companion. Forget complicated patterns and fiddly sewing; this project requires minimal skills and materials, making it perfect for even the most novice crafters. You'll be surprised how quickly you can whip up a unique and paw-some costume.
This fun foam-based design allows for maximum customization – let your imagination run wild! Whether you envision a charming ladybug, a fierce pirate, or a super-cute banana, the possibilities are endless. This tutorial provides clear, step-by-step instructions and accompanying images to guide you through the entire process, ensuring a stress-free crafting experience. Ready to get started and create a truly unforgettable costume for your beloved pup? Let's dive into the detailed instructions!
Preparation and Safety Guidelines
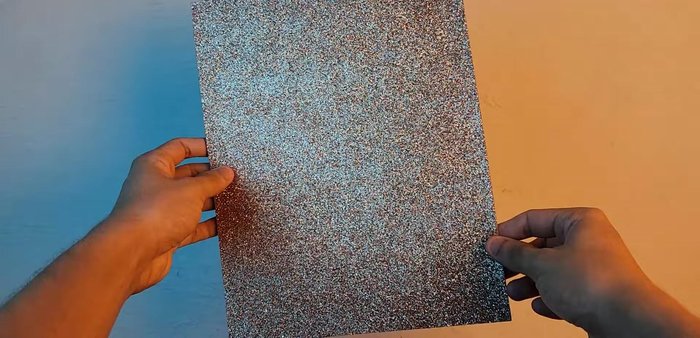
- Light brown foam (7 sheets)
- Brown foam (2 sheets)
- Black foam (1 sheet)
- White foam (1 sheet)
- Scissors
- Glue
- Adhesive tape
- Marker
- Paper templates (downloadable)
- Always supervise your puppy while wearing the costume. Remove it immediately if they show signs of distress (e.g., excessive chewing, panting, scratching).
- Ensure all foam pieces are securely attached and there are no small, detachable parts that your puppy could swallow.
- Use non-toxic, pet-safe glue and paints. Avoid using any materials that could irritate your puppy's skin.
Step-by-Step Instructions
Prepare Templates
- Download and print paper templates.
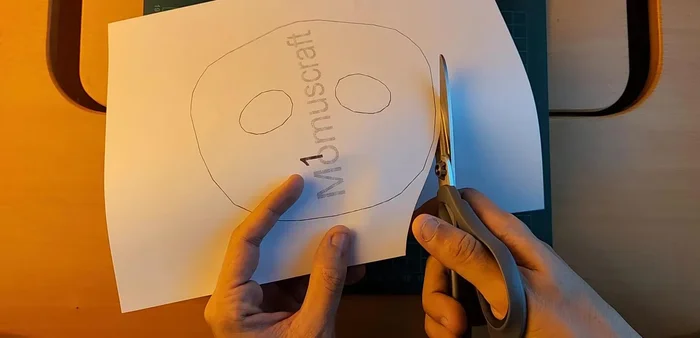
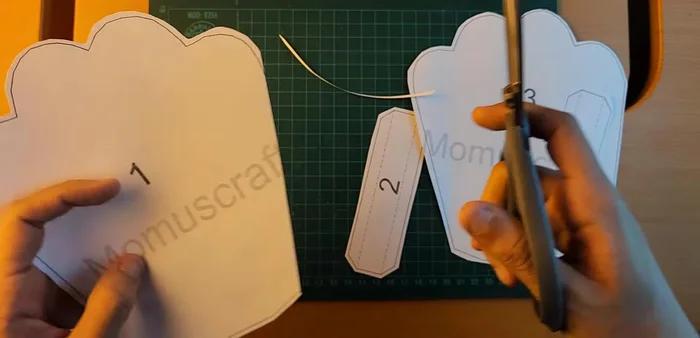
- Cut out template pieces. Don't worry about precise cutting at this stage.

Prepare Templates Create the Mask
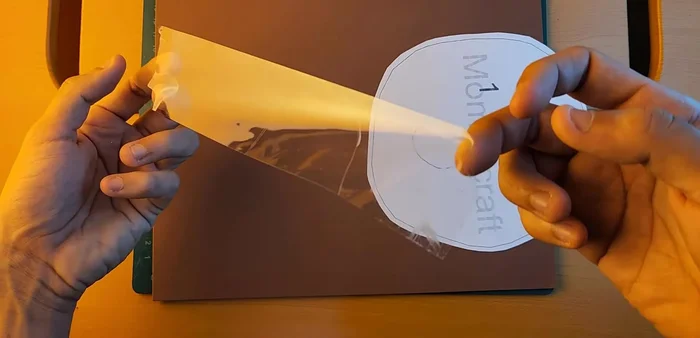
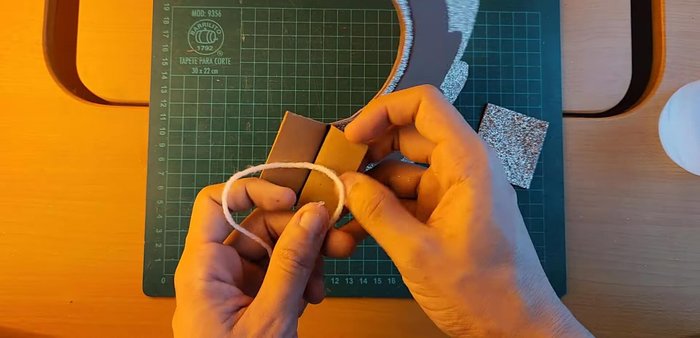
- Create mask cylinders using adhesive tape.
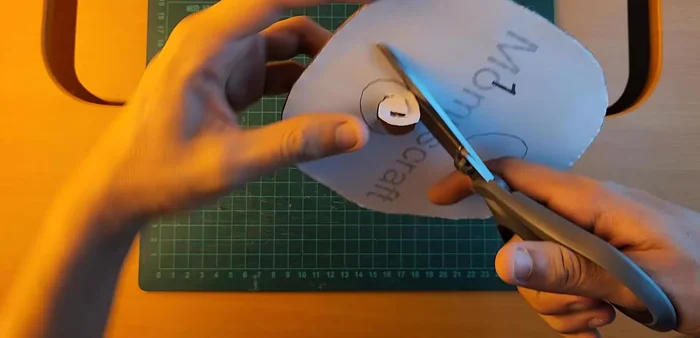
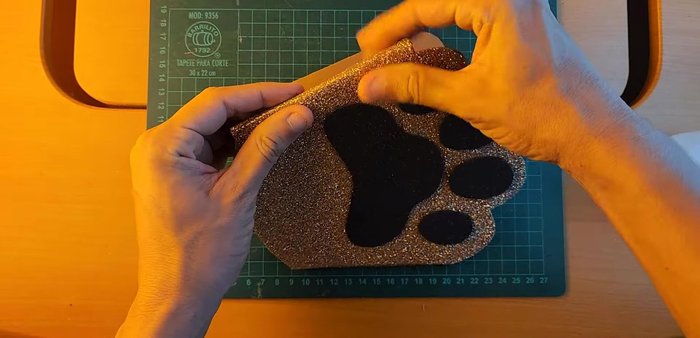
- Cut out foam pieces along template lines.
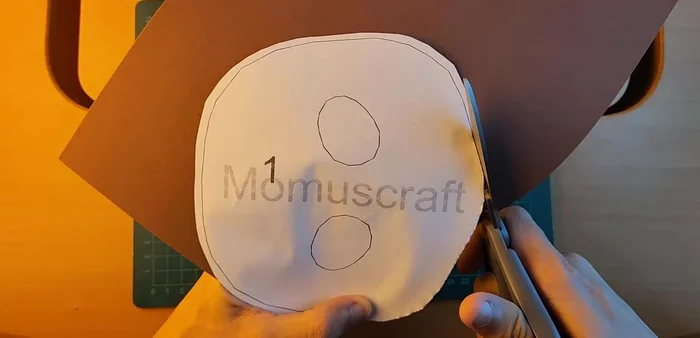
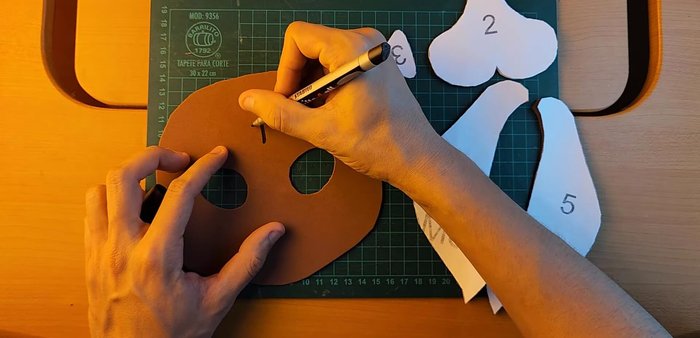
- Cut out eye circles using the tip of the scissors.
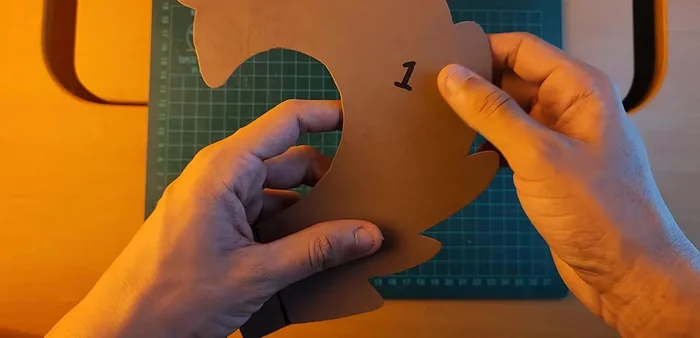
- Number each foam piece and remove the template.
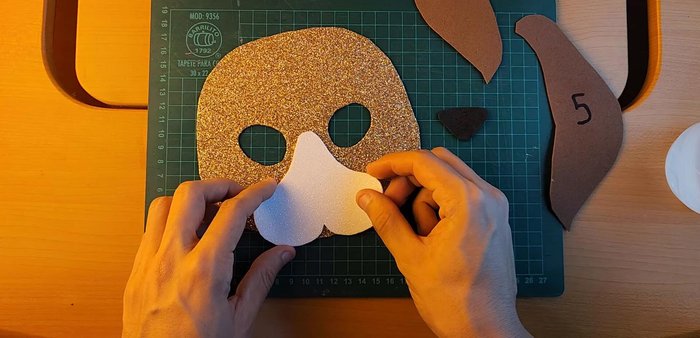
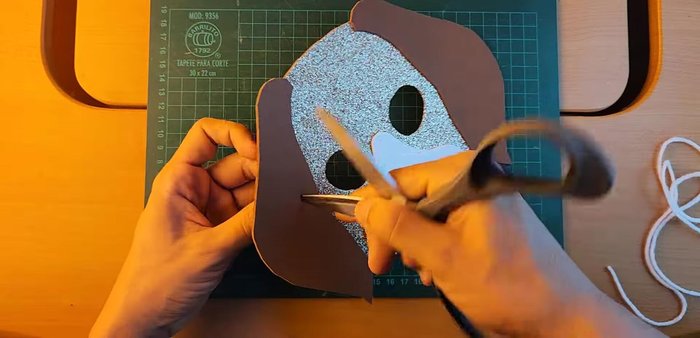
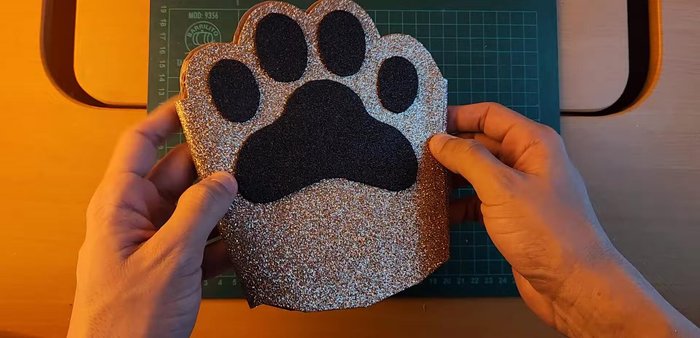
Create the Mask - Assemble the mask by gluing numbered pieces together (Piece 1,2,3,4,5).
- Create holes on both sides of mask and attach strips for wearing.
Create the Mask Create the First Glove
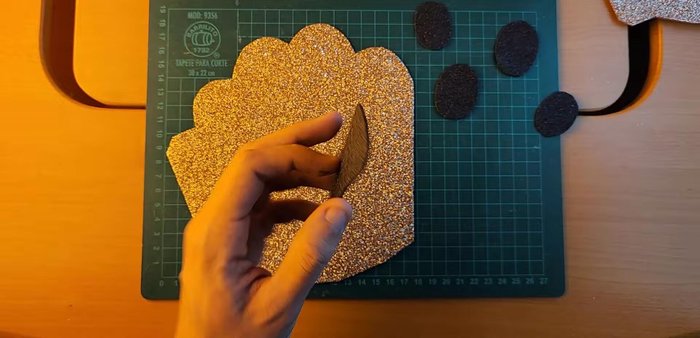
- Assemble the gloves using pieces 1,2,3,4.
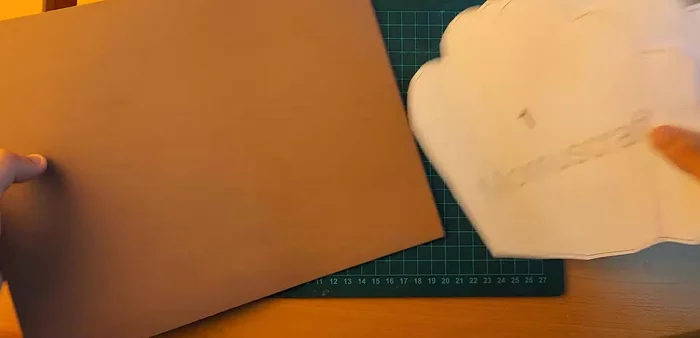
- Attach glove pieces to light brown foam and cut out.
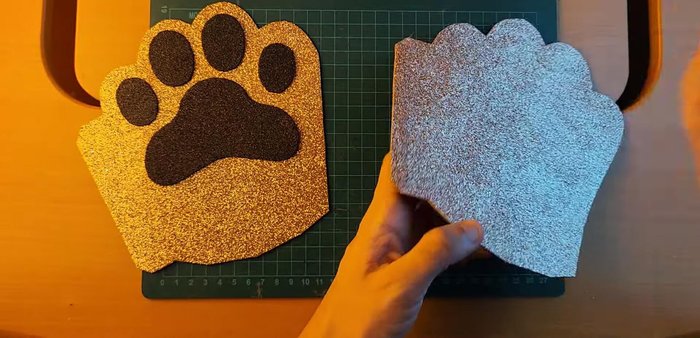
- Assemble the black foam pieces for the gloves.
- Attach remaining pieces of the gloves.
Create the First Glove - Fold and glue to finish the gloves.
Create the First Glove Create the Second Glove
- Repeat glove steps to create the second glove.
Create the Second Glove Create the Tail
- Assemble the tail using numbered pieces 1,2,3,4,5.
- Attach the tail to the waist strip.
Create the Tail
Read more: DIY Dog Sweater: Cozy Knit Creations for Your Pup
Tips
- Colored templates can be printed directly onto cardstock if foam isn't readily available.
- Let the glue dry thoroughly, especially for the tail attachment.