Spoil your furry friend with a cozy and stylish new bed without breaking the bank! This tutorial guides you through creating a reversible pet bed complete with a snuggly pillow, all using affordable materials and simple techniques. Perfect for beginner sewers or those looking for a quick and satisfying DIY project, this bed offers the added bonus of easy cleaning – simply flip it over for a fresh side! Forget expensive store-bought options that lack personality and often fall short on comfort.
Creating a custom pet bed allows you to choose the perfect fabrics and sizes to suit your pet's unique needs and your home's décor. Whether you're looking for a playful pattern or a calming solid color, the possibilities are endless. Ready to get started and create the ultimate sleeping haven for your beloved companion? Let's dive into the step-by-step instructions below!
Preparation and Safety Guidelines
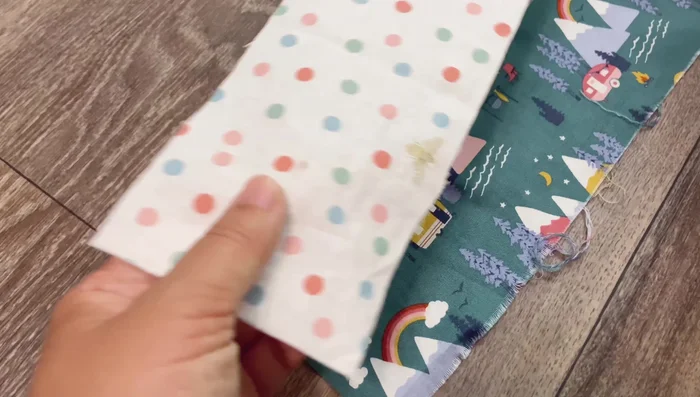
- Fabric (1 yard of 2 different designs)
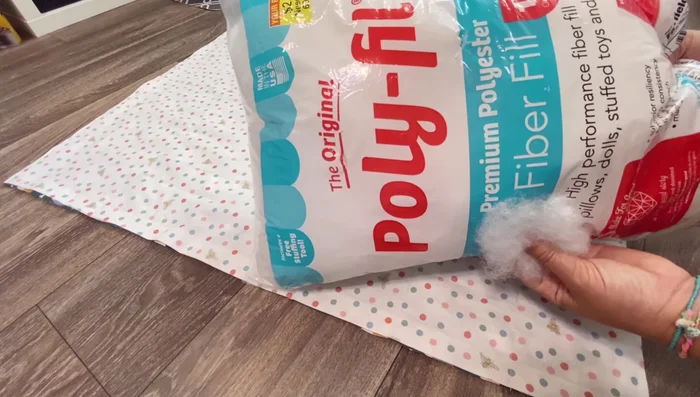
- Poly fiberfill (1-2 bags depending on pet size)
- Ruler
- Iron
- Sewing machine
- Fabric marking pencil
- Pins
- Always supervise your pet while they are using the pet bed. Remove the bed if it becomes damaged or shows signs of wear that could pose a choking or ingestion hazard.
- Choose fabrics and filling materials that are non-toxic and safe for pets. Avoid using materials that could shed excessively or cause allergies.
- Ensure all seams are securely stitched to prevent your pet from accessing and ingesting filling materials.
Step-by-Step Instructions
Prepare Fabrics
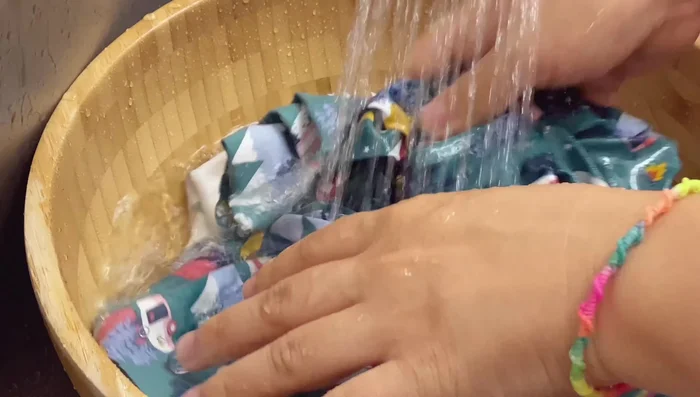
- Pre-wash and iron fabrics.
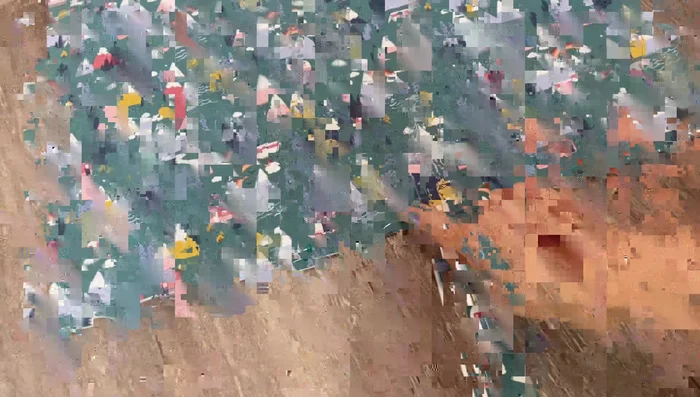
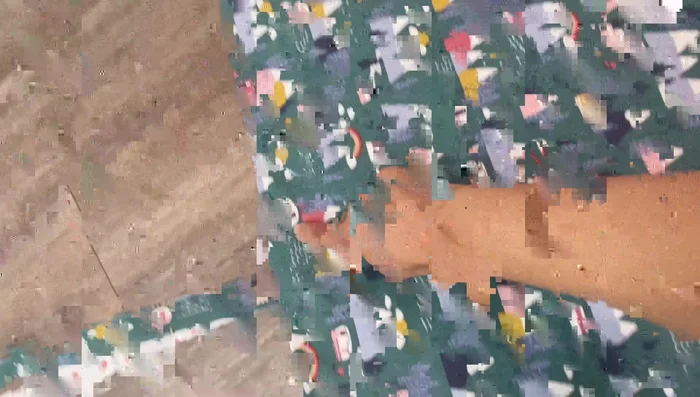
- Cut fabrics to desired size (e.g., 25 inches by 38 inches).
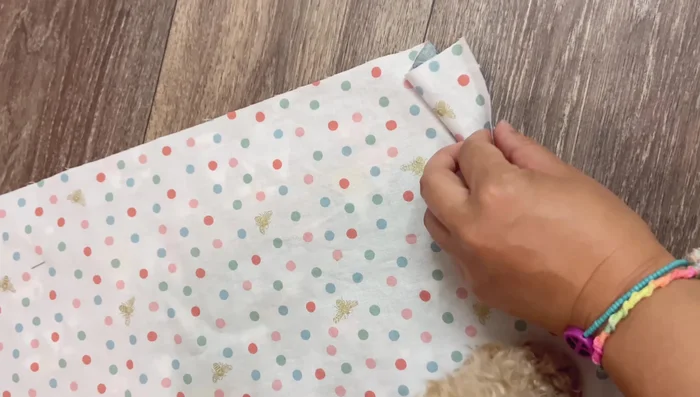
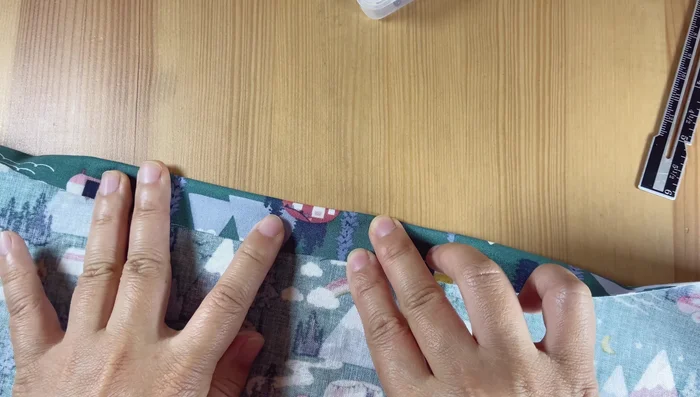
- Fold and iron 1-inch hems on all four sides of both fabrics.
- Cut 3.5 inches wide by 25 inches long strips, fold, iron, and sew.

Prepare Fabrics Assemble the Cover
- Place ribbons between the two fabrics, aligning the middle of the ribbons with the middle of the fabric.
- Sew three sides of the fabric together, leaving one longer side open for stuffing.
Assemble the Cover Create Pillow and Bedding Sections
- Mark lines for pillow and bedding sections on one side of the fabric using a fabric marking pencil.
- Sew horizontal lines to create pillow and bedding sections.
Create Pillow and Bedding Sections Stuff and Finish
- Stuff the bedding section lightly and the pillow section firmly with poly fiberfill.
- Close the opening left for stuffing by sewing the edge.
- Sew the vertical lines on the pillow section, pressing flat to prevent bunching.
Stuff and Finish

Read more: DIY Glamorous Pet Beds from Upcycled Furniture: A Step-by-Step Guide
Tips
- Pre-washing fabrics prevents shrinkage and removes chemicals.
- Adjust fabric size based on your pet's size.
- Don't overstuff the bedding section; light padding is sufficient.
- Stuff the pillow section firmly for a full, comfortable pillow.