Give your furry friend the gift of ultimate comfort with this easy DIY pet bed tutorial! Tired of expensive pet beds that don't quite live up to the hype? We're about to show you how to create a cozy, durable, and surprisingly stylish bed using materials you likely already have – or can easily find at a thrift store. This upcycled project repurposes old jeans and soft fleece to craft a snug haven your pet will adore, saving you money and reducing textile waste. The result is a unique, personalized bed that reflects your creativity and your pet's individual style, all while being kind to the environment.
Forget complicated patterns and expensive supplies; this project is incredibly straightforward and perfect for beginner crafters. Using only basic sewing skills, you'll transform discarded denim and leftover fleece into a comfy, washable pet haven in just a few simple steps. Ready to get started on creating the perfect sleeping spot for your beloved companion? Let's dive into the step-by-step instructions!
Preparation and Safety Guidelines
- Old jeans or other fabric
- Sherpa fabric
- Polyfill stuffing or fleece scraps
- Sewing machine
- Scissors
- Basic sewing supplies
- Ensure all buttons, zippers, rivets, and other hardware are securely removed from the jeans before cutting and sewing to prevent pet injury.
- Avoid using strong chemicals or harsh detergents when washing the jeans and fleece. Opt for pet-safe, gentle cleaning products to prevent skin irritation.
- Thoroughly inspect the finished pet bed for loose threads or potential choking hazards before allowing your pet to use it.
Step-by-Step Instructions
Prepare the Jeans
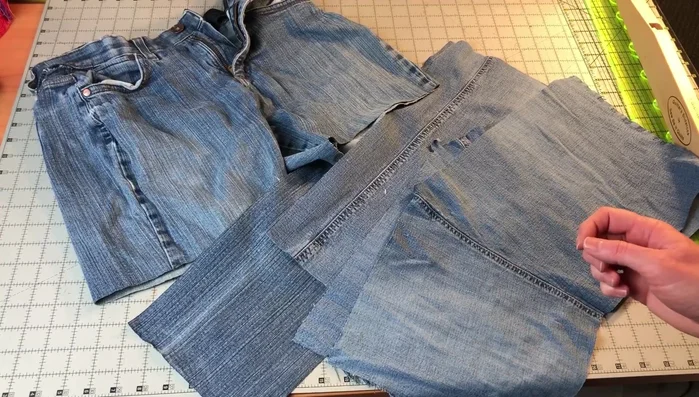
- Cut off the legs, turn them inside out, and cut off the seam on one side to flatten. Sew together two jean legs along the long edge to create a rectangular fabric piece.

Prepare the Jeans Cut Fabric to Size
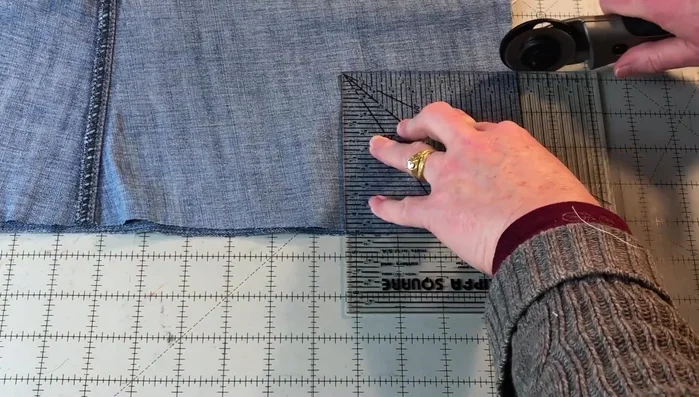
- Cut the jeans and sherpa fabric to the desired size. For a 12in x 16in finished bed, add 10in to both measurements (22in x 26in).
Cut Fabric to Size Create Box Corners
- Cut 4 1/2 inch squares from each corner of both fabrics. Sew these squares to create box corners, resulting in 5in high sides.
Create Box Corners Sew Main Pieces Together
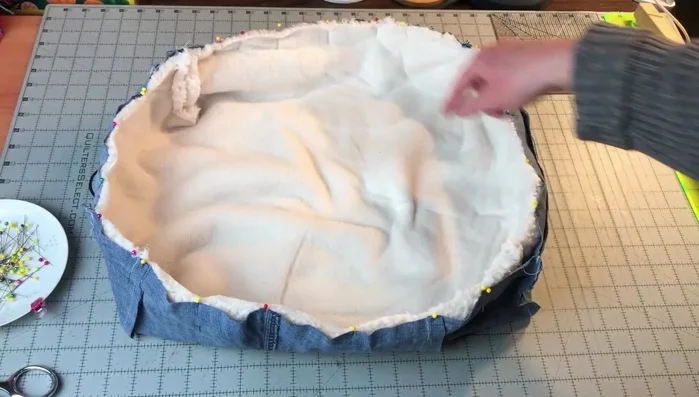
- Place the jeans and sherpa fabrics right sides together, matching corners. Pin all around, leaving two 4in openings on opposite corners. Sew a 1/2in seam allowance.
Sew Main Pieces Together Turn Right Side Out
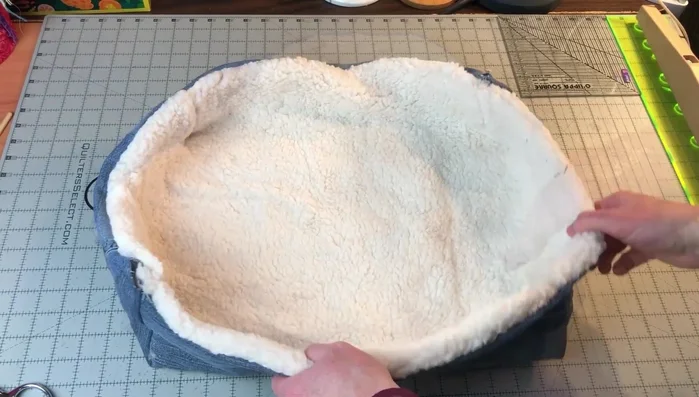
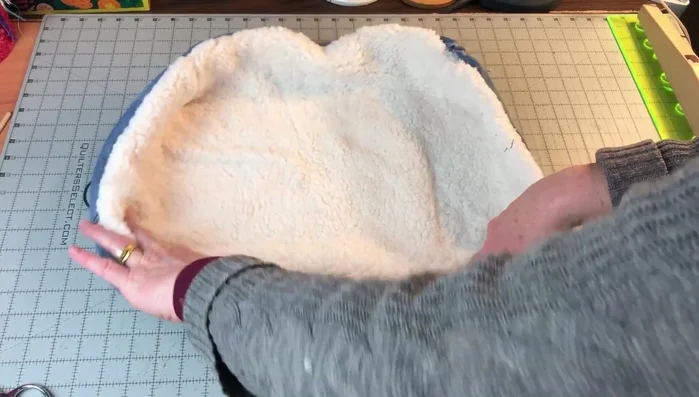
- Turn the bed right side out through one of the openings. Push out the corners to shape the bed.
Turn Right Side Out Sew Side Seams (Optional)
- Measure 5in from each side and sew a line between the two corners. Leave a 2in gap on each side of the corner to allow for stuffing.
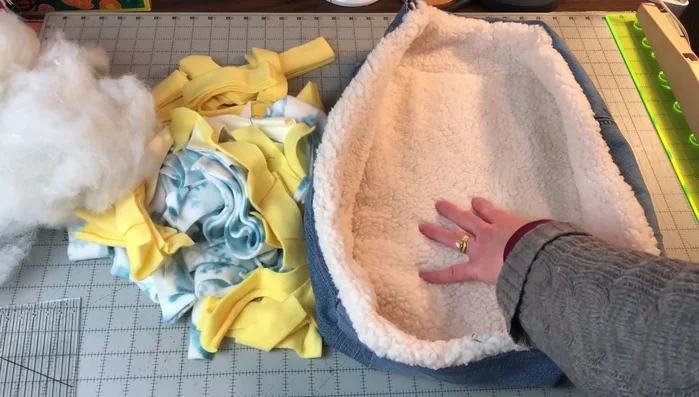
Sew Side Seams (Optional) Stuff the Bed
- Stuff the bed with fleece scraps or polyfill stuffing, starting with the center and then filling the sides. Use both openings to stuff the bed evenly.
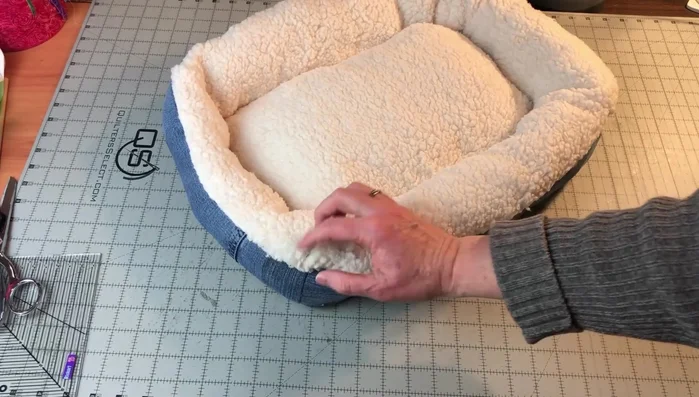
Stuff the Bed Close Openings
- Sew the openings closed using a ladder stitch.
Close Openings

Read more: DIY Cuddly Cat & Dog Bed: A Super-Warm, Easy Tutorial
Tips
- Use a 1/2 inch seam allowance when sewing the jeans together.
- Leaving two openings for stuffing makes the process easier.
- Use a combination of fleece scraps and polyfill for a softer, more comfortable pet bed.