Is your furry friend shivering through those chilly autumn evenings? A handmade dog coat offers not only warmth but also a touch of personalized style, and it's surprisingly easy to create! Forget expensive pet store options; with a little fabric, some basic sewing skills, and this guide, you can craft a cozy and comfortable coat tailored perfectly to your canine companion's unique measurements and personality. Imagine the satisfaction of seeing your dog snuggled up in a coat you made yourself, knowing you've provided them with both comfort and a dash of handmade charm.
This step-by-step guide will walk you through the entire process, from taking accurate measurements of your dog to the final stitching, ensuring even novice sewers can create a beautiful and functional dog coat. Let's get started on creating the perfect, personalized winter wear for your beloved pet!
Preparation and Safety Guidelines
- Fabric (corduroy, canvas, or similar for outer; cotton drill for lining)
- Interfacing
- Wadding (quilting batting)
- Velcro
- Ruler
- Pins
- Sewing machine
- Scissors
- Always supervise your dog while wearing the coat, especially during initial wear. Ensure it's a comfortable fit and doesn't restrict movement or breathing.
- Use strong, durable fabric and thread appropriate for the intended use. Avoid materials that might irritate your dog's skin.
- Check the coat regularly for any wear and tear, and replace or repair damaged areas promptly to prevent injury.
Step-by-Step Instructions
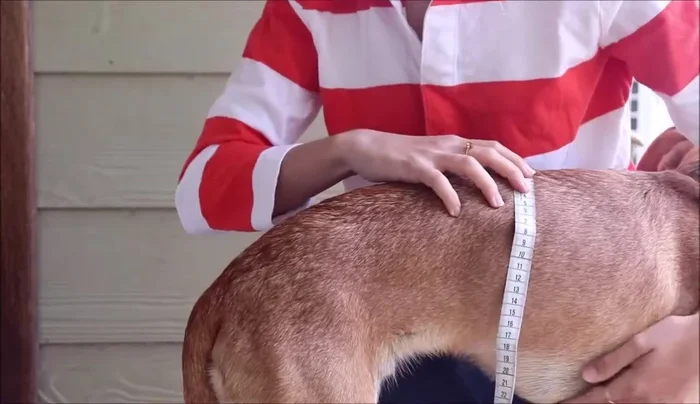
Measure Your Dog
- Back length (nape of neck to before tail), half-width (center back to underbelly), underbelly length (one side around to the other), neck-to-chest length (nape to halfway chest), chest width (add 3-4 cm/1-1.5 inches for overlap).

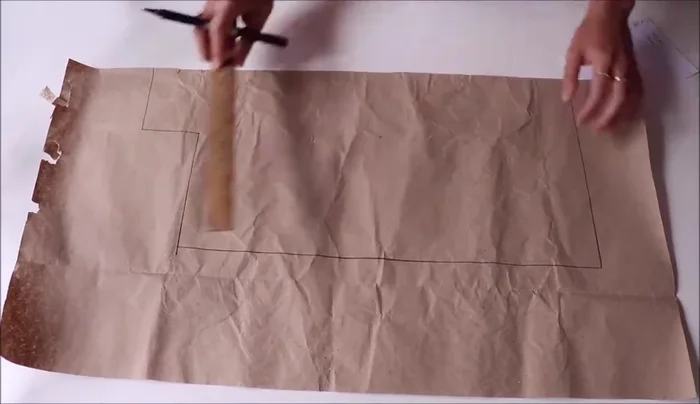
Measure Your Dog Draft the Pattern
- Transfer measurements onto paper, shaping the neckline and back curve. Add 1.5 cm seam allowance (except bottom edge and chest straps). Mark the fold lines.
Draft the Pattern Cut Fabric Pieces
- Fold fabric to fit pattern, pin and cut. Cut two separate underbelly straps. Repeat for lining and interfacing.
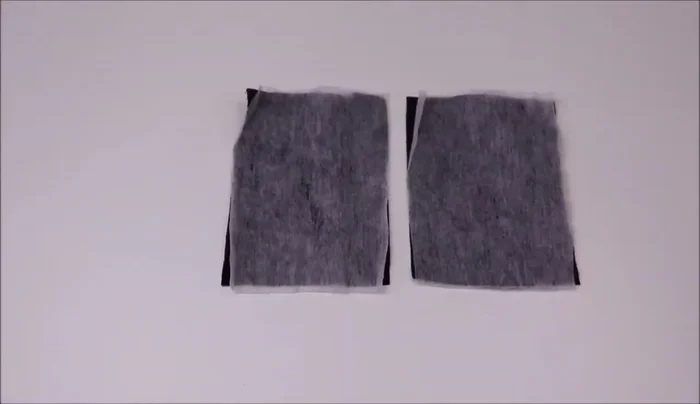
Cut Fabric Pieces Fuse Interfacing
- Use an iron to attach the interfacing to the wrong side of the lining fabric.
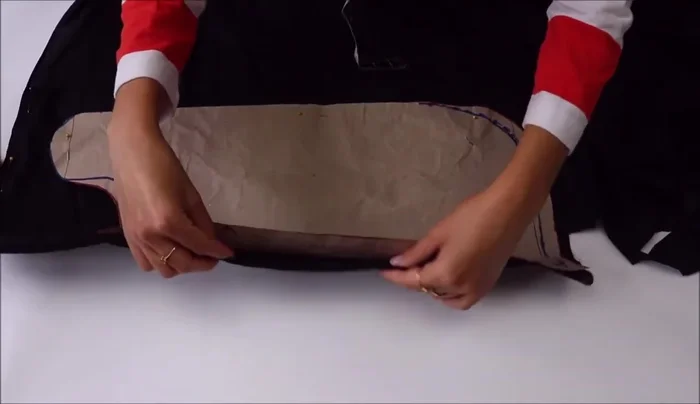
Fuse Interfacing Create Outer Layer
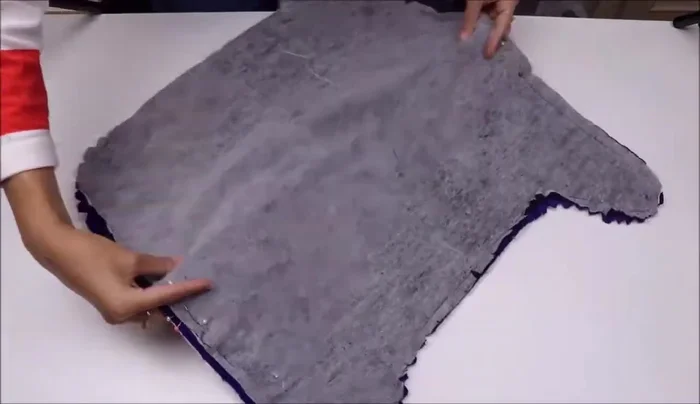
- Layer outer fabric (right side up), lining (right side up), and wadding (on top of lining). Sew three sides, leaving the top edge open. Clip corners.
Create Outer Layer Attach Velcro to Straps
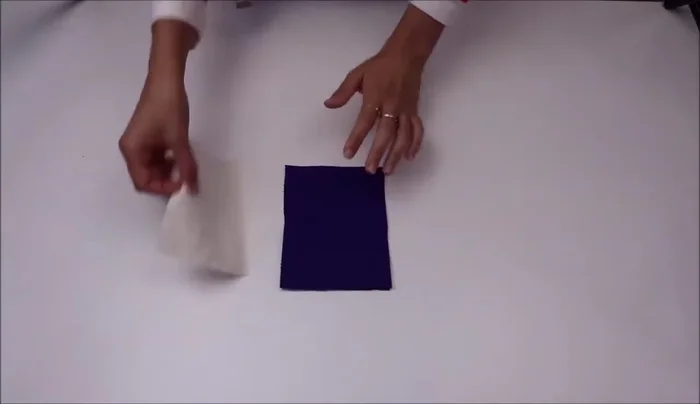
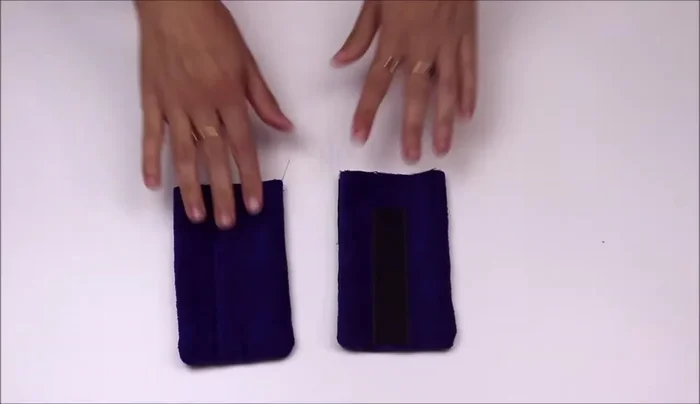
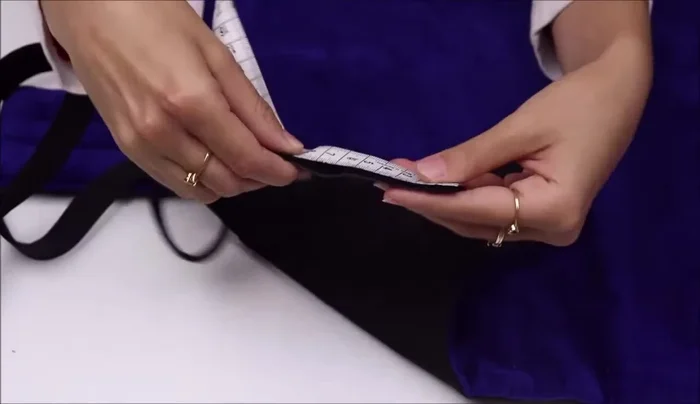
- Measure and cut Velcro (2.5 cm shorter than strap). Center and pin Velcro to straps (soft side to lining, rough side to outer). Sew securely.
Top Stitch Straps
- Sew around three edges of the straps for a professional finish.
Top Stitch Straps Assemble Coat Body
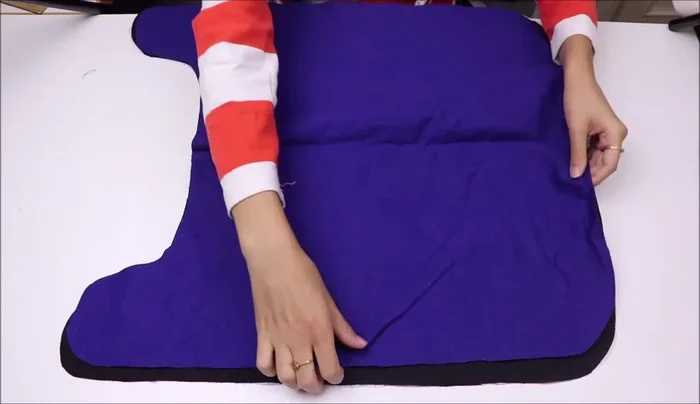
- Layer outer fabric (right side up), lining (right side up), and wadding (on top of lining). Sew around, leaving an 8cm gap for turning.
Assemble Coat Body Sew in Straps
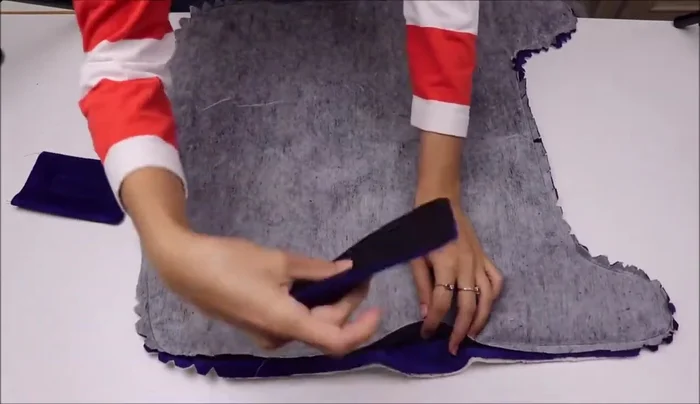
- Pin straps to coat body (outer strap to outer fabric). Sew the straps into place.
Sew in Straps Turn Right Side Out
- Turn the coat right side out through the gap, using tools to push out corners. Press seams.
Turn Right Side Out Attach Chest Strap Velcro
- Measure and attach Velcro to chest straps using the same method as before.
Attach Chest Strap Velcro Close the Gap and Finish
- Topstitch around the entire coat, including the gap, for a finished look.
Close the Gap and Finish

Read more: DIY Dog Sweater: Cozy Knit Creations for Your Pup
Tips
- Use natural fabrics, especially for the lining.
- Add seam allowance to all edges except the bottom of the main body and underbelly strap.
- Try the coat on your dog to check placement before sewing in the straps.
- Ensure the outer fabric of the straps faces down onto the outer fabric of the jacket.
- Use a top stitch around all edges for a clean finish.