Is your furry friend feeling a little chilly? Or perhaps you simply want to add a touch of adorable style to their wardrobe? Then look no further! This ultimate guide will walk you through the process of sewing a cozy and custom-made hoodie for your beloved canine companion. We'll cover everything from choosing the right fabric and taking accurate measurements to mastering the essential sewing techniques needed to create a perfect fit. Forget overpriced pet stores – you'll be surprised at how easy and rewarding it is to craft a unique garment your dog will love.
This guide offers not just one, but two distinct finishing techniques for your doggie hoodie, allowing you to choose the method that best suits your skill level and desired aesthetic. Ready to get started on this fun and practical project? Let's dive into the step-by-step instructions and begin creating the ultimate canine comfort!
Preparation and Safety Guidelines
- Sweatshirt (fleece or similar fabric)
- Stick pins
- Scissors
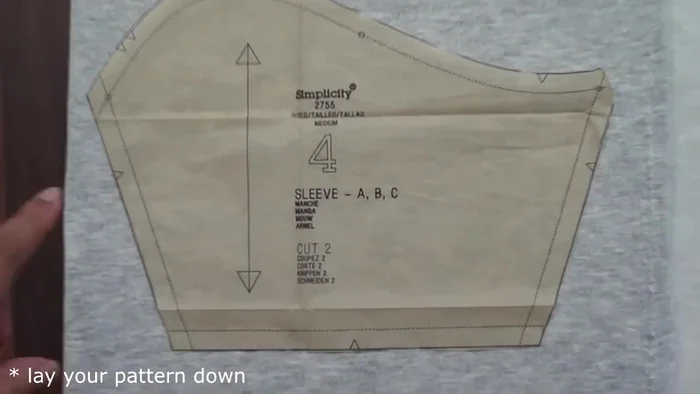
- Simplicity 2755 pattern
- Matching thread
- Always supervise your dog while wearing the hoodie to prevent chewing or entanglement.
- Ensure the hoodie fits comfortably and allows for full range of movement. Avoid tight closures that could restrict breathing or circulation.
- Use only pet-safe fabrics and avoid any embellishments that could be ingested by your dog.
Step-by-Step Instructions
Fabric Preparation and Cutting
- Lay out your fabric using the pattern's guidelines, ensuring the grain line runs vertically.
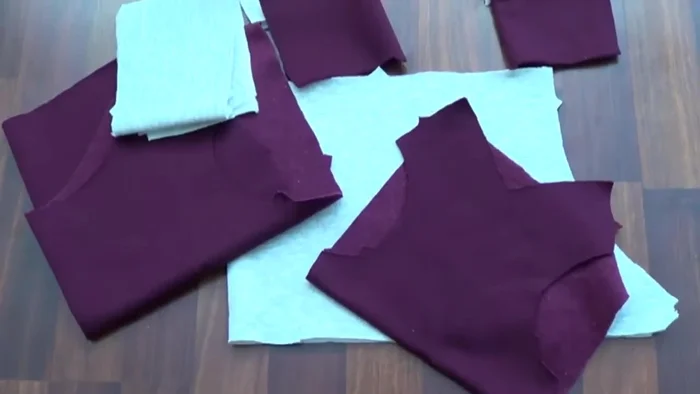
- Cut out the pattern pieces. Consider color blocking for a unique look.

Fabric Preparation and Cutting Front and Shoulder Seams
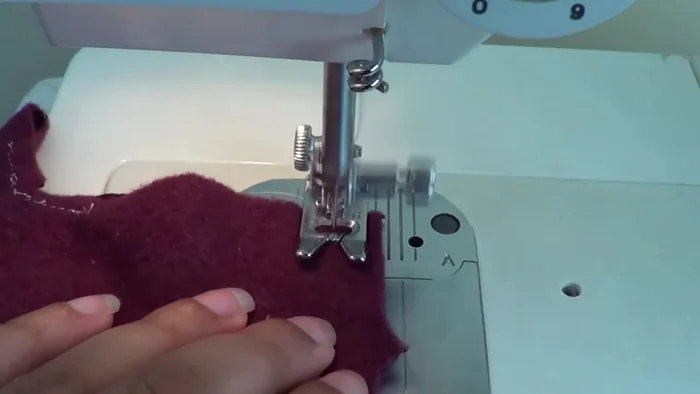
- Sew a V-stitch at the center front and clip the seam allowance to reduce bulk.
- Sew up the shoulder seams using a ½ inch seam allowance.
Front and Shoulder Seams Attaching the Sleeves (Method 1)
- Attach the cuffs to the sleeves, stretching the cuff slightly to ensure a snug fit.
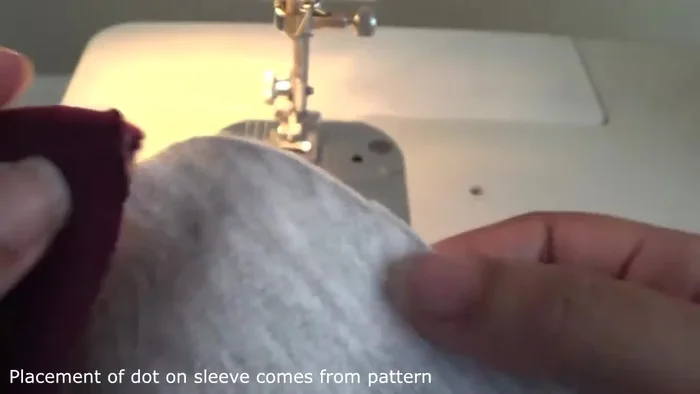
- Mark the sleeve where it meets the shoulder seam.
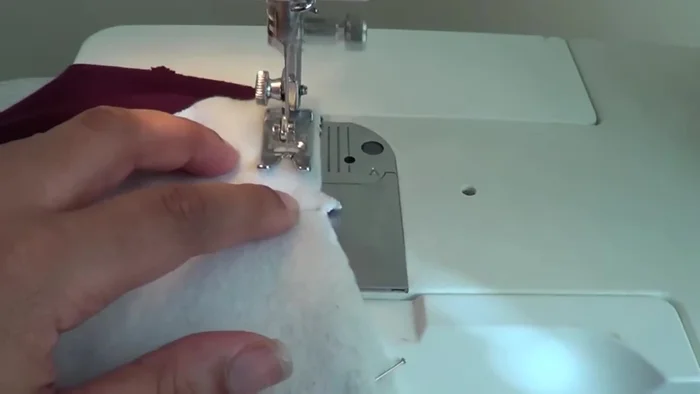
- Attach the sleeve to the shoulder, easing in the fabric to avoid gathers. Consider using gathering stitches if needed.
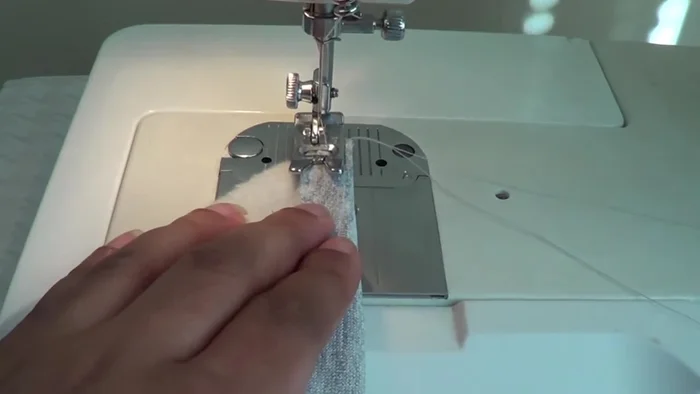
- Split the seam open and sew over it to reduce bulk.
Attaching the Sleeves (Method 1) Attaching the Hood
- Attach the hood pieces, matching notches and ensuring right sides are together.
- Sew up the back of the hood and then attach it to the neckline of the jacket, matching notches.
Attaching the Hood Side and Bottom Seams (Method 1)
- Sew up the side seams of the jacket, matching notches and seams.
- Attach the bottom band, stretching it to fit, and matching notches.
Side and Bottom Seams (Method 1) Attaching the Sleeves (Method 2)
- Attach the cuffs to the sleeves, stretching the cuff slightly to ensure a snug fit.
Attaching the Sleeves (Method 2) Side and Bottom Seams (Method 2)
- Sew up the side seams of the jacket, matching notches and seams.
- Attach the bottom band, stretching it to fit, and matching notches.
Side and Bottom Seams (Method 2)


Read more: DIY Dog Sweater: Cozy Knit Creations for Your Pup
Tips
- Use color blocking to personalize your doggie hoodie.
- Clipping the seam allowance after sewing the center front V-stitch prevents gathers.
- Gradually stretch the cuffs while sewing to avoid overstretching and ensure a good fit.
- Ease in the sleeve fabric gradually when attaching it to the shoulder to prevent gathers.
- Split and sew over the sleeve seam to reduce bulk and create a cleaner finish.