Embrace the salty air and the charm of the coast without breaking the bank! Creating stunning nautical-themed décor doesn't require a fortune; in fact, your local Dollar Tree is a treasure trove of affordable crafting supplies just waiting to be transformed. From repurposed mason jars into charming coastal lanterns to cleverly crafted seashell wind chimes, the possibilities are as limitless as the ocean itself. Imagine effortlessly crafting beautiful, beachy accents for your home, all while staying true to your budget. Think rustic wooden boxes adorned with seashells and twine, cleverly painted anchors adding a touch of nautical elegance, or even driftwood picture frames that exude a relaxed coastal vibe.
This article will guide you through a series of simple yet impressive DIY projects, all using affordable finds from the Dollar Tree. Get ready to dive into a world of creative inspiration as we unveil step-by-step instructions for crafting your own beautiful nautical decorations. Prepare to be amazed at what you can achieve with a little ingenuity and a whole lot of Dollar Store charm!
Preparation and Safety Guidelines
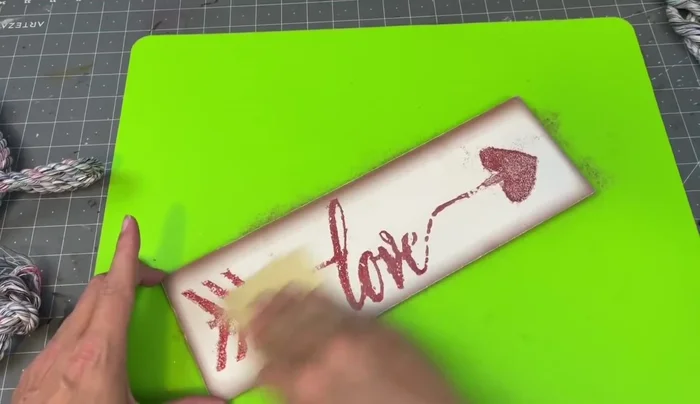
- Dollar Tree signs
- Dollar Tree dog toys
- Screwdriver
- Scissors
- Sandpaper
- Hot glue gun
- Hot glue sticks
- Nautical rope
- White wooden beads
- Cocktail umbrellas
- Styrofoam wreath form
- Nautical blue chalk paint
- Mod Podge
- Purple sand
- Pool letters
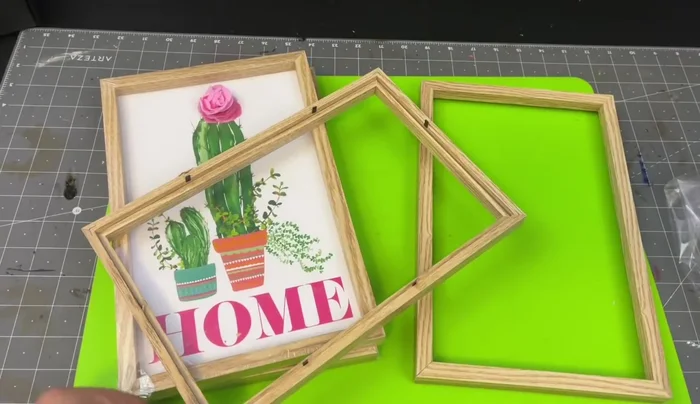
- Picture frames
- E6000 glue
- Shells
- Pearls
- Fishing net
- Always supervise children during crafting activities, especially when using small items like beads or shells that could pose a choking hazard.
- Ensure adequate ventilation when using paints, glues, or other crafting materials with strong fumes. Work in a well-ventilated area or wear a respirator if necessary.
- Thoroughly wash your hands after handling crafting supplies to prevent accidental ingestion of potentially harmful substances.
Step-by-Step Instructions
Prepare Materials
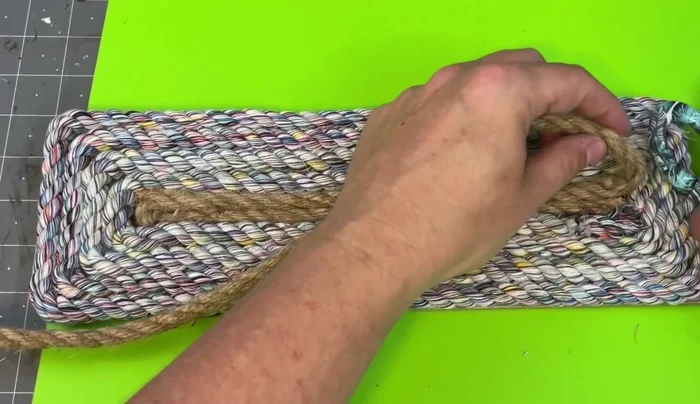
- Untie and separate the rope from two Dollar Tree dog toys. Use a screwdriver if the knots are tight.
- Sand off any glitter from a Dollar Tree sign.
- Disassemble Dollar Tree picture frames and remove the black tabs.

Prepare Materials Create Rope-Wrapped Sign
- Apply hot glue between the rope strands of the dog toy rope, then attach the rope to the Dollar Tree sign, working your way around the edges.
Create Rope-Wrapped Sign Decorate the Tray
- Add a layer of nautical rope to the center of the tray.
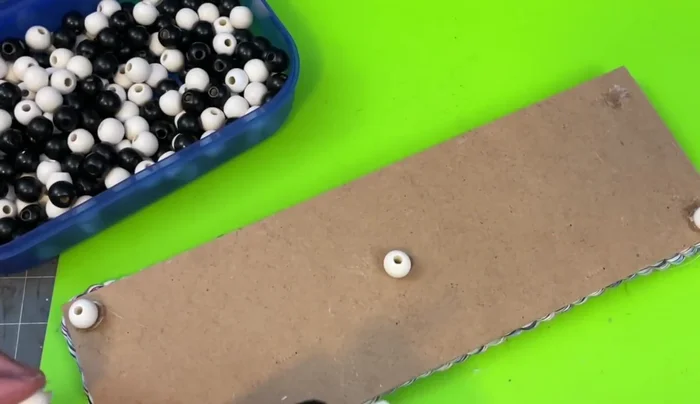
- Glue white wooden beads to the bottom of the tray.
Decorate the Tray Create Nautical Wreath
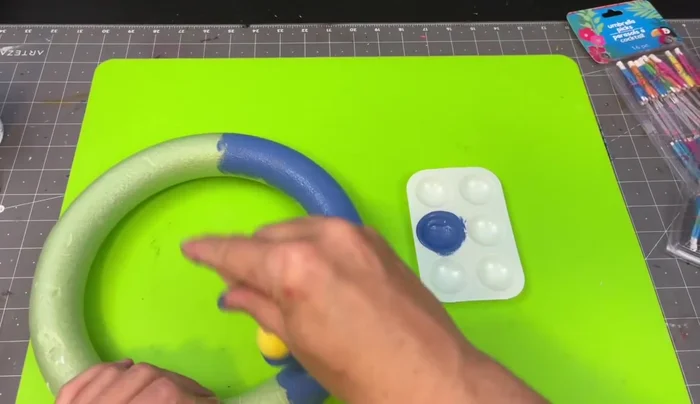
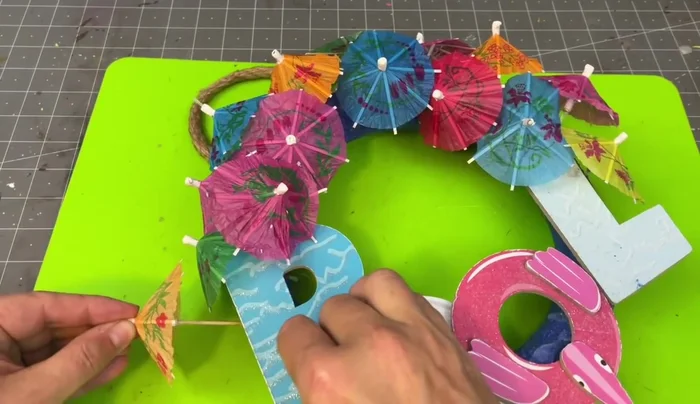
- Paint a styrofoam wreath form with nautical blue chalk paint.
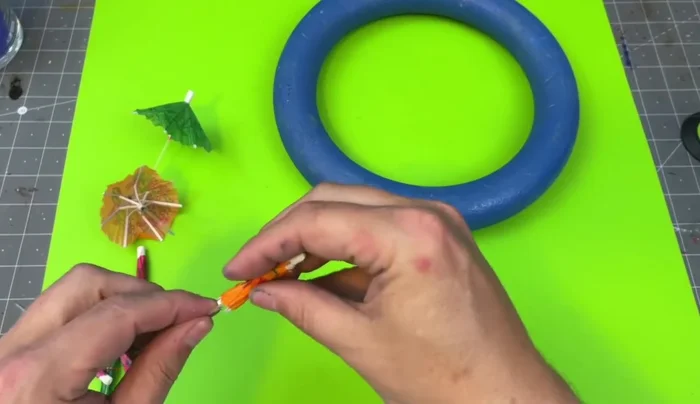
- Pop open cocktail umbrellas and use hot glue to keep them open.
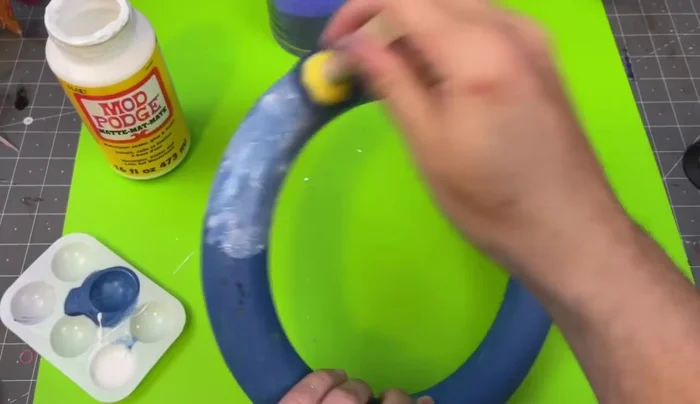
- Apply Mod Podge to the wreath form and sprinkle purple sand over it, letting it dry completely.
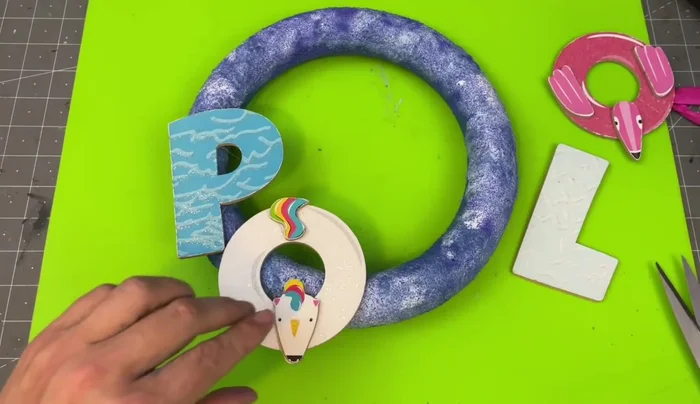
- Glue the pool letters to the wreath form.
Create Nautical Wreath - Add the cocktail umbrellas to the sand-covered wreath form.
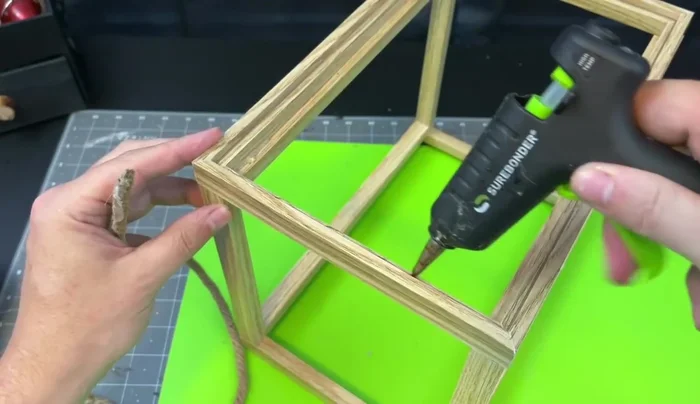
Create Nautical Wreath Assemble the Lantern
- Use E6000 glue to assemble the frames into a lantern shape.
- Add nautical rope to the edges of the lantern using hot glue.
Assemble the Lantern Finish the Lantern
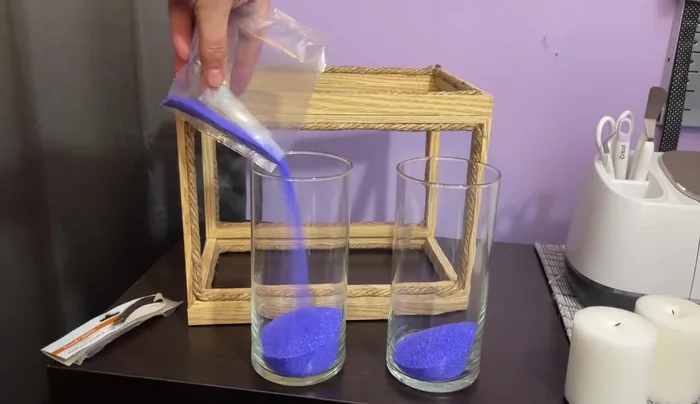
- Fill glass cylinders with purple sand and place pillar candles inside.
- Decorate the lantern with shells, pearls, and fishing net.
Finish the Lantern


Read more: DIY Dog Sweater: Cozy Knit Creations for Your Pup
Tips
- Use a screwdriver to loosen tight knots on the dog toys.
- Apply hot glue between the rope pieces to prevent unraveling.
- Use a heavier styrofoam wreath for better paint and glue adhesion.
- Use hot glue to help hold the cocktail umbrellas open.
- Use Mod Podge to seal the sand on the wreath form.