Transform your living space into a cozy haven with this delightful DIY faux fur pop pillow tutorial! There's nothing quite like sinking into a plush, comforting pillow after a long day, and creating one yourself is surprisingly simple and rewarding. This project allows you to personalize your décor with a touch of luxurious texture and vibrant color, perfectly complementing any room's aesthetic. Forget expensive store-bought options – you can achieve the same sumptuous feel at a fraction of the cost using readily available materials. The satisfying process of crafting this pillow is as enjoyable as the end result.
This easy-to-follow tutorial will guide you through each step, from selecting your favorite faux fur fabric to the final stitching. Get ready to unleash your creativity and add a pop of personality to your home with this wonderfully soft and cuddly addition. Let's dive into the step-by-step instructions and create your own fabulous faux fur pop pillow!
Preparation and Safety Guidelines
- Eco shag fur
- Half shag fur
- Pillow patterns (main body & pads)
- Stuffing
- Exacto blade
- Sharpies/chalk
- Pins
- Upholstery thread
- Curved needle
- Combs
- Yardstick
- Sewing machine (heavy-duty)
- Always use sharp scissors and a rotary cutter (if using one) with caution to prevent cuts. Keep fingers away from the blade.
- Handle the faux fur carefully to avoid pulling or snagging the fibers. Gentle handling will maintain the plush texture.
- If using a sewing machine, adjust the stitch length and pressure to accommodate the thickness of the faux fur. Use a suitable needle (e.g., a microtex needle) to prevent skipped stitches or damage to the fabric.
Step-by-Step Instructions
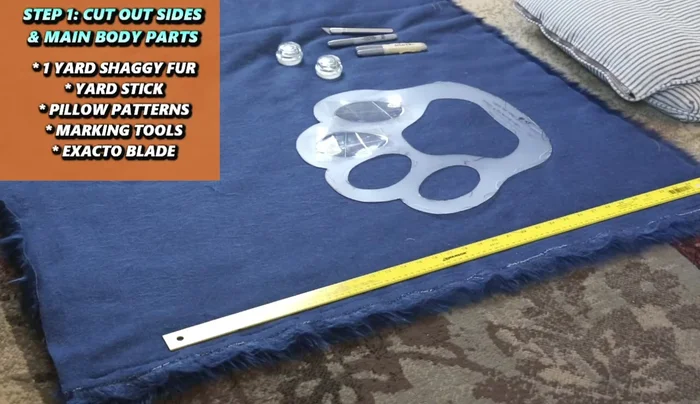
Cutting the Fur Pieces
- Cut out the main body parts of the pillow using the longer pile fur, yardstick, pattern, weights, marking tools, and exacto blade.
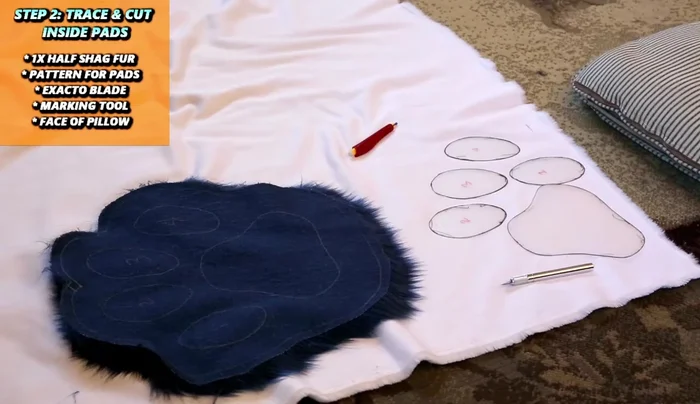
- Trace and cut out the inside pads using the shorter pile fur, pad pattern, exacto blade, and marking tools. Also cut out the face of the pillow.

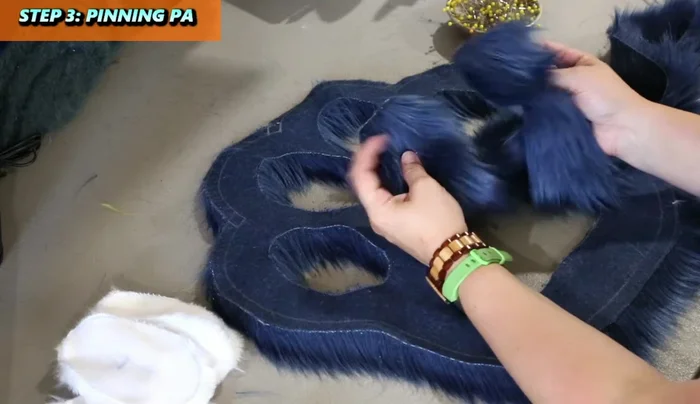
Cutting the Fur Pieces Assembling the Pillow Front
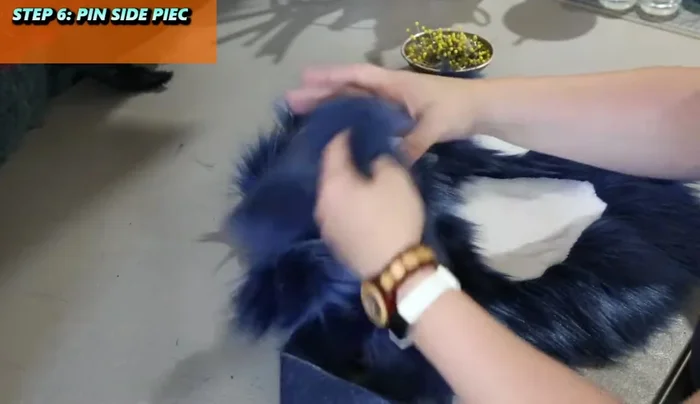
- Pin the two sides of the pillow together (fur fibers pointing downward), tucking in the fibers at the edges. Start pinning at the corners and then fill in.
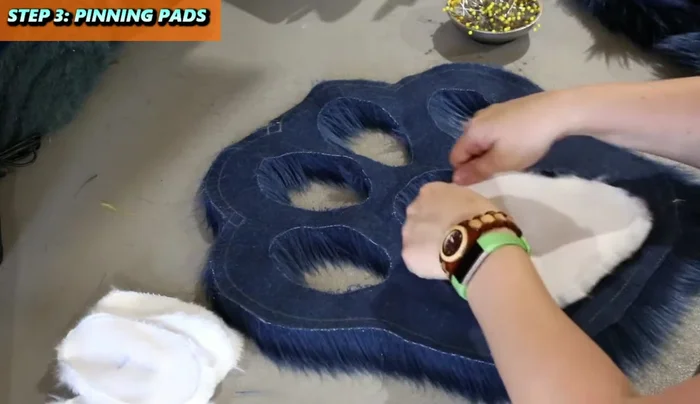
- Pin the larger pad to the face of the pillow, tucking in the fur fibers. Pin at key points (top, bottom, sides, corners).
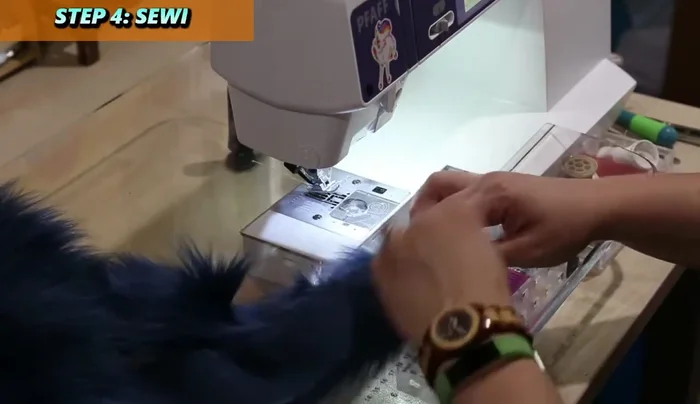
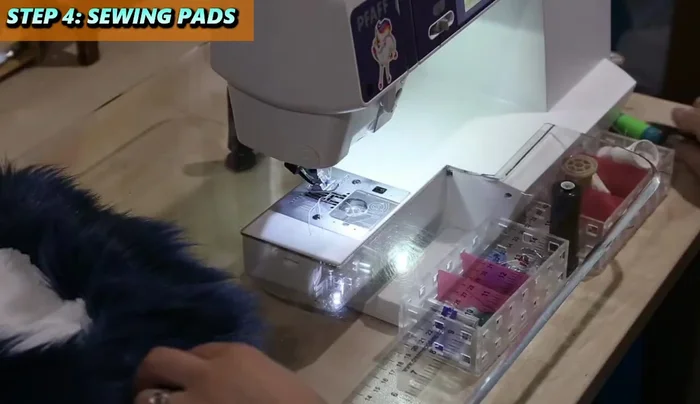
Assembling the Pillow Front Sewing the Pillow Front
- Sew the two sides of the pillow together.
- Sew the large pad to the main body of the pillow, starting at the bottom and circling around.
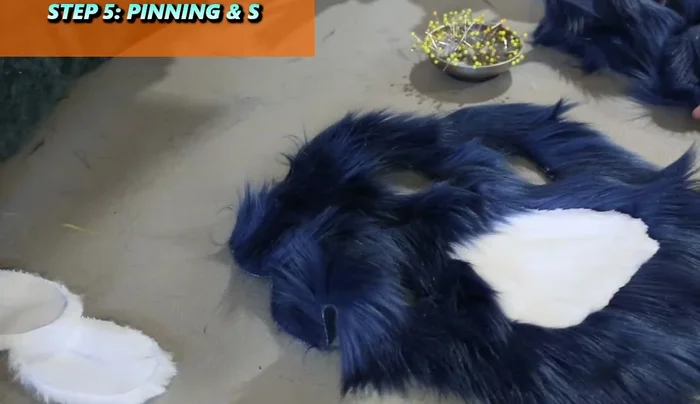
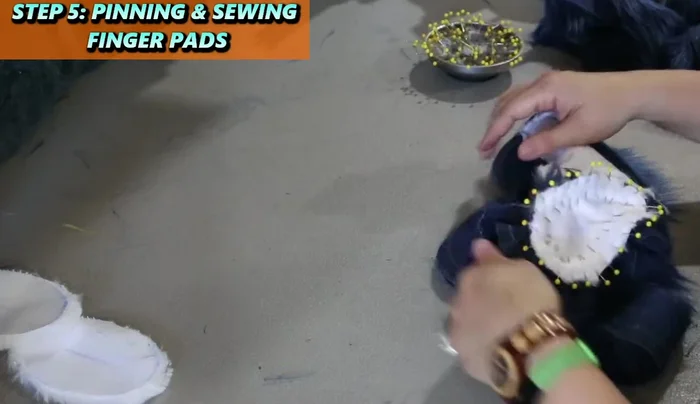
- Brush out the seams and then pin and sew in the remaining smaller pads one at a time. Pin at the corners first, then fill in.
Sewing the Pillow Front Attaching and Sewing the Back Piece
- Pin the back piece to the sides of the pillow, leaving a 5-6 inch gap at the bottom for stuffing. Align the top seams.
- Sew the back piece to the sides, leaving the gap open.
Attaching and Sewing the Back Piece Stuffing and Finishing
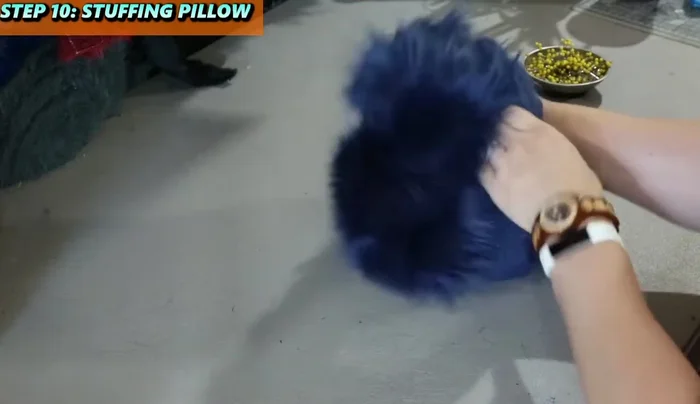
- Turn the pillow right-side out, pushing out the seams. Stuff the pillow through the opening.
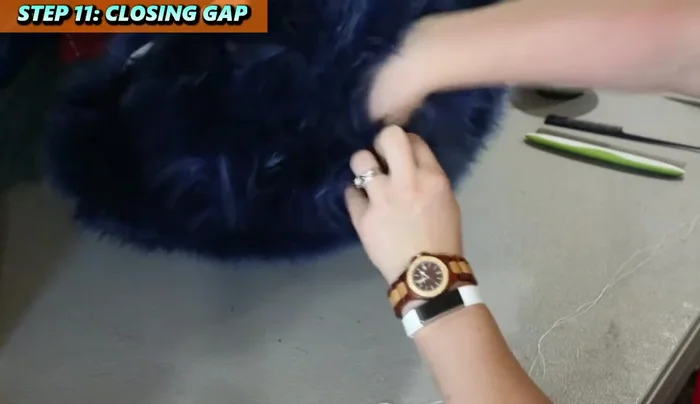
- Close the gap with a ladder stitch, pushing the stuffing away from the edges. Comb out any trapped fur fibers.
Stuffing and Finishing
Read more: DIY Cuddly Cat & Dog Bed: A Super-Warm, Easy Tutorial
Tips
- Tuck in fur fibers to prevent them from sticking out.
- Pin at key points before filling in.
- Sew pads one at a time to avoid pin chaos.
- Leave a gap at the bottom for stuffing.
- Comb out trapped fur fibers after sewing.