Give your feline friend the purrfectly unique home with this DIY hexagon cat house crafted from reclaimed pallet wood! This charming and eco-friendly project offers a rewarding experience for crafty cat lovers, transforming humble pallet boards into a stylish and cozy haven for your beloved pet. Forget expensive store-bought cat furniture; this project demonstrates how easy it is to create a stunning piece using readily available, inexpensive materials. The hexagonal design adds a touch of modern flair, while the natural wood finish provides a comforting and familiar feel.
This step-by-step guide will walk you through the entire process, from gathering materials and preparing the pallet wood to assembling the hexagon and adding the finishing touches. Get ready to unleash your inner DIY enthusiast and build a truly special cat house that both you and your cat will adore. Let's get started!
Preparation and Safety Guidelines
- Mitosol blade
- Table saw
- Stop block
- Belt sander
- 45° chamfer plane
- Block plane
- Glue
- Brad nails
- Electric nailer (optional)
- Air nailer (optional)
- Tape
- Jigsaw
- Stanley knife
- Nail punch
- 120 grit sandpaper
- Electric file
- Orbital sander
- Briwax rustic Pine finish
- Screws
- Always wear safety glasses and gloves when handling pallet wood. Splinters and unseen nails are common hazards.
- Ensure all pallet wood is thoroughly cleaned and treated before construction to remove potential contaminants and pests.
- Use appropriate wood glue and screws for secure assembly. A poorly constructed cat house could collapse and injure your cat.
Step-by-Step Instructions
Prepare Pallet Wood Pieces
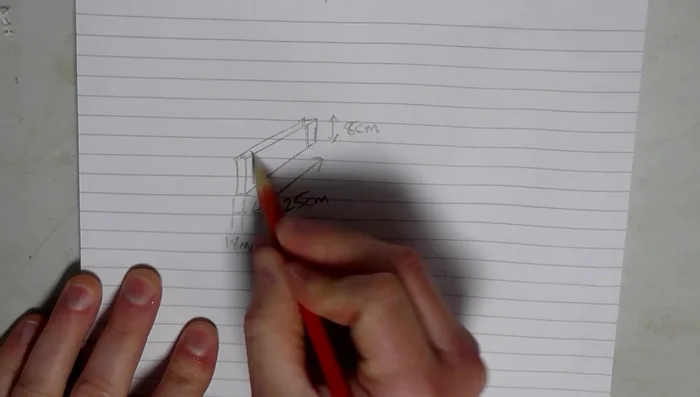
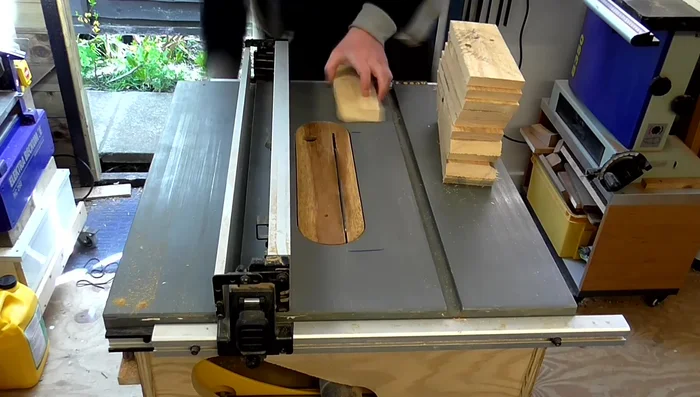
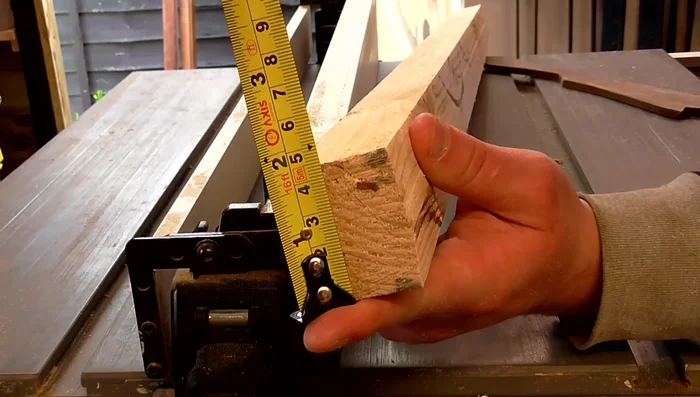
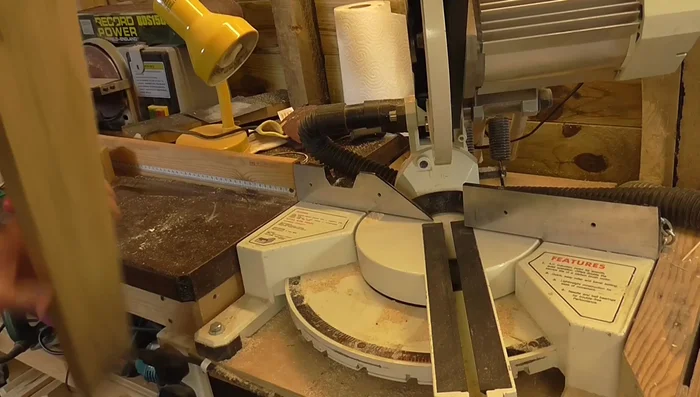
- Cut pallet wood pieces to 25cm x 8cm x 18mm, then cut a 30° angle on each end.
- Rip each piece on the table saw to a consistent width of 8cm.
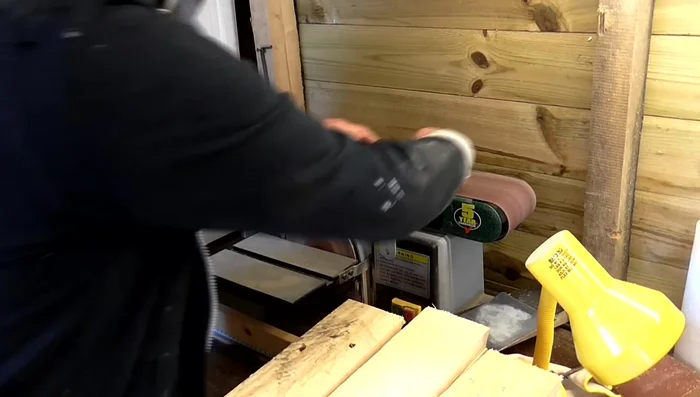
- Sand both faces of each piece on the belt sander, keeping some character.
- Add a 45° chamfer along both edges of the outside faces using a block plane.

Prepare Pallet Wood Pieces Cut and Prepare Internal Supports
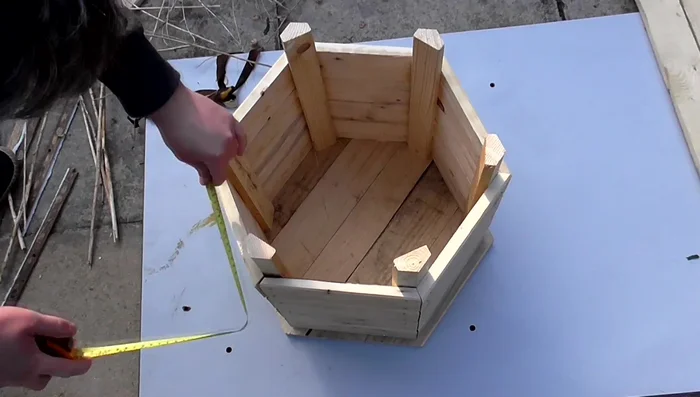
- Cut internal upright pieces (45mm x 35mm) to reinforce the 60° miter joints, using a 30° angled table saw blade.
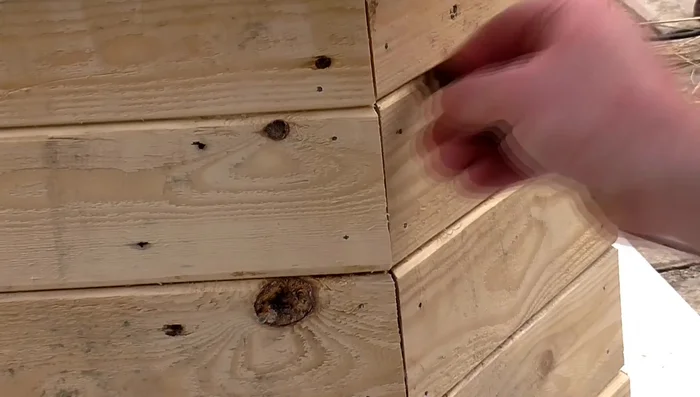
Cut and Prepare Internal Supports Assemble Hexagon Sides
- Assemble the hexagon sides using glue and brad nails.
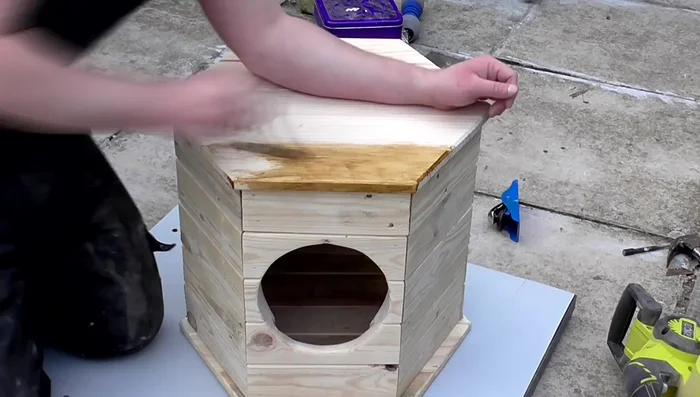
Assemble Hexagon Sides Construct and Attach Top Panel
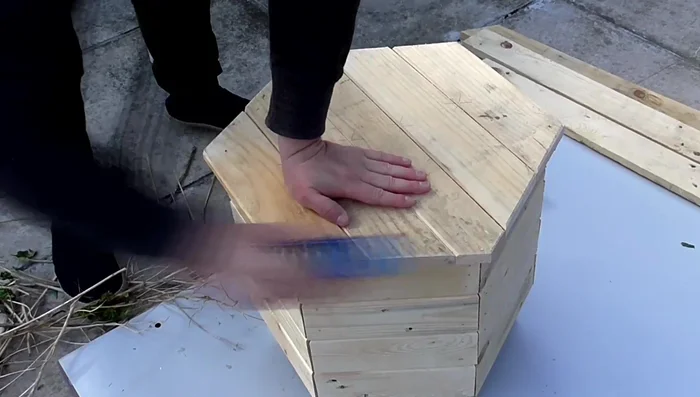
- Cut and assemble the top panel using 30° angled cuts and ensuring symmetrical placement.
- Add cleats to reinforce the top panel using glue and screws.
- Chamfer the outside edges of the top panel with a block plane.
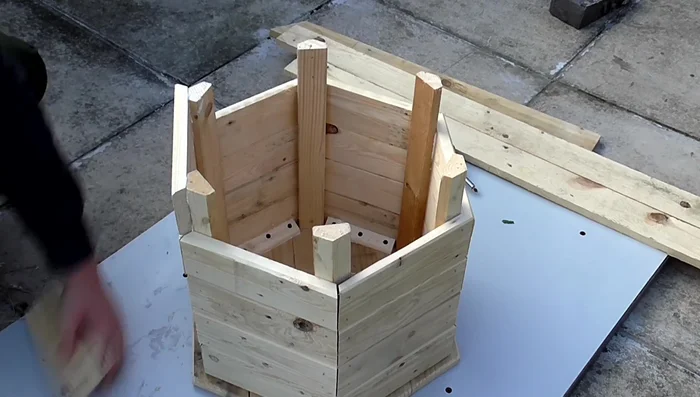
- Add the final layer of side pieces and create a bottom panel using the same method as the top panel, screwing from the bottom.
Construct and Attach Top Panel Cut Entrance Hole
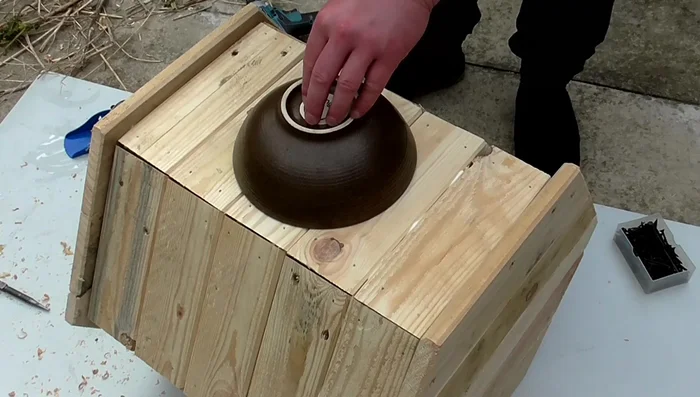
- Cut the entrance hole using a dish as a template, drilling a pilot hole then using a jigsaw.
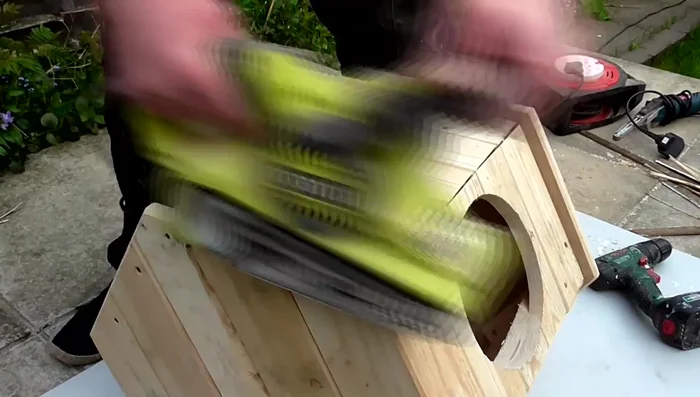
Cut Entrance Hole Clean Up and Finishing Touches
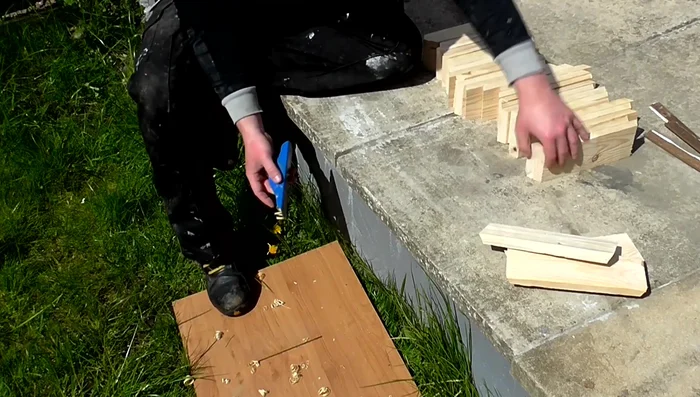
- Scrape away excess glue from chamfered edges.
Clean Up and Finishing Touches Sanding
- Sand the entire cat house (120 grit, belt sander, electric file, hand sanding, orbital sander).
Sanding Finishing and Detailing
- Apply Briwax rustic Pine finish with a brush, buff to a sheen.
Finishing and Detailing

Read more: DIY Cuddly Cat & Dog Bed: A Super-Warm, Easy Tutorial
Tips
- For easier gluing, lay pieces face down, end to end on tape, glue, and use the tape to pull it into a hexagon shape before adding uprights.
- Place a familiar-smelling item (like a t-shirt) inside to help your cat adjust to the new cat house.