Spoiling your furry friend doesn't have to break the bank or require advanced crafting skills. A cozy, comfortable pet bed is surprisingly easy to create, even if you've never picked up a needle and thread. Forget complicated sewing projects – this guide unveils the absolute fastest and easiest no-sew method for constructing a pet bed, utilizing readily available materials you likely already have at home. Say goodbye to expensive pet store purchases and hello to a customized sleeping haven tailored perfectly to your pet's size and preferences.
This no-sew approach is perfect for busy pet owners or those who simply prefer a quick and simple DIY project. We’ll guide you through a straightforward process using minimal supplies and tools, resulting in a snug and durable bed in just minutes. Ready to get started creating the ultimate pet comfort zone? Let's dive into the step-by-step instructions below!
Preparation and Safety Guidelines
- Fleece fabric (2 yards, 2 colors)
- Stuffing
- Scissors
- Pins
- Hair tie
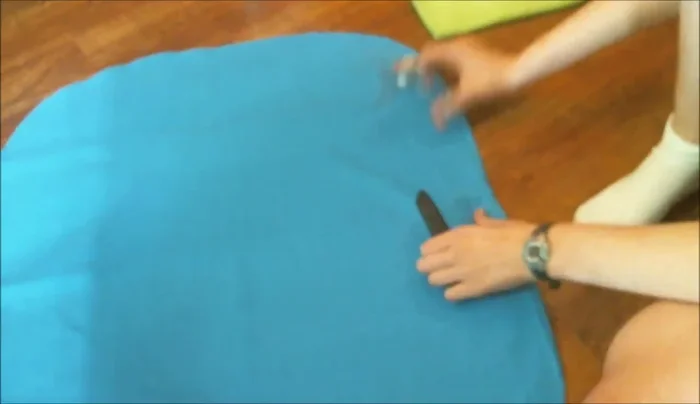
- Fabric marker
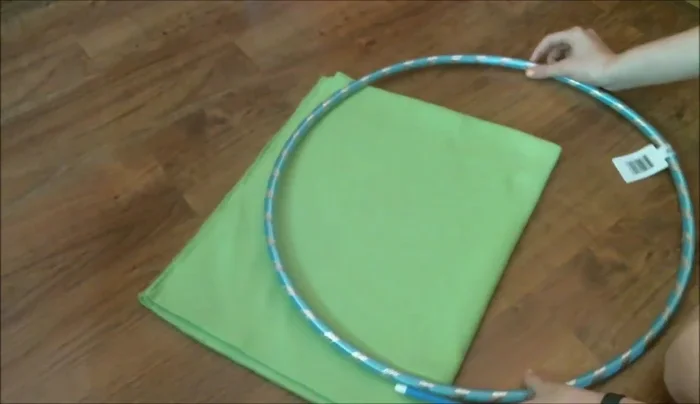
- Round object (e.g., hula hoop)
- Always supervise your pet with any new bedding to prevent ingestion of materials. Choose filling materials that are non-toxic and won't pose a choking hazard.
- Ensure the chosen fabric is durable and won't easily tear or fray, posing a risk to your pet. Avoid using fabrics with loose threads or small parts.
- Wash the finished pet bed before use to remove any potential dirt or chemicals from the materials used.
Step-by-Step Instructions
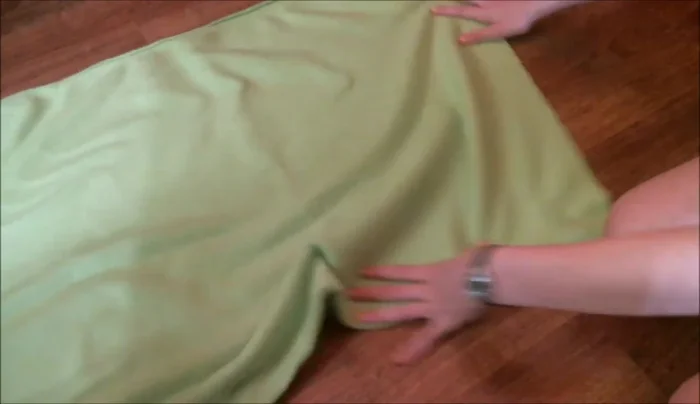
Prepare the Fabric
- Lay your fabric flat. Cut it in half if your pet is small; otherwise, use the entire yard. Repeat with the other color.

Prepare the Fabric Cut the Pet Bed Shape
- Fold your fabric into fourths. Use a round object to trace a circle onto the fabric and cut it out. Repeat with the other color.
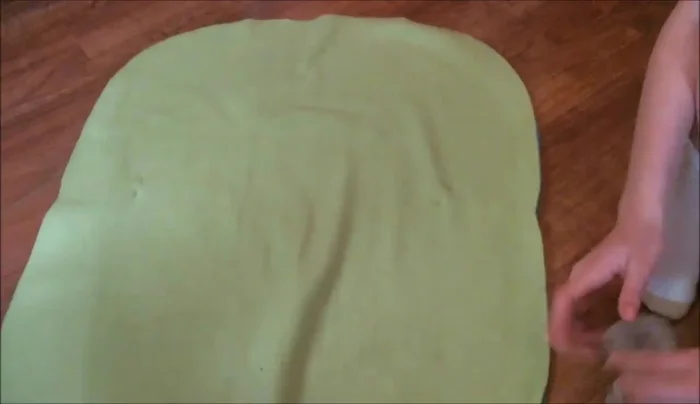
Cut the Pet Bed Shape Create the Fringe
- Place both fabric circles on top of each other. Cut one-inch wide by four-inch tall strips around the edges. Adjust size as needed.
Create the Fringe Prepare for Tying
- Pin the two fabric pieces together (optional).
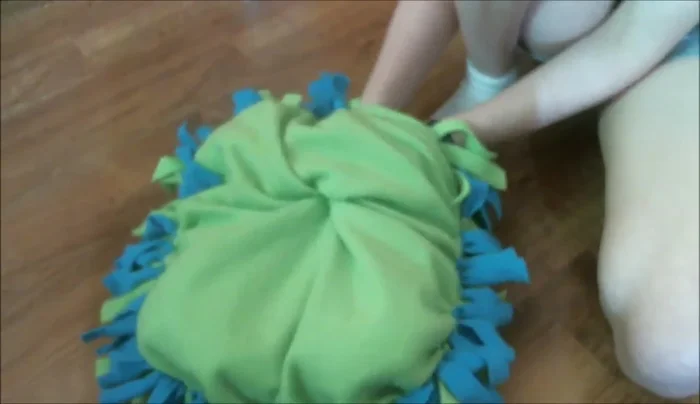
Prepare for Tying Tie the Fringes
- Lay the two fabric pieces on top of each other, fringes aligned. Tie adjacent fringes together in a double knot, leaving a 5-6 inch opening for stuffing.
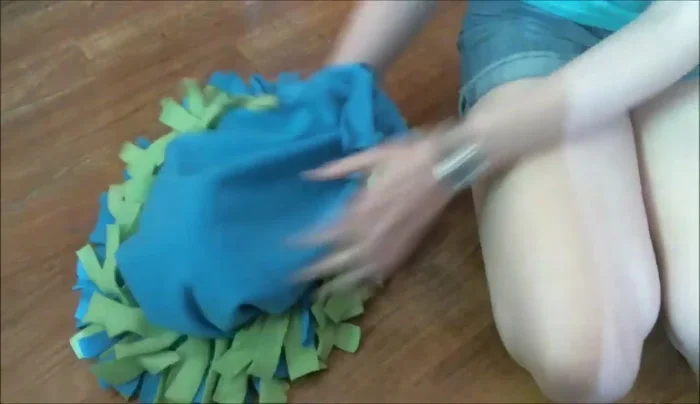
Stuff the Bed
- Insert stuffing through the opening. The bed may shrink during this process, so factor in extra size when cutting the fabric.
Stuff the Bed Finish and Close
- Once stuffed, close the opening by tying the remaining fringes together.
Finish and Close
Read more: DIY Cuddly Cat & Dog Bed: A Super-Warm, Easy Tutorial
Tips
- Consider your pet's size when determining the amount of fabric to use.
- The second fabric piece might be slightly bigger after cutting. Trim to match the first piece.
- Using a ruler to cut the fringes will ensure evenness and make the tying process easier.
- The finished bed will be smaller than the original fabric cut. Account for about a 6-inch shrinkage when cutting your fabric.