Tired of the same old boring collars for your furry friend? Do you crave a unique, durable, and stylish accessory that perfectly reflects your pet's personality? Then look no further! This tutorial will guide you through the exciting process of creating a custom-colored paracord pet collar, tailored to your pet's exact needs and your own creative vision. Paracord offers exceptional strength and flexibility, ensuring your pet's collar will withstand even the most enthusiastic playtime adventures. The vibrant colors available allow for endless personalization, whether you're aiming for a bold, attention-grabbing design or a more subtle and elegant look.
Creating this one-of-a-kind collar is surprisingly easy, even for beginners! Forget overpriced store-bought options and embrace the satisfaction of crafting a high-quality accessory with your own two hands. This tutorial will provide you with all the necessary materials and step-by-step instructions to ensure success. Ready to get started on your personalized paracord pet collar? Let's dive into the detailed, easy-to-follow process!
Preparation and Safety Guidelines
- Paracord (550 diameter)
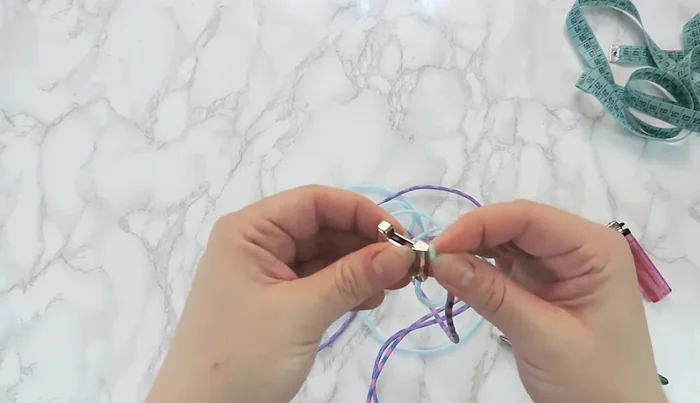
- Snap buckle
- D-ring
- Lighter
- Scissors
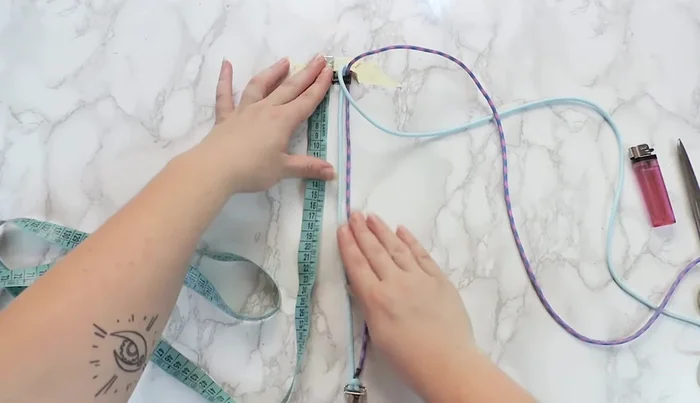
- Measuring tape
- Paper tape
- Always supervise your pet while wearing the collar. Paracord, while strong, can be chewed through, posing a choking hazard.
- Ensure the collar fits comfortably but snugly. Too loose and it could slip off; too tight and it can restrict breathing or blood flow. Leave enough space to fit two fingers between the collar and your pet's neck.
- Use only pet-safe dyes and finishes on the paracord. Avoid any materials that could be toxic if ingested.
Step-by-Step Instructions
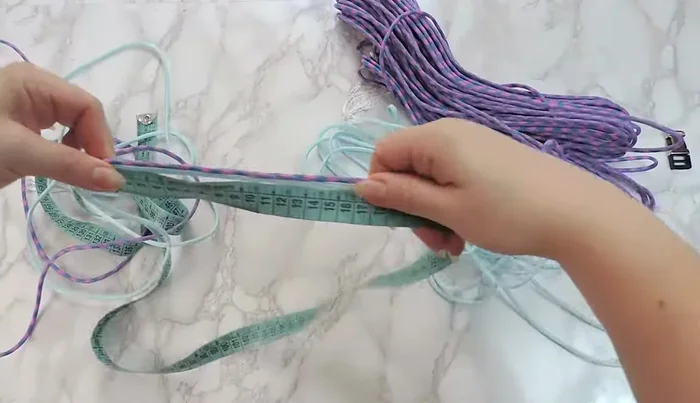
Measure and Prepare Paracord
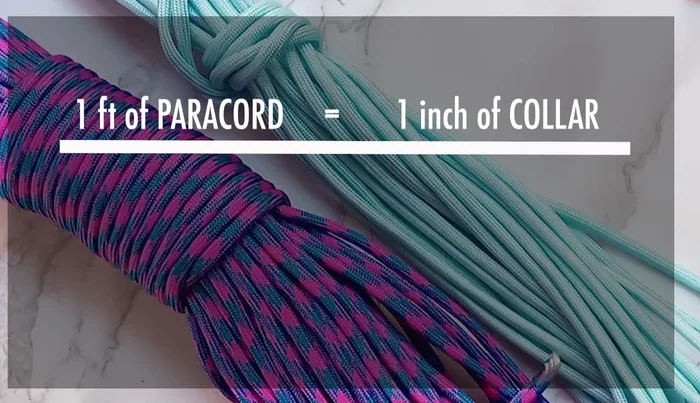
- 1 foot of paracord equals 1 inch of collar. Add extra length for knots.
- Measure and cut paracord to the calculated length. If using multiple colors, divide the length accordingly.
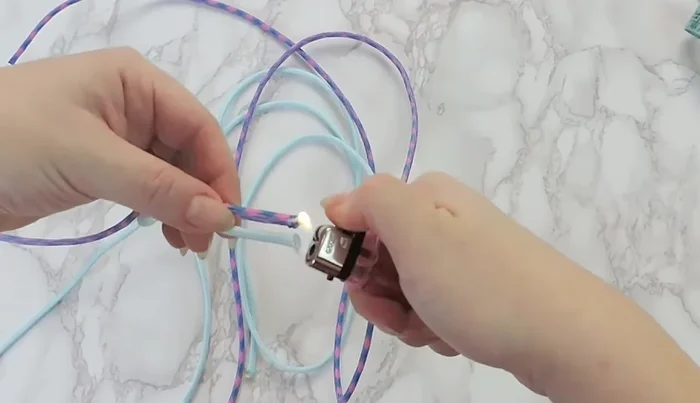
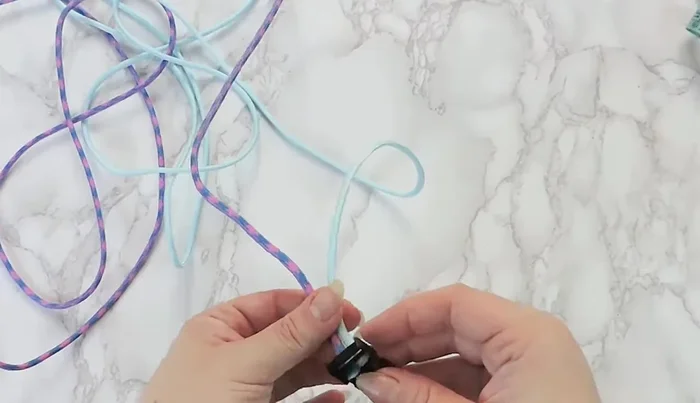
- Melt the ends of the paracord to prevent fraying.

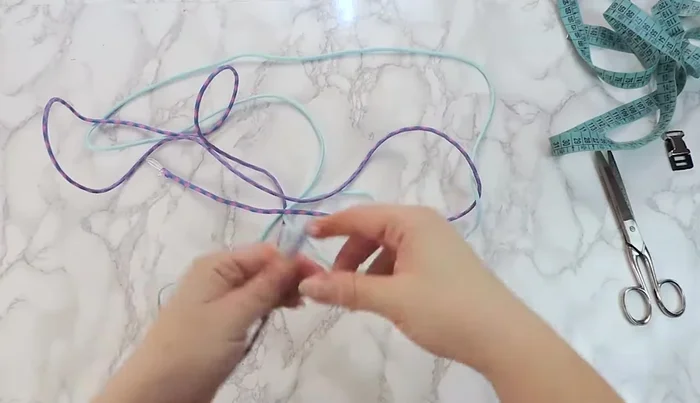
Measure and Prepare Paracord Join Paracord Sections (if multiple colors)
- Join the ends of the different colored paracord and melt them together to create a single point.
Join Paracord Sections (if multiple colors) Attach to Buckle
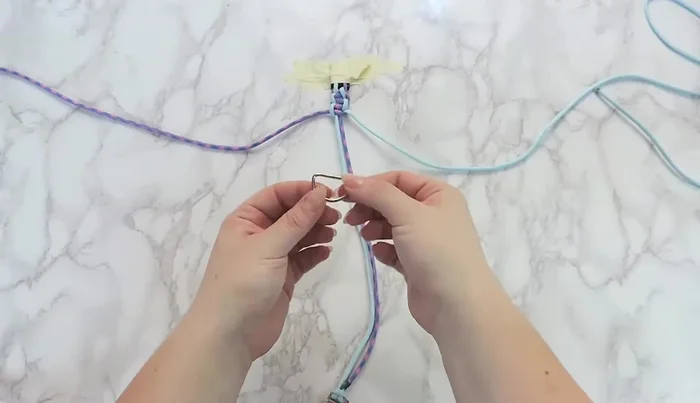
- Attach the paracord to the female end of the buckle using a lark's head knot (see linked macrame tutorial).
- Pass the ends through the male part of the buckle from the bottom up.
- Tape the buckle to a surface, ensuring equal distance between male and female parts to match the desired collar size.
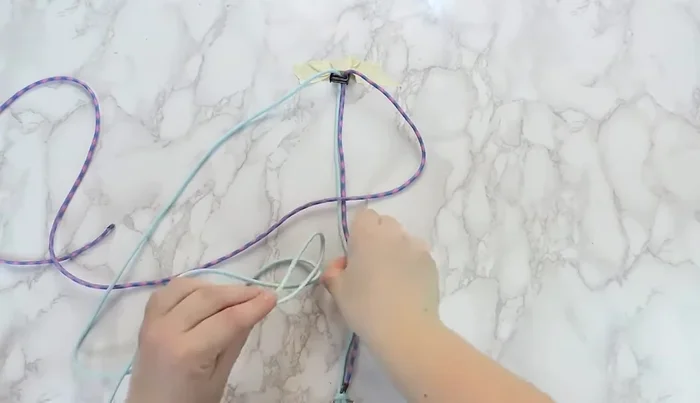
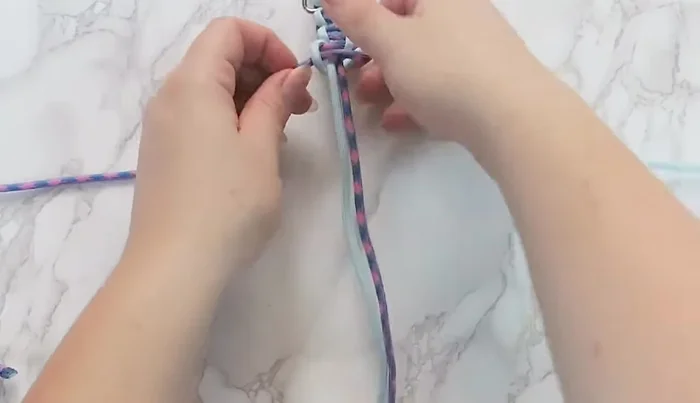
Attach to Buckle Begin Braiding and Add D-ring
- Begin braiding the collar using a square knot (cobra braid). Secure the cord in the buckle using this knot.
- Add the D-ring to the bottom of the collar before continuing the square knot.
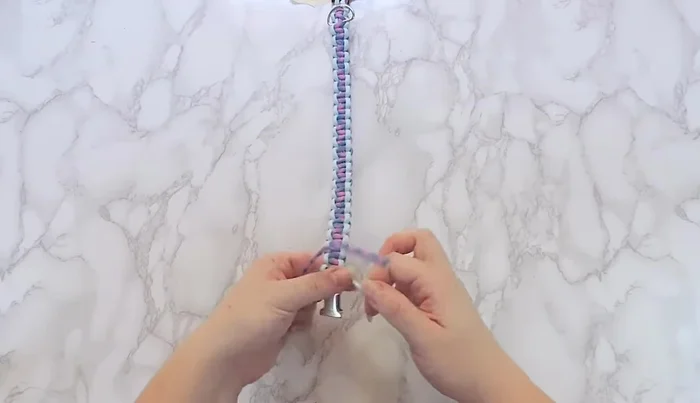
Begin Braiding and Add D-ring Complete Braiding and Secure
- Continue the square knot to the end of the collar.
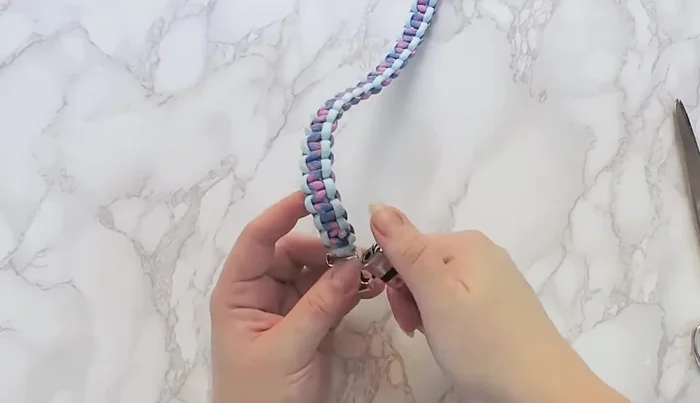
- Tightly secure the last knot and tuck the excess ends underneath.
- Cut and melt the excess paracord ends.
Complete Braiding and Secure
Read more: DIY Cat Leash: Easy-to-Make Cat Harness for Safe Outdoor Adventures
Tips
- N/A