Is your furry friend shivering through those chilly autumn evenings? Don't reach for another expensive, store-bought dog coat! This tutorial shows you how to create a stylish and practical reversible dog coat entirely yourself, saving you money and allowing for complete customization to perfectly fit your beloved canine companion. We'll guide you through a straightforward process, using simple sewing techniques accessible even to beginners. You'll be amazed at how quickly you can whip up a cozy, double-sided coat that's as unique as your dog.
Forget complicated patterns and frustrating instructions – this DIY project is designed for ease and efficiency. With readily available materials and clear, step-by-step guidance, you'll be able to sew a reversible dog coat in no time at all. Let’s dive into the detailed instructions and start crafting the perfect, personalized winter warmer for your pup.
Preparation and Safety Guidelines
- fabric (patterned and solid)
- pattern
- tape
- pins
- rotary cutter
- sewing machine
- velcro (2 inch wide, 3 inch long)
- pencils
- Always supervise your dog while wearing the coat, ensuring it doesn't become entangled or cause injury. Remove immediately if your dog shows signs of discomfort.
- Use high-quality, durable fabrics suitable for outerwear. Avoid fabrics that might irritate your dog's skin. Pre-wash fabrics before sewing to prevent shrinkage.
- Ensure all seams are securely stitched and all loose threads are removed to prevent your dog from chewing on or ingesting them.
Step-by-Step Instructions
Prepare the Pattern and Fabric
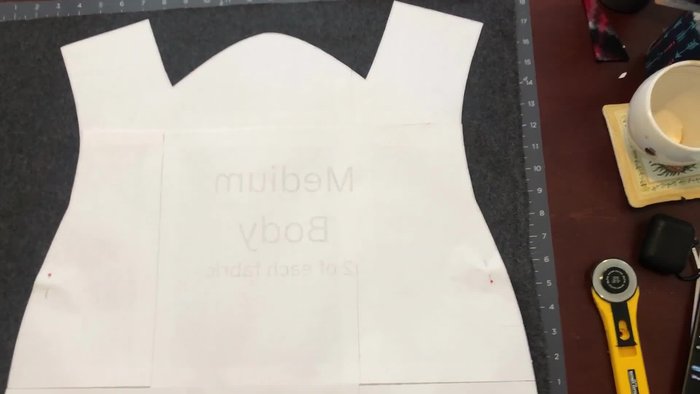
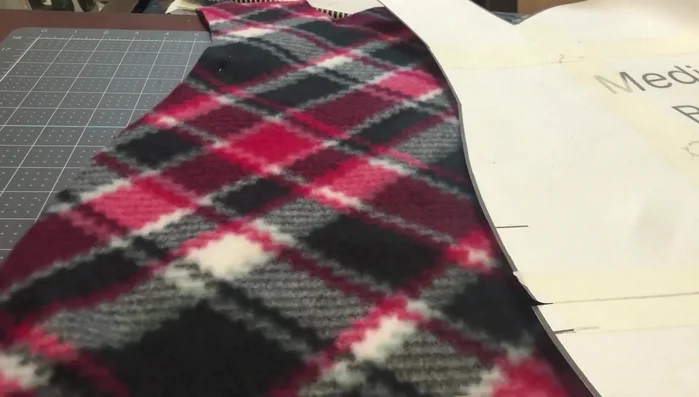
- Print and assemble the pattern.
- Pin the pattern to the fabric and trim.
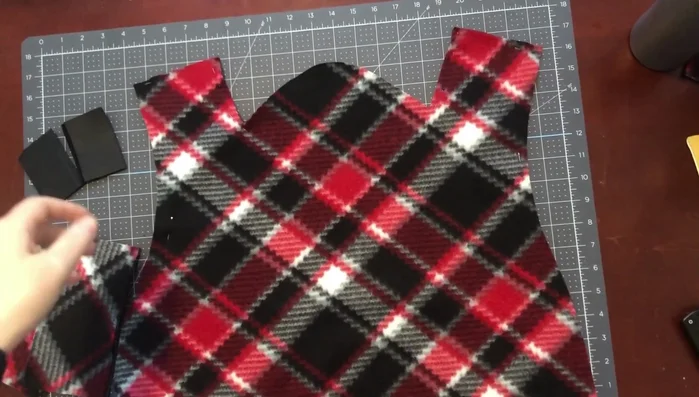
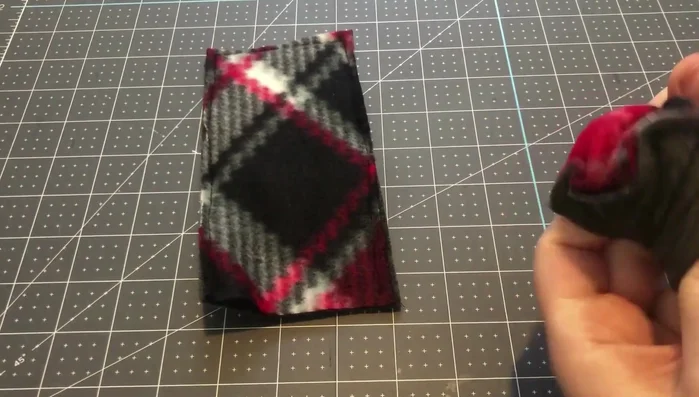
- Cut out two body pieces (one in each fabric).

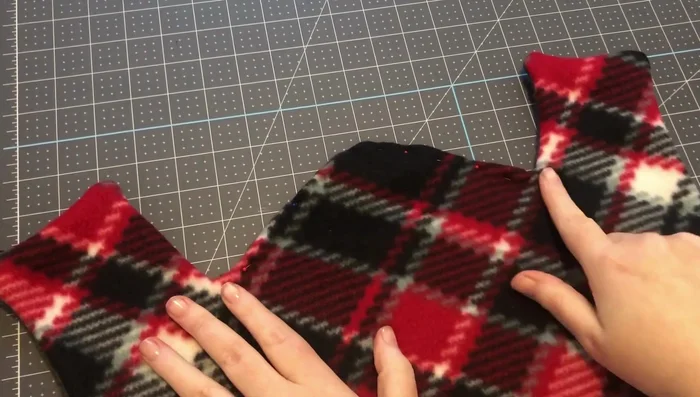
Prepare the Pattern and Fabric Assemble the Body
- Pin the body pieces together, leaving the collar open.
Make the Straps
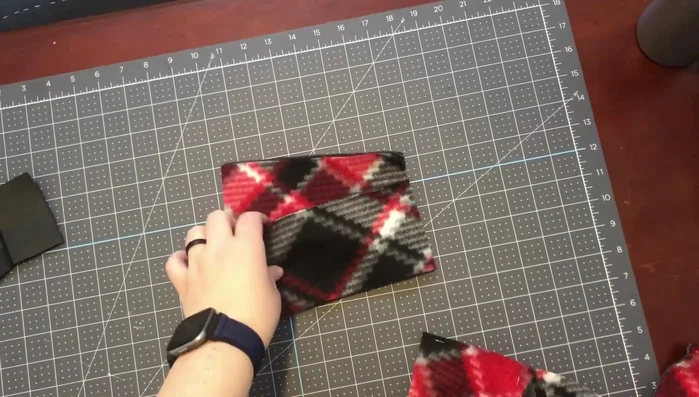
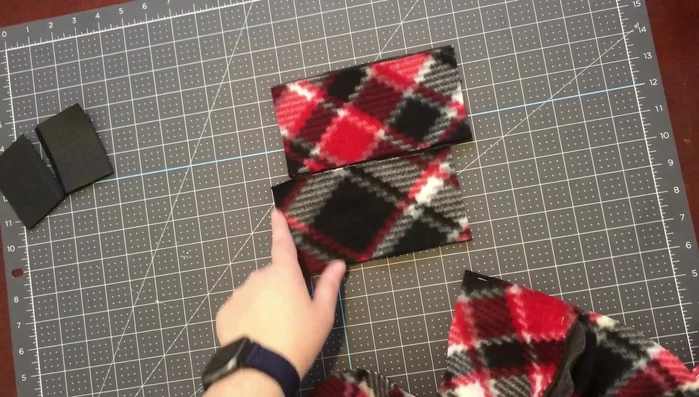
- Cut out four strap pieces (two in each fabric).
- Sew the strap pieces together along three sides, leaving one short edge open.
- Turn the straps inside out.
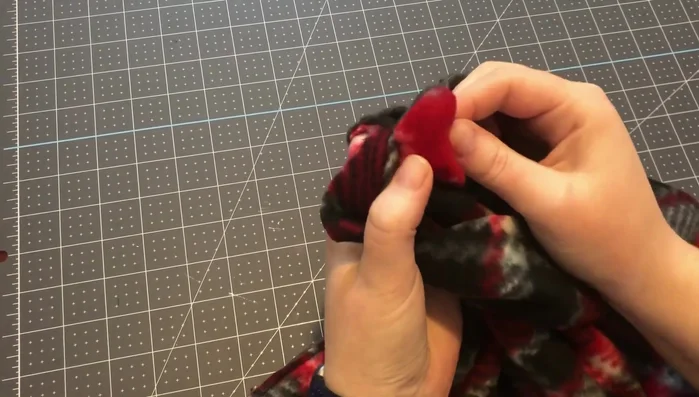
- Attach velcro to the straps (one piece to each fabric type).
Make the Straps - Sew around the velcro on the straps.
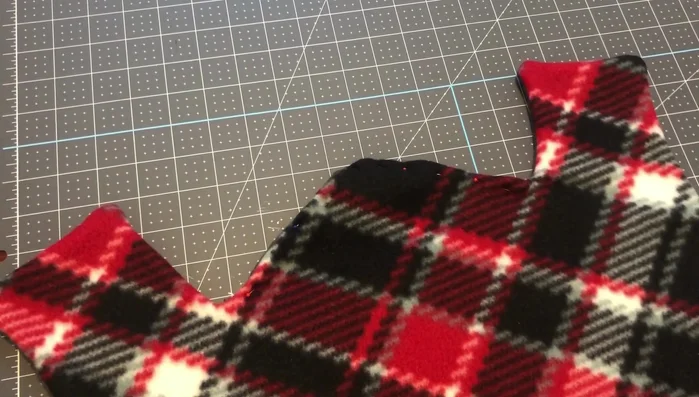
Attach the Straps to the Body
- Position the straps between the body pieces, using the pattern as a guide.
- Pin the straps in place.
- Sew around the perimeter of the body pieces, backstitching at the ends. Use a 1/4 inch seam allowance.
Attach the Straps to the Body Finish the Coat
- Turn the coat inside out and sharpen the corners.
- Tuck in the collar about a quarter inch.
- Sew the collar closed.
- Add velcro to the sides of the collar.
Finish the Coat

Read more: DIY Dog Sweater: Cozy Knit Creations for Your Pup
Tips
- Use a quarter-inch seam allowance for consistent results.
- Backstitch at each end of seams for durability.
- Keep the velcro placement consistent on the straps and the collar.