Are you ready to unleash your inner quilter and create some purr-fectly adorable cat quilt blocks? This tutorial presents two super simple designs, perfect for beginners and experienced quilters alike. Whether you're crafting a cozy cat-themed quilt for a loved one or adding a playful touch to your own home décor, these charming blocks are a delightful way to express your creativity. You'll be amazed at how easily these charming feline faces come together with basic patchwork techniques.
Forget complicated patterns and fussy cutting; these designs focus on clean lines and simple shapes, making them ideal for a quick and satisfying sewing project. From playful kittens to sophisticated adult cats, these designs offer versatility and charm. Ready to get started stitching these delightful feline friends? Let's dive into the step-by-step instructions for each design!
Preparation and Safety Guidelines
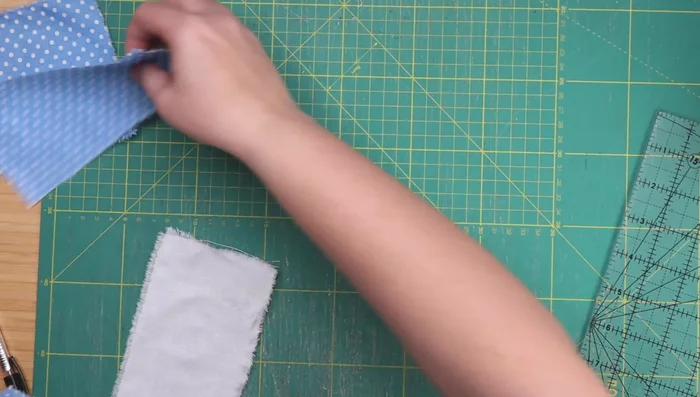
- Fabric (white and patterned)
- Ruler
- Pen
- Sewing Machine
- Iron
- Pins
- Always use a sharp rotary cutter and cutting mat to prevent injury. Dull blades increase the risk of slips and cuts.
- Pre-wash your fabrics before cutting and sewing to avoid shrinkage after the quilt is completed.
- Handle your sewing machine needles carefully. Never force fabric through the machine; this can bend or break needles, leading to potential injury.
Step-by-Step Instructions
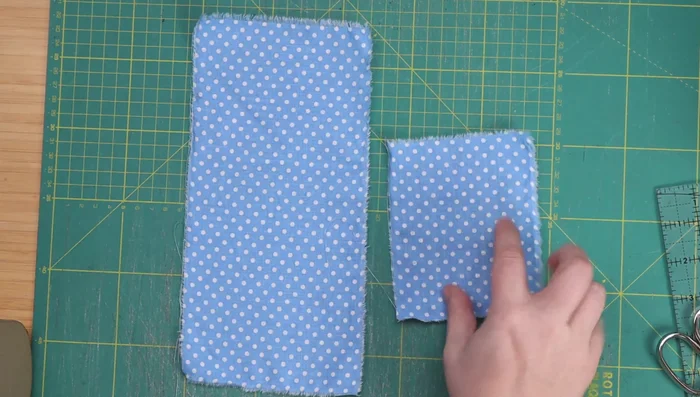
Prepare Fabric for Cat Quilt Block 1
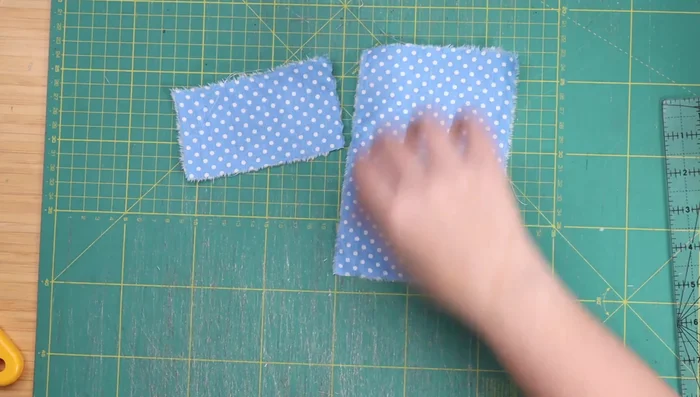
- One 5x10 inch patterned rectangle, one 3x5 inch patterned rectangle, two 2.25x2.25 inch patterned squares, two 2.5x2.5 inch patterned squares, one 5x5 inch white square, one 5x2 inch white rectangle, and one 2.5x2.5 inch white square.

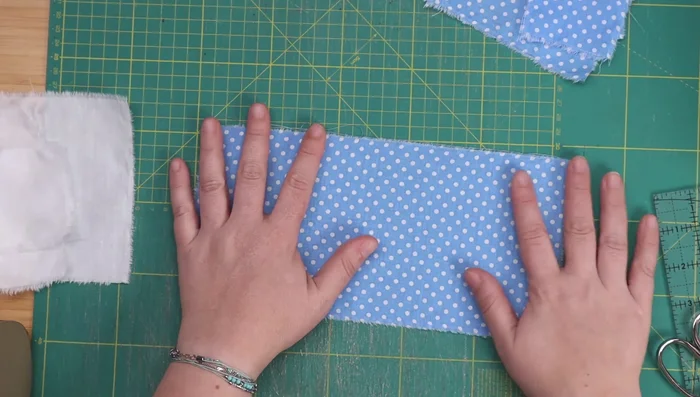
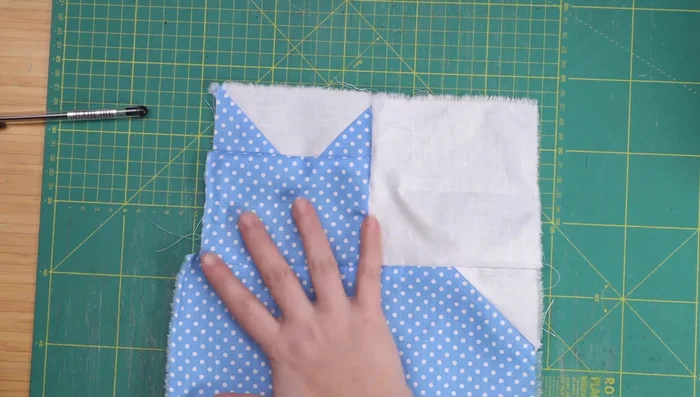
Prepare Fabric for Cat Quilt Block 1 Assemble Cat Head for Block 1
- Sew the larger patterned rectangle and the tiny white square together.
- Fold and press the seam. Trim excess fabric.
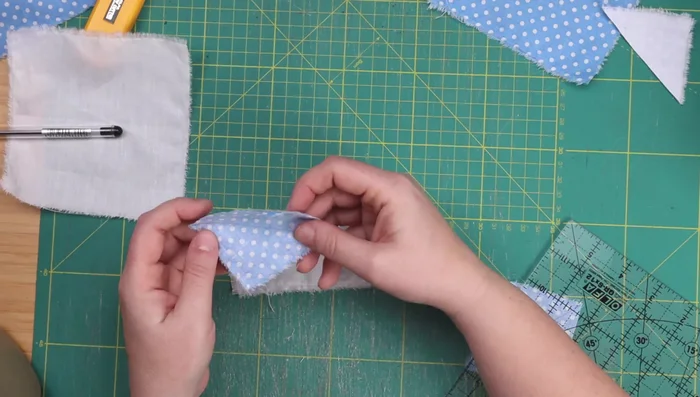
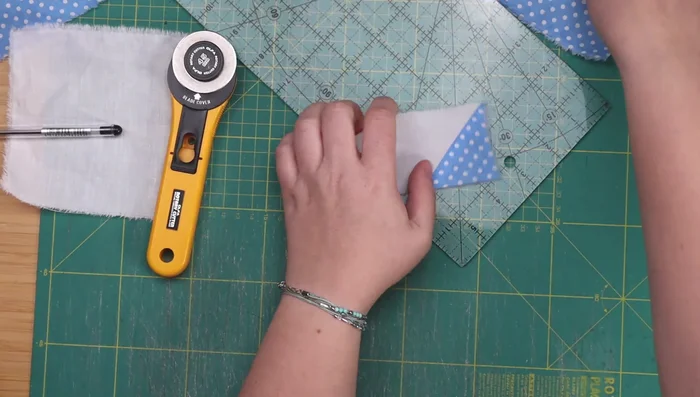
Assemble Cat Head for Block 1 Create and Attach Ears for Block 1
- Sew the white rectangle to the two smaller patterned squares (mind the direction for the ears to face correctly).
- Attach the ears to the cat's head.
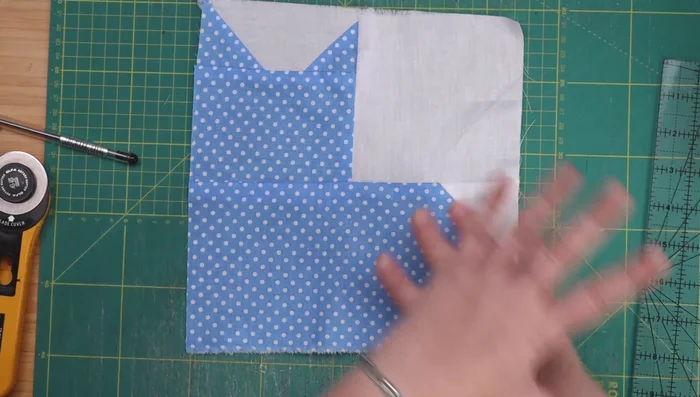
Create and Attach Ears for Block 1 Complete and Finish Cat Block 1
- Attach the white square and remaining body pieces to complete the cat.
- Press and trim the finished cat block.
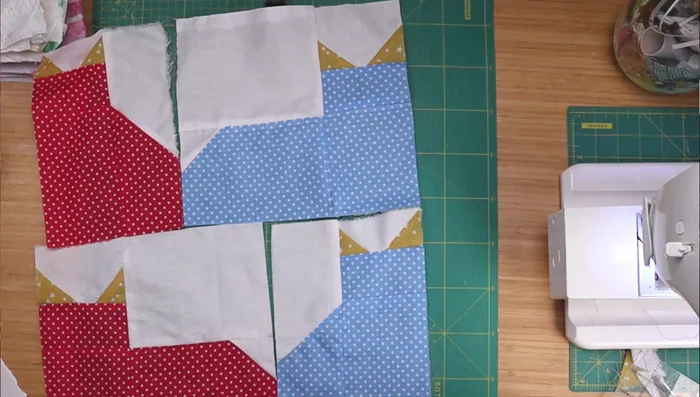
Complete and Finish Cat Block 1 Prepare Fabric for Cat Quilt Block 2
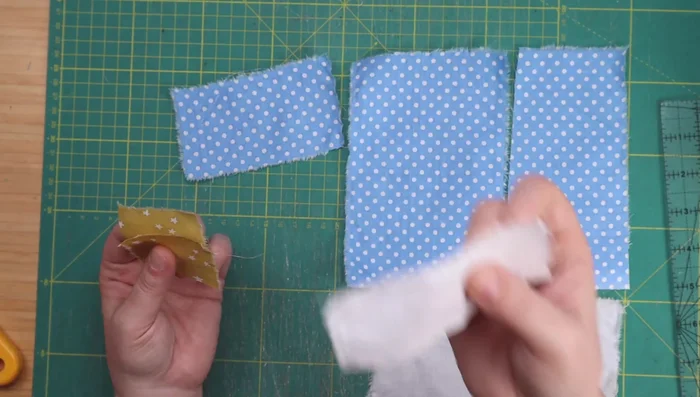
- Three patterned rectangles (2.5x4.5 inches, 6.5x4.5 inches, 6.5x3.25 inches) and two white rectangles (6.5x3.25 inches, 1.75x4 inches), and four 2x2 inch squares for ears.
Prepare Fabric for Cat Quilt Block 2 Create Ears for Block 2
- Make ears for the four cats using the same technique as in Block 1.
Create Ears for Block 2 Assemble Cat Bodies for Block 2
- Assemble the cat bodies using the patterned and white rectangles and the ears. Follow the same process as the first block, noting the differences in placement for the lying down cats.
Assemble Cat Bodies for Block 2 Complete Cat Quilt Block 2
- Sew all four cat blocks together to create the final quilt block.
Complete Cat Quilt Block 2

Read more: DIY Cuddly Cat & Dog Bed: A Super-Warm, Easy Tutorial
Tips
- Use a ruler and pen to mark your sewing lines for accuracy.
- Pay close attention to the direction of the fabric when creating the ears to ensure they face correctly.
- Press and trim after each step for clean, finished seams.