Give your old, forgotten suitcase a new lease on life and spoil your furry friend with a unique, handcrafted pet bed! Instead of letting that vintage suitcase gather dust in the attic, let's transform it into a cozy and stylish haven for your beloved pet. This project combines the charm of upcycling with the creative flair of decoupage, resulting in a one-of-a-kind pet bed that's as individual as your pet itself. Think bold patterns, vibrant colours, or perhaps a rustic, vintage aesthetic – the possibilities are truly endless!
This project is surprisingly simple and requires minimal tools and materials, making it perfect for both beginner crafters and experienced DIY enthusiasts alike. We'll guide you through each step, from preparing the suitcase to applying the decoupage, ensuring you create a durable and comfortable bed your pet will adore. Ready to turn trash into treasure and create a truly unique pet bed? Let's dive into the step-by-step process!
Preparation and Safety Guidelines
- Old Suitcase
- Folk Art Visual Texture Paint (or Puffy Paint)
- Chalk Paint
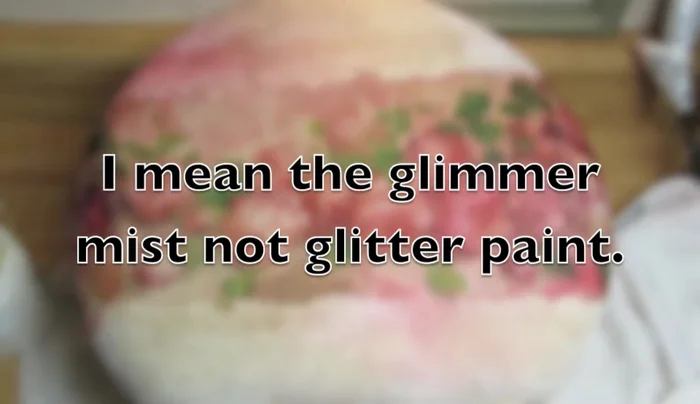
- Glimmer Mist
- Napkins
- Decoupage Glue
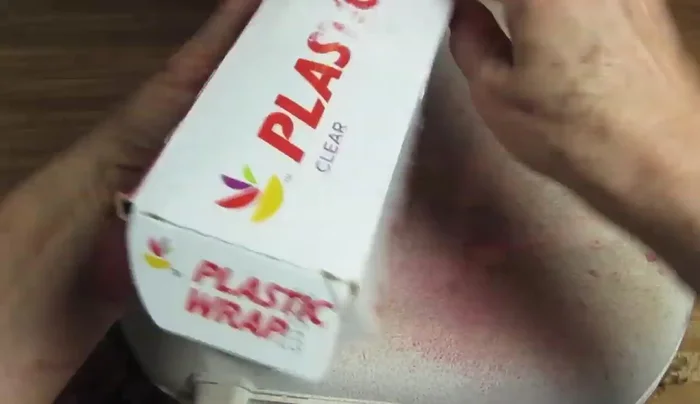
- Saran Wrap
- Wax Paper
- 3D Paint
- Nail File
- Ensure the suitcase is thoroughly cleaned and free of any dust, dirt, or harmful chemicals before starting the upcycling process. This prevents potential health risks for your pet.
- Use non-toxic paints, adhesives, and sealants specifically designed for use around pets. Avoid materials that could leach harmful substances or cause allergic reactions.
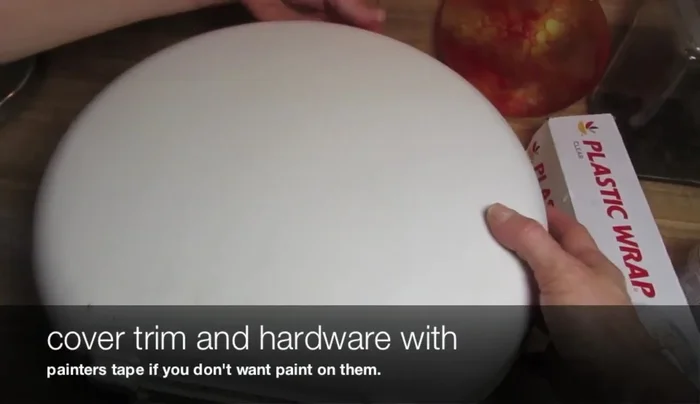
- Make sure all sharp edges and hardware are properly secured or removed to prevent injury to your pet. Double-check for loose rivets or handles that your pet could chew on.
Step-by-Step Instructions
Suitcase Preparation
- Clean the suitcase.
- Paint the entire suitcase with chalk paint.
- Apply glimmer mist.

Suitcase Preparation Napkin Preparation and Decoupage Application
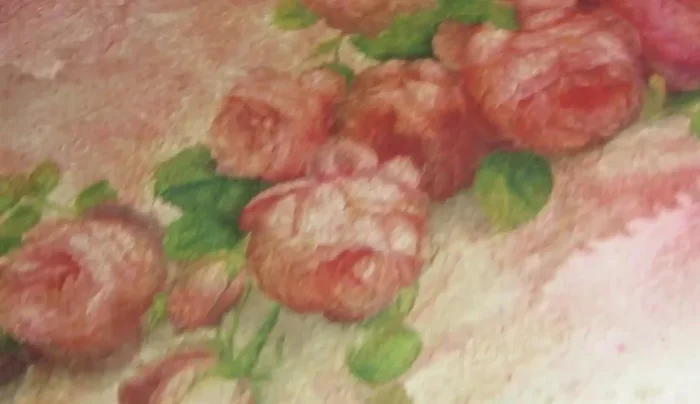
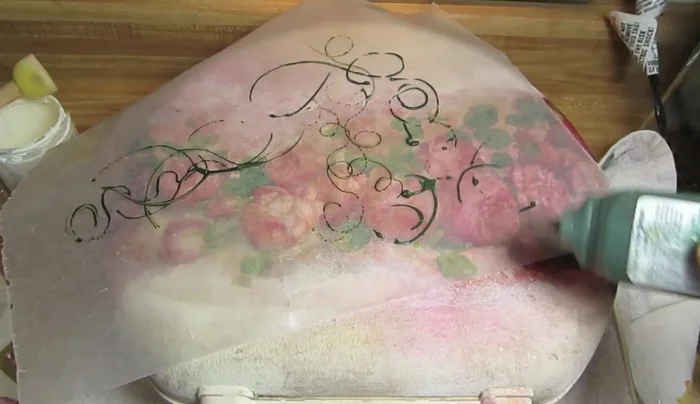
- Prepare the napkins by separating the layers and removing the edges.
- Apply decoupage glue to the suitcase.
- Place the napkin onto the glued area, cover with saran wrap, and smooth out any bubbles or wrinkles.
- Repeat step 6 to cover the entire visible surface of the suitcase.
Napkin Preparation and Decoupage Application Decoupage Drying and Refinement
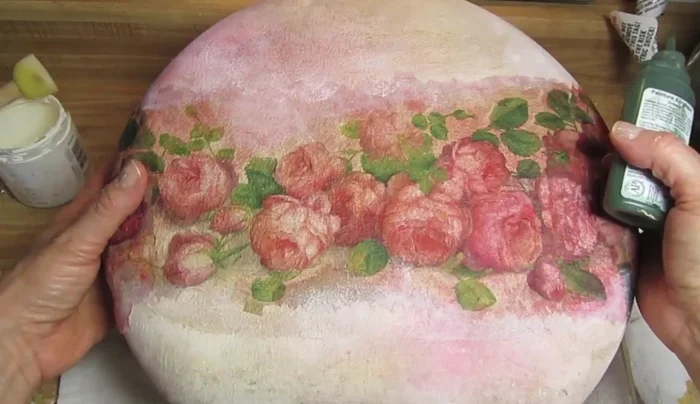
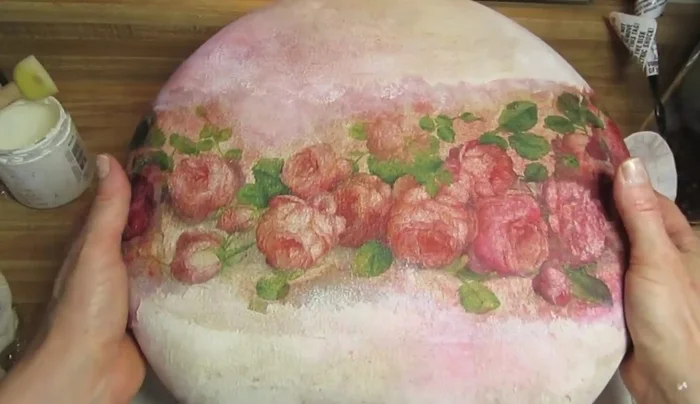
- Let the decoupage dry completely.
- Touch up any areas with uneven glitter paint using chalk paint.
Decoupage Drying and Refinement Adding 3D Elements
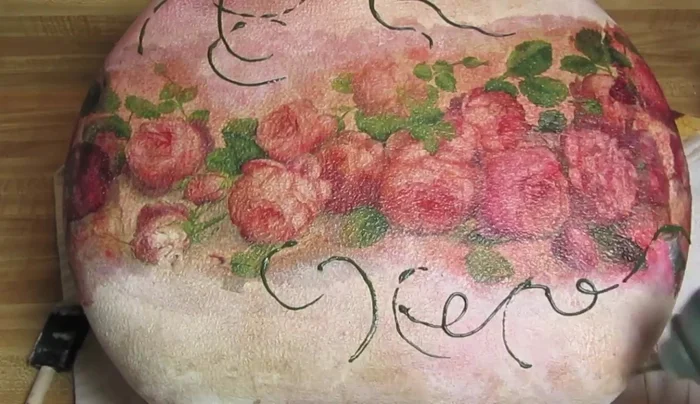
- Practice with puffy paint on wax paper before applying it to the suitcase.
- Apply puffy paint (or 3D paint) to create decorative elements.
Adding 3D Elements Sealing and Finishing
- Apply another layer of decoupage glue to seal the design.
- Let it dry completely.
- Use a nail file to smooth any rough edges.
- Apply a top coat of decoupage glue.
Sealing and Finishing

Read more: DIY Cuddly Cat & Dog Bed: A Super-Warm, Easy Tutorial
Tips
- Practice with puffy paint on waxed paper beforehand.
- Use a little bit of glimmer mist; it goes a long way.
- Keep a cup of water handy when working with napkins.