Give your feline friend a stylish and sustainable sleeping space with this easy-to-follow tutorial on creating an upcycled cardboard and magazine cat bed designed to mimic a chic metal basket. Tired of expensive, mass-produced pet beds that lack personality and often end up in landfills? This project offers a fantastic alternative, showcasing how readily available materials can be transformed into a beautiful and functional piece of cat furniture. You'll be surprised at how simple it is to upcycle everyday items into something truly unique and environmentally conscious. This project requires minimal tools and materials, making it perfect for crafters of all skill levels.
This tutorial will guide you through each step, from preparing the cardboard and magazines to the final assembly and finishing touches, resulting in a sturdy and attractive cat bed that your pet will adore. Ready to get started on creating this stunning, faux metal basket cat bed? Let's dive into the step-by-step instructions!
Preparation and Safety Guidelines
- Corrugated cardboard
- Magazines
- Scissors
- Sharpie
- Glue gun
- Glue stick
- Foam (1 inch)
- Old t-shirt
- Sewing scissors
- Needle & Thread
- Metallic silver spray paint
- Black paint
- Water
- Paper towels
- Rubber bands
- Mod Podge
- Always supervise your cat with the bed, especially during initial use, to ensure they don't ingest any loose cardboard or magazine pieces.
- Use strong adhesive suitable for cardboard and paper to prevent the structure from falling apart. Ensure the adhesive is non-toxic and safe for your cat.
- Avoid using sharp objects or tools near the cat bed during construction to prevent injury.
Step-by-Step Instructions
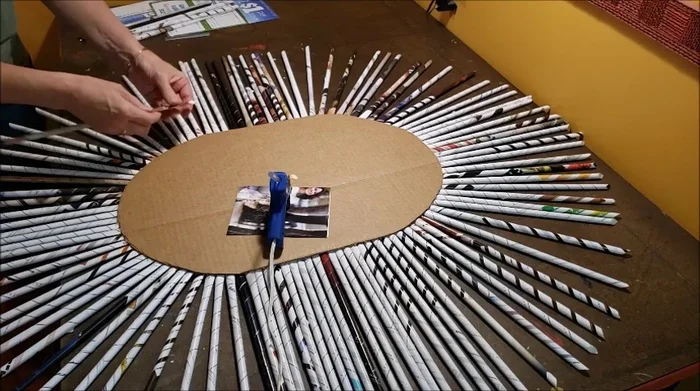
Create the Cat Bed Base
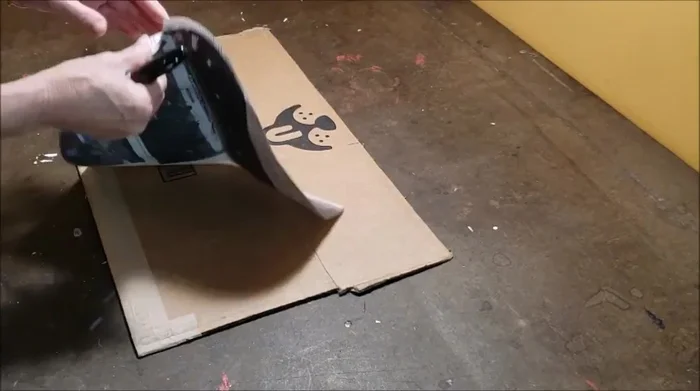
- Create a paper template of the desired oval shape for the cat bed base using newspaper.
- Trace and cut out the oval shape from a piece of corrugated cardboard using the paper template.
- Trace and cut out the oval shape from a piece of 1-inch foam using the cardboard as a template. Cut slightly inside the line to ensure a snug fit inside the cardboard base.
- add extra allowance to the template to account for shrinkage.

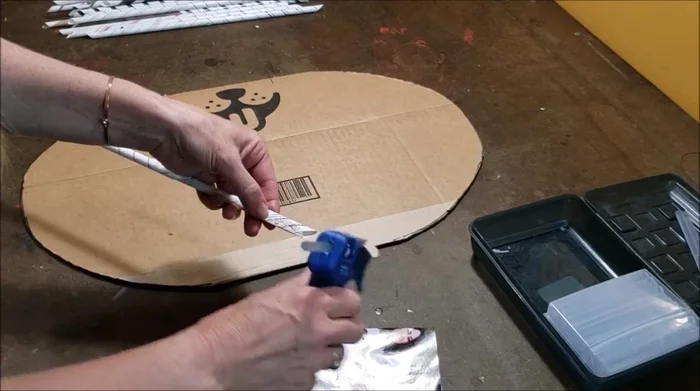
Create the Cat Bed Base Prepare Magazine Paper Tubes
- Roll tightly several pieces of magazine paper around a glue stick. Remove the glue stick and use a glue gun to secure the rolled ends.
Prepare Magazine Paper Tubes Construct the Basket Frame
- Glue the bottom ends of the rolled magazine paper tubes to the cardboard base, ensuring they stand upright.
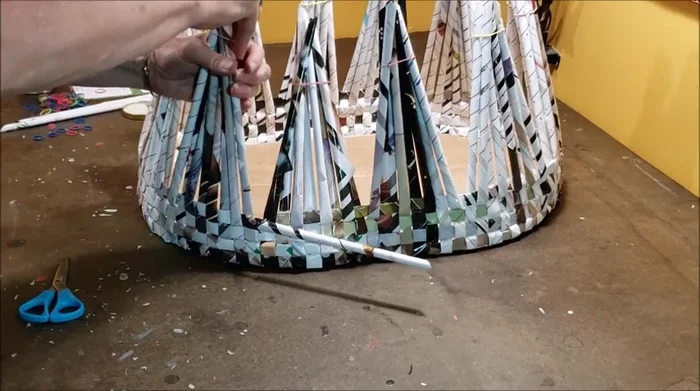
Construct the Basket Frame Weave the Basket Sides
- Weave additional rolled magazine paper tubes horizontally, alternating over and under the vertical tubes. Secure with glue. Use rubber bands to temporarily bundle vertical pieces to help with the weaving process.
- Continue weaving additional rows until the desired height is reached. Trim excess vertical tubes, leaving about a half inch above the final row, and cover with additional strips of rolled magazine paper.
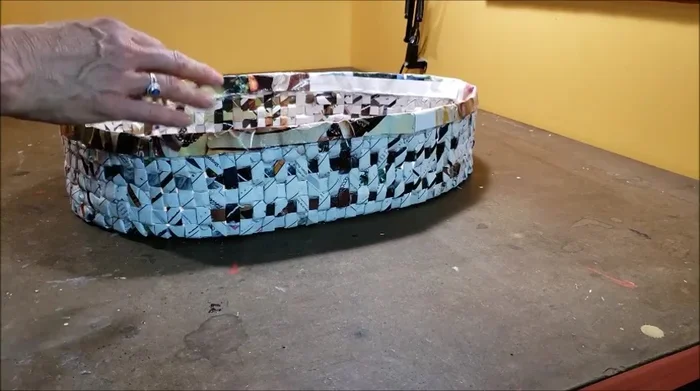
Weave the Basket Sides Finish and Decorate the Basket
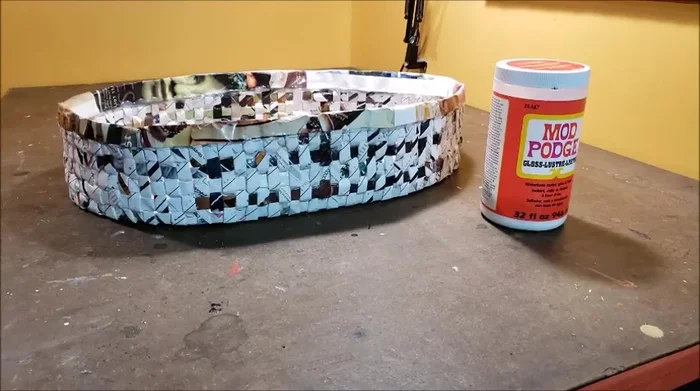
- Apply Mod Podge to the bottom and sides to secure the raw edges and create a smooth finish.
- Spray paint the basket with metallic silver paint. Optionally, apply a distressed finish using diluted black paint and paper towels to create an antique look.
Finish and Decorate the Basket Assemble the Cat Bed
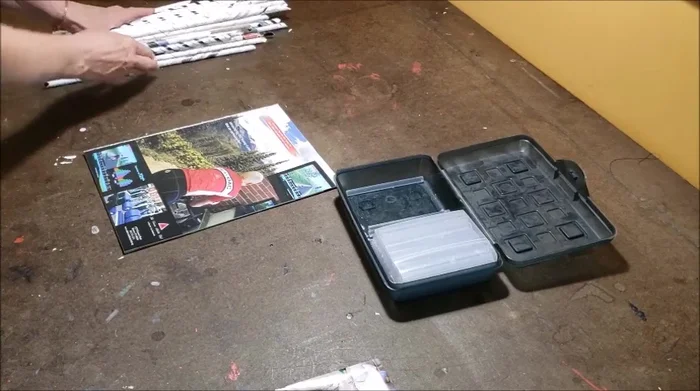
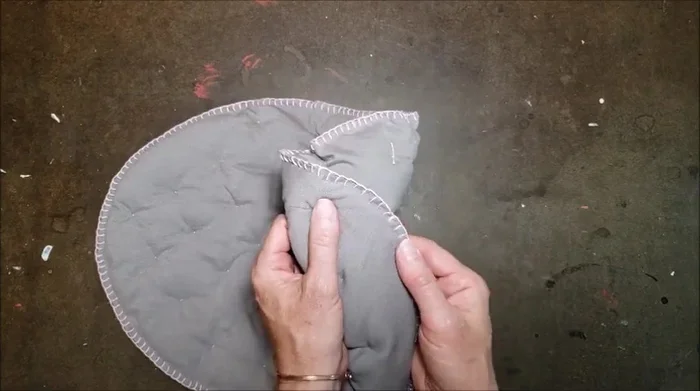
- Place the foam padding into the basket, followed by the fabric pad.
Assemble the Cat Bed


Read more: DIY Cuddly Cat & Dog Bed: A Super-Warm, Easy Tutorial
Tips
- Use rubber bands to bundle vertical pieces during weaving for easier handling.
- Add extra allowance (about an inch) to the fabric pad templates to account for shrinkage after stuffing.
- Shape and mold the paper basket as you weave and glue; the paper is sturdy enough to allow some reshaping.