Spoil your furry friend with a comfortable and portable sleeping solution – a collapsible dog bed hammock! This innovative project combines the convenience of a hammock with the sturdy support of MakerPipe connectors, creating a unique and easily customizable bed for your canine companion. Forget bulky, unwieldy dog beds that take up valuable space; this design folds flat for easy storage and transport, making it perfect for travel, camping, or simply tidying up your living room. The durable materials and simple construction make this a rewarding project even for novice DIY enthusiasts.
This guide provides a detailed, step-by-step approach to building your own collapsible dog bed hammock using readily available MakerPipe components. We'll walk you through each stage, from selecting the right materials and measuring your pet to assembling the frame and attaching the fabric. Let's get started and build the perfect comfy haven for your beloved dog!
Preparation and Safety Guidelines
- MakerPipe connectors
- 3/4 inch conduit
- Pipe cutter (or hacksaw)
- Hex wrench
- Measuring tape
- Canvas fabric
- Sewing machine
- Leather strips
- Hole punch
- Brass rivets
- Rivet setting kit
- Snap setter
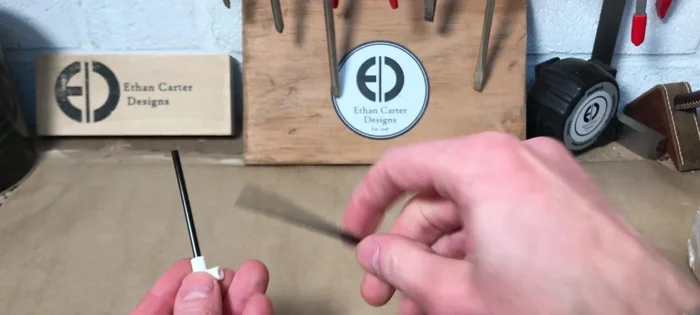
- Heat shrink tubing
- Heat gun
- Ensure all MakerPipe connectors are securely fastened. Loose connections can lead to instability and potential injury to your dog.
- Test the hammock's weight capacity before allowing your dog to use it. Use a weight equivalent to or exceeding your dog's weight.
- Regularly inspect the hammock for any signs of wear and tear, especially on the fabric and connectors. Replace damaged components immediately.
Step-by-Step Instructions
Planning and Design
- Design the dog hammock using the MakerPipe mini-mix modeling kit to visualize the layout and connector needs.
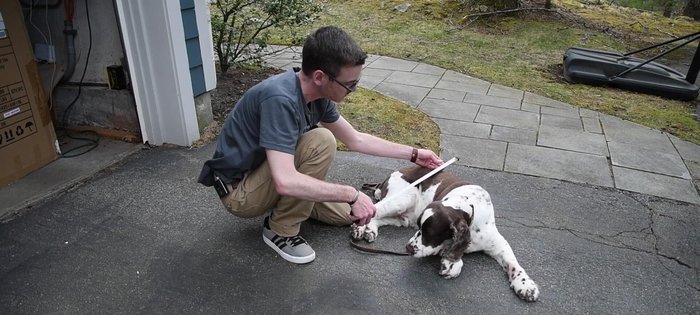
- Measure your dog to determine the hammock's dimensions (e.g., 36 inches long x 24 inches wide).

Planning and Design Frame Construction
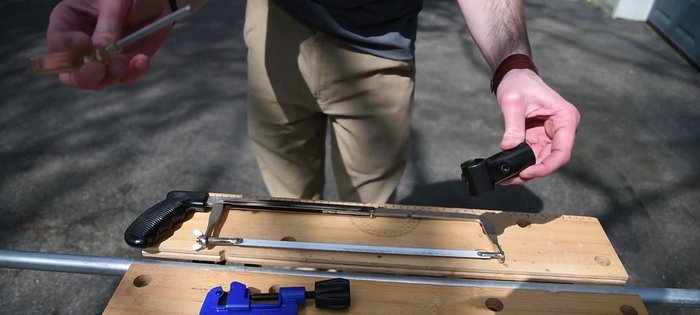
- Cut the conduit to the required lengths using a pipe cutter (for clean cuts) or a hacksaw (faster, but less precise).
- Assemble the frame using the connectors. Pipes pass through the round end; another slides into the open end; tighten with a hex wrench.
Frame Construction Fabric Preparation
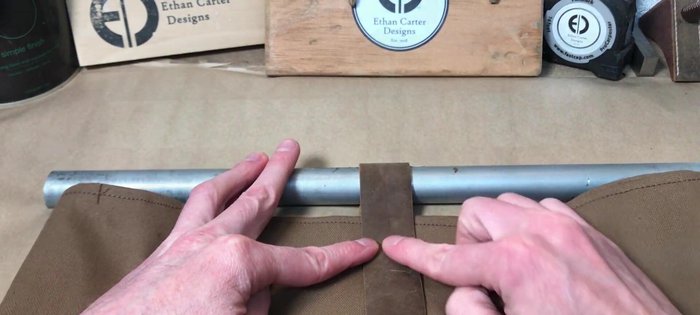
- Cut the canvas fabric to size for the hammock and awning, adding a hem to prevent unraveling.
- Attach leather loops to the canvas using brass rivets or snaps for connection points to the conduit.
Fabric Preparation Finishing Touches
- Apply heat shrink tubing to the conduit for a finished look and weather protection.
Assembly and Attachment
- Attach the canvas to the conduit frame using the leather loops.
- Assemble the awning, ensuring it can be easily connected and detached using snaps.
Assembly and Attachment


Read more: DIY Glamorous Pet Beds from Upcycled Furniture: A Step-by-Step Guide
Tips
- Use a pipe cutter for cleaner conduit cuts, but a hacksaw is faster.
- The mini-mix modeling kit is incredibly helpful for visualizing the design before building.
- Heat shrink tubing protects the conduit and enhances the finished appearance.