Layla, our beloved canine companion, deserved more than just a flimsy, uncomfortable dog bed. She's a whirlwind of energy and affection, but after a long day of playful adventures, she needed a truly restful retreat. That's why we decided to embark on a DIY project – building her the perfect cozy and functional haven. This wasn't just about aesthetics; it was about creating a durable, washable, and ultimately, healthier sleeping space tailored to her specific needs and size. We considered factors like her breed, sleeping habits, and even her favorite napping spots to inform our design choices.
This DIY dog bed project will transform a simple idea into a comfortable and stylish bed for your furry friend. From sourcing materials to the final touches, we'll guide you through each step of the process, detailing how we built Layla's incredible new bed. Get ready to roll up your sleeves and create the ultimate sleeping sanctuary for your beloved pet – let's get started!
Preparation and Safety Guidelines
- Circular Saw
- Table Saw
- Jigsaw
- Heat Gun
- Iron
- Roller
- Wood Glue
- Brad Nails
- 90 Degree Clamps
- Sandpaper
- Oil-Based Polyurethane
- Drill Press
- Screws
- 3M Double-Sided Tape
- CNC Router (Optional)
- Painters Tape
- Starbond CA Glue
- Always supervise your dog with any new bed, especially if it contains small, removable parts that could be ingested.
- Use pet-safe materials only. Avoid fabrics or fillings that could be toxic if chewed or swallowed. Opt for durable, non-toxic fabrics and stuffing.
- Ensure the bed is sturdy and well-constructed to prevent collapse or injury. Avoid sharp edges or protruding objects that could harm your dog.
Step-by-Step Instructions
Planning and Design
- Plan and Design the Dog Bed

Planning and Design Plywood Preparation
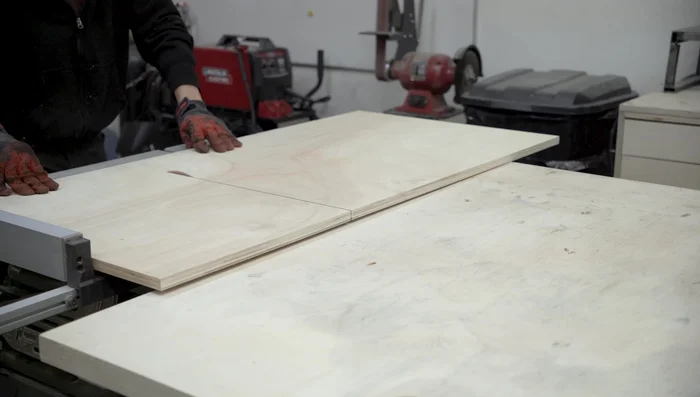
- Cut Plywood Pieces
Plywood Preparation Cutting the Opening
- Cut the Oval/Circular Opening (Using a Table Saw and Jigsaw)
Cutting the Opening Edge Banding
- Apply Edge Banding (Using a Heat Gun and Roller initially, then an Iron)
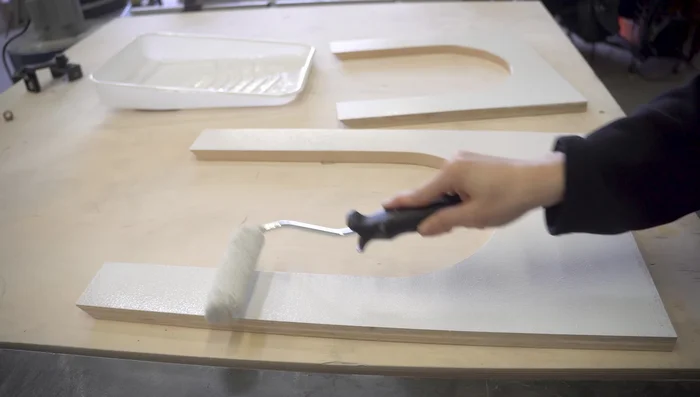
Edge Banding Painting
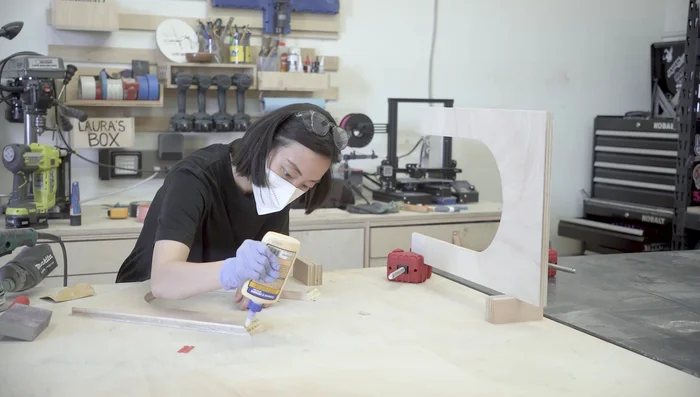
- Paint Exterior Walls (White)
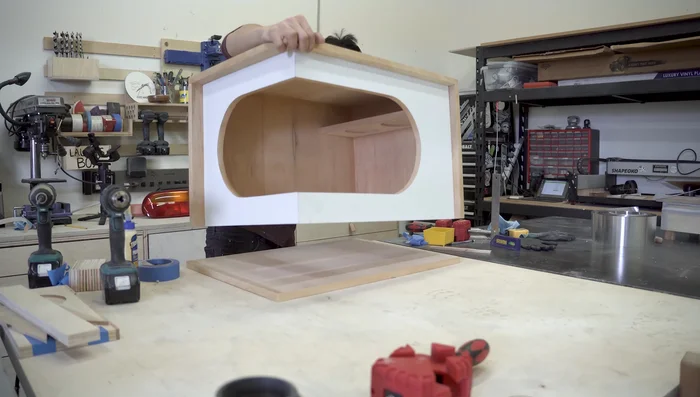
Painting Assemble Main Structure
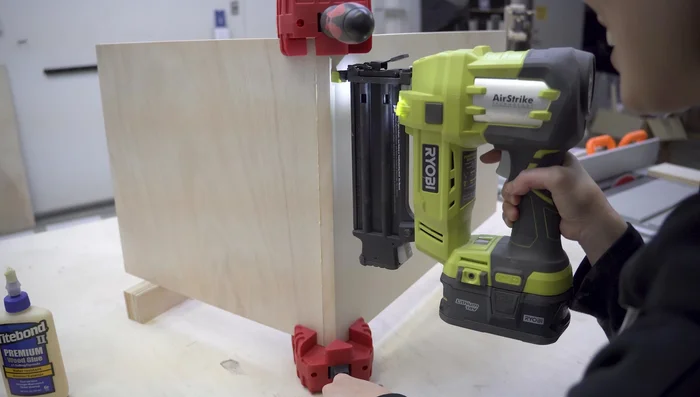
- Assemble the Bed Frame (using wood glue and brad nails, 90 degree clamps)
Assemble Main Structure Assemble Opening Panels
- Assemble the Opening Panels
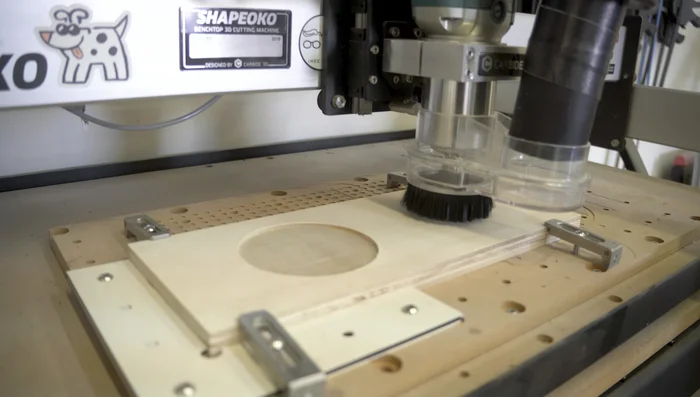
Assemble Opening Panels Create Dog Bowl Shelf
- Create the Dog Bowl Shelf (using CNC for pockets - optional)
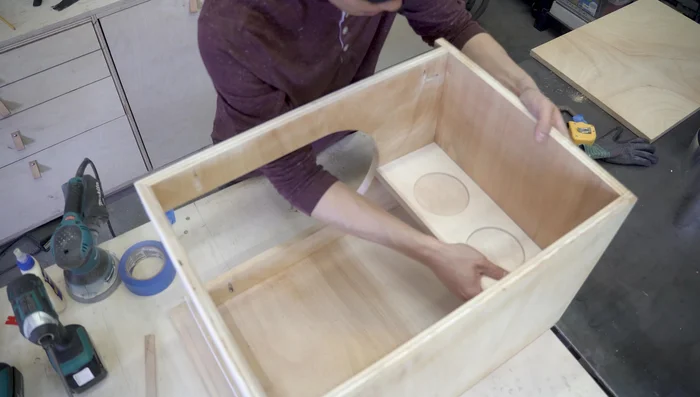
Create Dog Bowl Shelf Attach Walls
- Attach the Walls to the Structure Using Pocket Holes
Attach Dog Bowl Shelf
- Attach the Dog Bowl Shelf
Attach Dog Bowl Shelf Attach Roof
- Attach the Roof
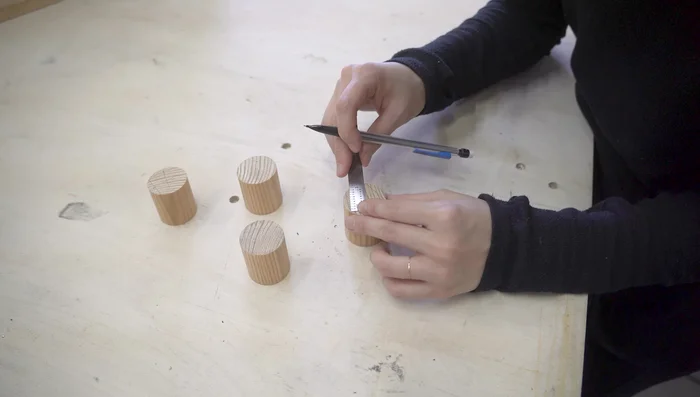
Attach Roof Attach Legs
- Attach Legs (using dowels and pre-drilling)
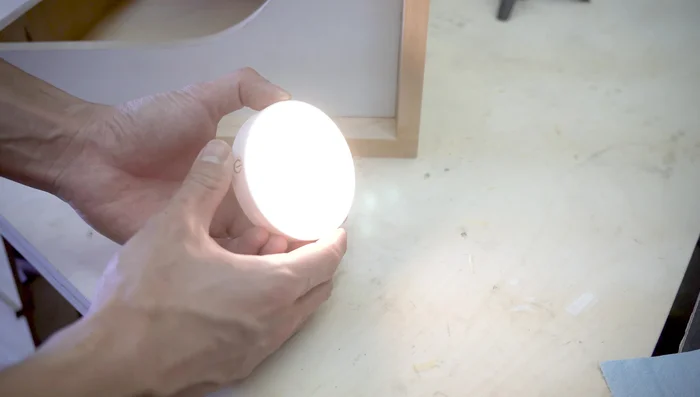
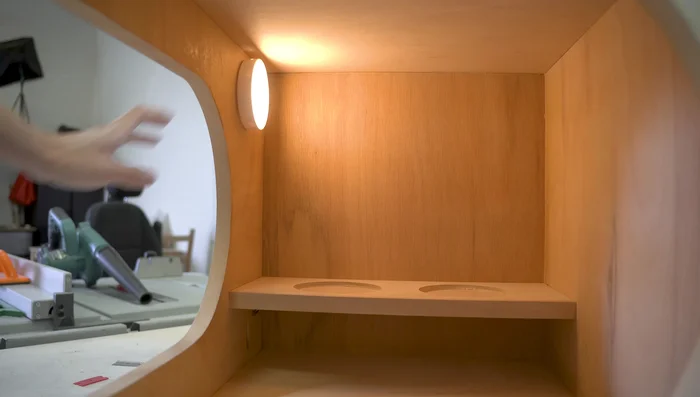
Attach Legs Install Light
- Install Rechargeable Magnetic Light
Install Light Final Touches and Reveal
- Add Blanket, Bowls, and Reveal to Layla
Final Touches and Reveal

Read more: DIY Glamorous Pet Beds from Upcycled Furniture: A Step-by-Step Guide
Tips
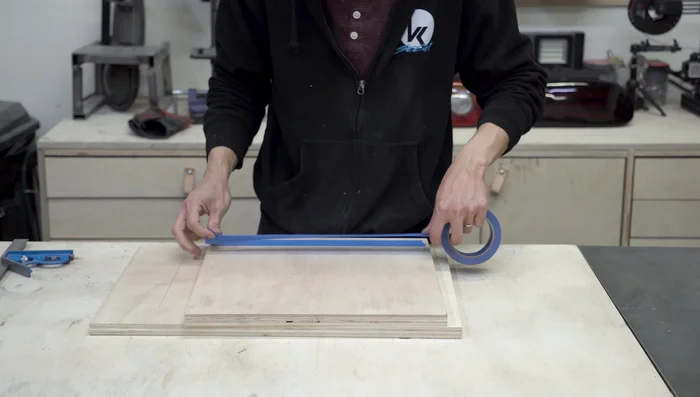
- Stack and cut walls together for consistent height.
- Use a bucket to trace a circular arc.
- Use painters tape and CA glue for easy separation after cutting.
- Fill gaps in edge banding with wood glue and sanded dust.
- Apply finish *after* assembly for easier work.