Is your beloved canine companion deserving of a little extra comfort and luxury? A store-bought dog bed can often come with a hefty price tag, and finding one that perfectly suits your dog's size and preferences can be a challenge. But what if you could create a cozy, customized haven for your furry friend, all while saving money and expressing your creativity? Building a DIY dog bed is easier than you might think, offering a rewarding project that strengthens the bond with your pet and results in a truly unique and snug sleeping space. Think plush fabrics, perfectly sized cushions, and a design that reflects your dog's personality.
This guide will walk you through a simple, step-by-step process for crafting the perfect DIY dog bed, from choosing the right materials to the final touches of comfort and style. Get ready to unleash your inner crafter and embark on a project that will leave both you and your dog feeling satisfied and snug!
Preparation and Safety Guidelines
- Old shelf
- Stencils
- Felt or old rags
- Hot glue or wood glue
- Polyfill
- Dog blanket
- Optional: Pillow, blanket, thrift store items for decoration
- Always supervise your dog with any new bed, especially if it contains small, detachable parts they could swallow.
- Choose filling materials carefully; avoid anything toxic or that could be easily ingested and cause harm. Opt for dog-safe fabrics and stuffing.
- Ensure the bed's size is appropriate for your dog's size to prevent discomfort or injury. A bed too small can restrict movement, while one too large might be ignored.
Step-by-Step Instructions
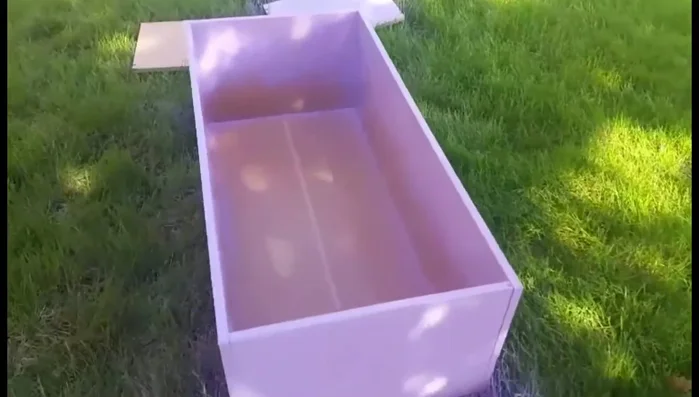
Prepare the Dog Bed Base
- Remove panels from an old shelf. One panel will be used as the headboard.

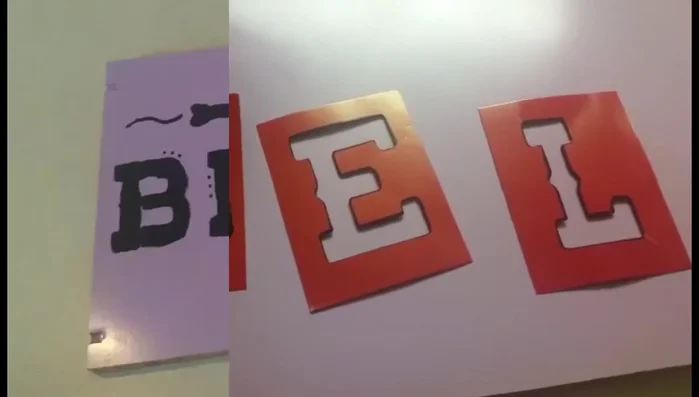
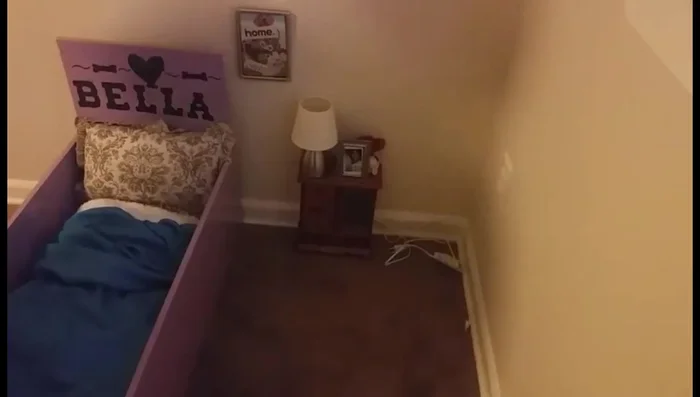
Prepare the Dog Bed Base Decorate the Headboard
- Use stencils to personalize the headboard with your dog's name and designs. Apply using hot glue (recommended for its sturdy hold).
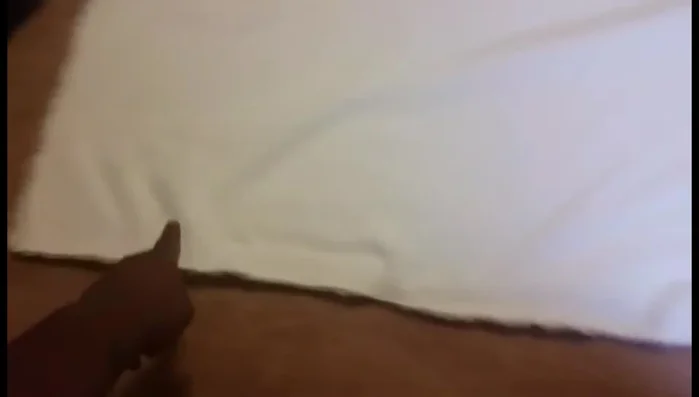
Decorate the Headboard Create and Stuff the Bedding
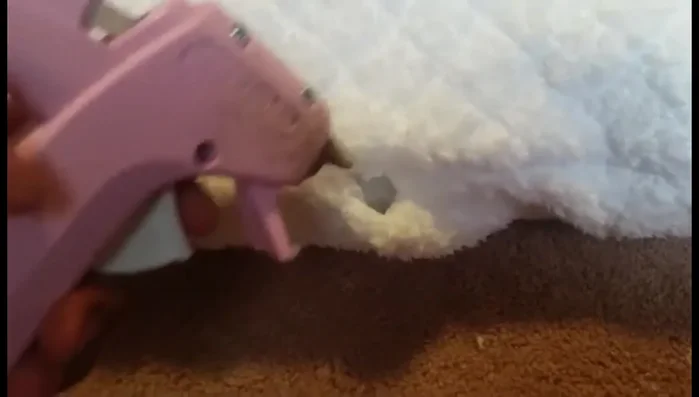
- Cut felt or use old rags to create the bedding. Glue around the edges, leaving an opening.
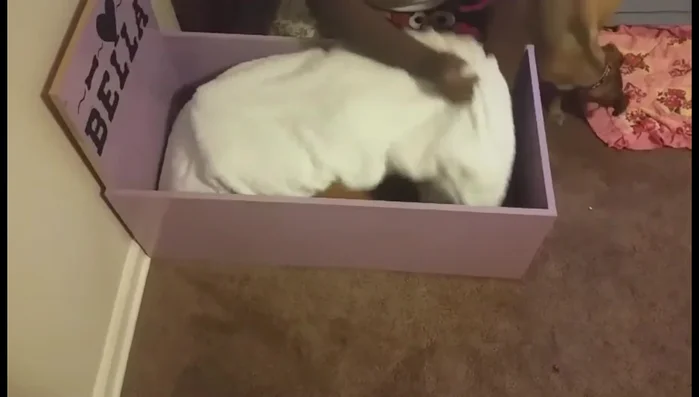
- Fill with polyfill. Add old dog blankets for scent and comfort. Adjust the stuffing until it's comfortable for your dog.
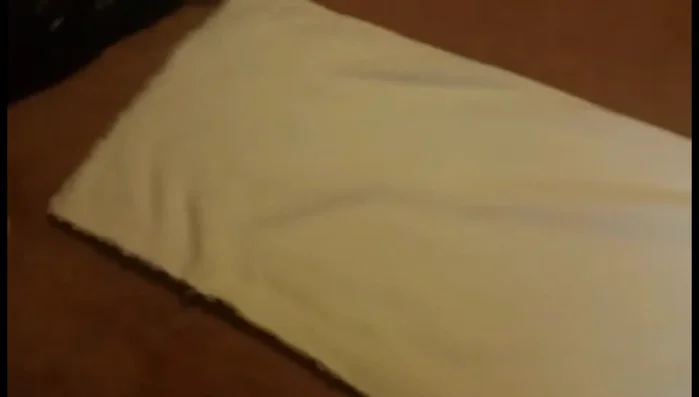
Create and Stuff the Bedding Close the Bedding
- Glue and pinch the edges to seal the bedding.
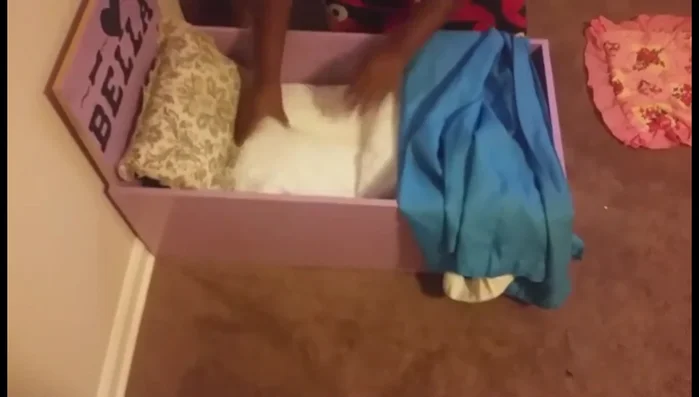
Close the Bedding Add Extra Comfort and Height
- Add a blanket underneath for extra height and comfort.
Add Extra Comfort and Height Make a Removable Cover
- Use an old sheet or fabric scraps to create a removable cover for easy cleaning.
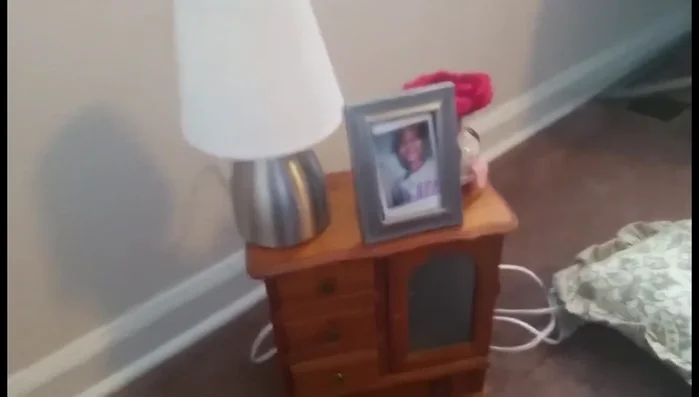
Make a Removable Cover Optional: Create a Dog Shelf
- Make a dog shelf: Use thrift store items to create a cute and personalized shelf for your dog's belongings or photos.
Optional: Create a Dog Shelf Optional: Make a Dog Mat
- Make a dog mat: Use magazines and a bathmat to make a collage for a unique dog mat.
Optional: Make a Dog Mat
Read more: DIY Glamorous Pet Beds from Upcycled Furniture: A Step-by-Step Guide
Tips
- Hot glue provides a surprisingly sturdy bond for the headboard.
- Use old, comfortable materials for the bedding to save money and increase the dog's comfort.
- Incorporate your dog's favorite blanket or scent into the bedding to make it more appealing.
- Check with your dog to ensure there is enough stuffing in the bed.
- Personalize the dog bed and surrounding area with photos, collages or other decorations to make it more fun and engaging for you and your pet.