Spoil your furry friend with a cozy, custom-made dog bed without breaking the bank! This easy tutorial guides you through creating a comfortable and stylish bed for your canine companion using only scrap fabric and basic sewing skills. Forget expensive pet store prices and embrace the rewarding experience of crafting a unique piece tailored perfectly to your dog's size and your home's décor. You'll be amazed at how simple it is to transform leftover fabrics into a cherished piece of pet furniture.
This DIY project is perfect for beginners, requiring no prior sewing expertise. We'll walk you through each step with clear instructions and helpful visuals, making it easy to create a durable and adorable dog bed in just a few hours. Ready to get started on transforming those fabric scraps into a luxurious haven for your beloved pet? Let's dive into the step-by-step process!
Preparation and Safety Guidelines
- Fabric scraps
- Cutting mat
- Rotary cutter
- Sewing machine
- Wonder clips (optional)
- Heavy-duty thread (optional)
- Always pre-wash and thoroughly dry all fabrics before starting. This prevents shrinkage after the bed is completed and removes any potential irritants for your dog's skin.
- Avoid using fabrics with loose threads, small buttons, or embellishments that your dog could chew off and ingest. Choose durable, sturdy materials.
- Ensure all seams are securely stitched and there are no exposed wires or stuffing poking out. A well-constructed bed prevents accidental ingestion of harmful materials.
Step-by-Step Instructions
Choosing Fabric and Size
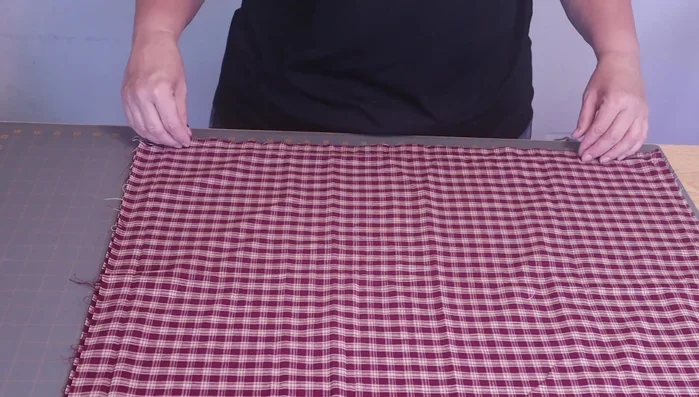
- Choose your fabric and determine the size of your dog bed. The video uses a standard size of approximately 22 inches by 28 inches.

Choosing Fabric and Size Cutting the Fabric
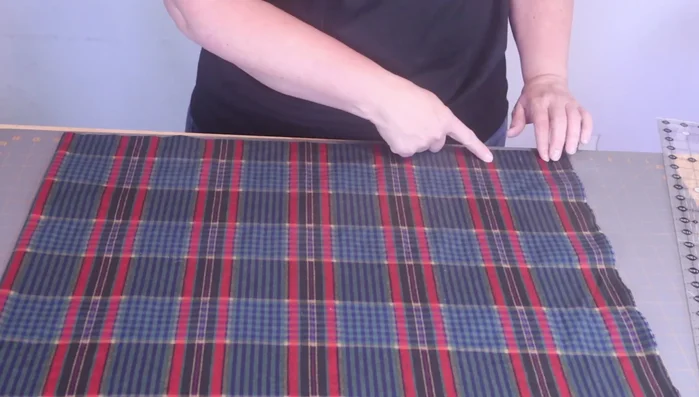
- Cut your fabric. For this size, cut one piece of fabric 22 inches by 28 inches. Trim any imperfections or tears.
Cutting the Fabric Sewing Side Seams
- Sew two seams, approximately 1/2 inch from the edge, on the 22-inch side of your fabric piece. This step is repeated to reinforce the seams.
Sewing Side Seams Turning Right Side Out
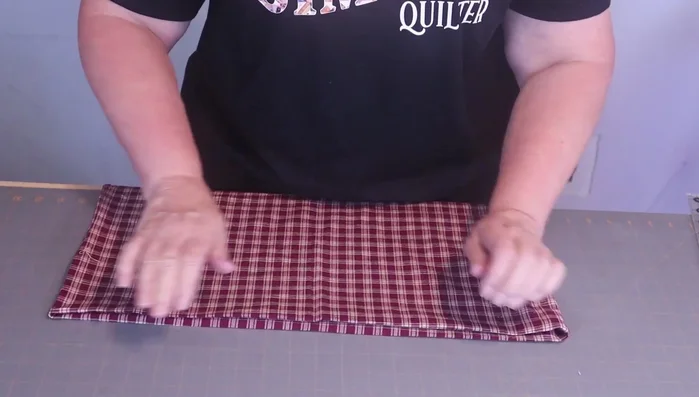
- Turn the fabric right side out. Use the technique of folding the corners to easily turn the fabric inside out, creating crisp corners.
Turning Right Side Out Finishing the Top Edge
- Fold the top edge of the fabric down 1-1.5 inches (no precise measurement needed) and stitch in place.
Finishing the Top Edge Sewing the Remaining Seams
- Use wonder clips (or pins) to hold all edges together, then stitch the seams using about 1/4-inch seam allowance. Go over the seam again for added durability.


Read more: DIY Glamorous Pet Beds from Upcycled Furniture: A Step-by-Step Guide
Tips
- Use inexpensive, durable fabrics like canvas or clearance fabrics. Quilt shop quality fabrics are not necessary.
- Don't worry about making the seams perfectly precise, as these are dog beds and not quilts.
- Use a heavier-weight thread for extra durability.
- Consider adding a layer of batting for extra cushioning; the video mentions using leftover batting scraps.