Give your furry friend the royal treatment with this surprisingly simple DIY dog canopy bed! Upcycling an old end table, this project transforms a forgotten piece of furniture into a luxurious and cozy sleeping space for your beloved canine companion. Forget expensive pet beds; with a little creativity and some readily available materials, you can craft a unique and charming dog bed that will be the envy of the neighborhood. You'll be amazed at how easily an old end table can be repurposed into something so stylish and functional.
This guide provides a detailed, step-by-step walkthrough, complete with images, to help you build this adorable canopy bed. From preparing the end table to adding the final touches, we'll guide you through every stage of the process, ensuring a successful and enjoyable DIY experience. Let’s get started and create a truly special sleeping haven for your dog!
Preparation and Safety Guidelines
- Old end table
- Spray paint (metallic, blue, glitter)
- Glitter sealer
- Clear coat gloss
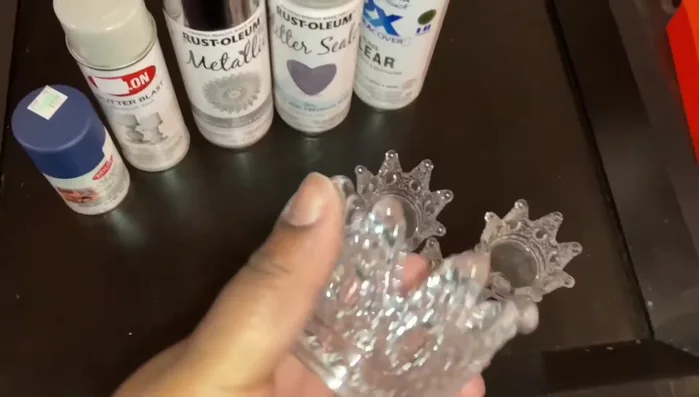
- Candle holders
- Project foam
- Fabric
- Staple gun
- Foam poster board
- Bling strips
- Pillows
- Comforter
- Glittery mesh material
- Ensure all sharp edges and corners of the end table are sanded smooth and thoroughly covered to prevent injury to your dog.
- Use only non-toxic paints, stains, and sealants that are pet-safe. Allow them to fully cure before introducing your dog to the bed.
- Regularly inspect the canopy bed for any signs of damage or instability. Replace or repair any weakened parts immediately to prevent collapse.
Step-by-Step Instructions
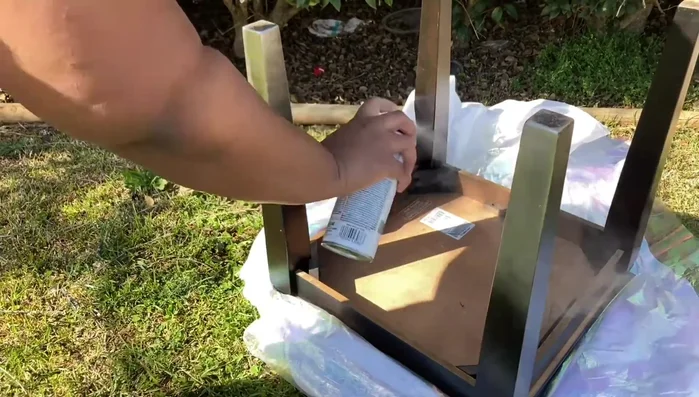
Prepare the Frame
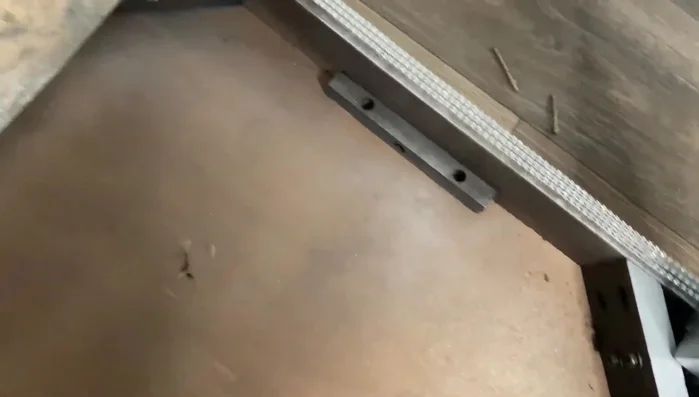
- Flip the end table upside down to create the bed frame.

Prepare the Frame Paint the Frame
- Spray paint the entire end table with metallic spray paint, followed by glitter glass spray paint, glitter protection, and a high gloss protection.
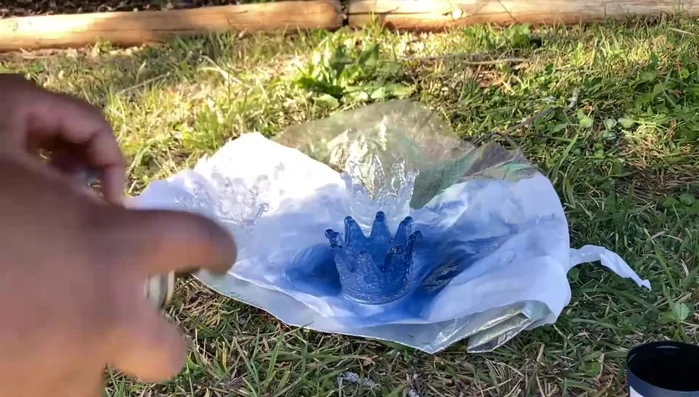
Paint the Frame Paint the Crown Pieces
- Spray paint the candle holders blue, add glitter blast spray paint, and seal with glitter sealer and a clear coat.
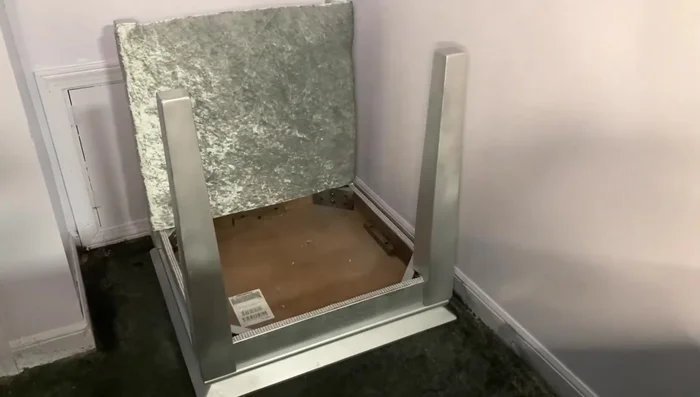
Paint the Crown Pieces Make the Headboard
- Measure and cut foam board to match the frame. Place fabric and foam on top, then flip and staple the fabric to the back.
- Attach bling strips around the headboard's border.
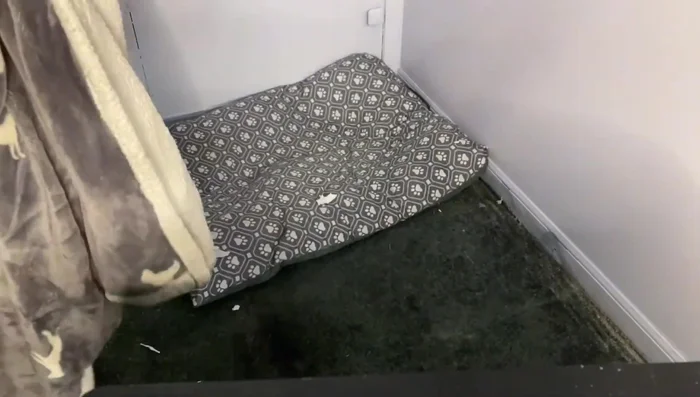
Make the Headboard Prepare the Space
- Prepare the area by removing the dog's old bed and cleaning.
Prepare the Space Add Bedding
- Dress up the bed with pillows and a sham.
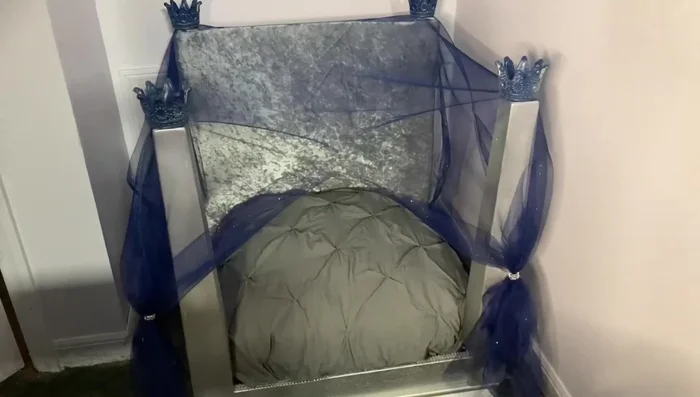
Add Bedding Attach Canopy
- Drape the glittery mesh material over the canopy bed, securing it with a staple gun. Create splits for easy dog access.
Attach Canopy Attach Crowns
- Hot glue the crown pieces to the top of each pole.
Attach Crowns Final Touches
- Add the dog's blanket.
Final Touches


Read more: DIY Glamorous Pet Beds from Upcycled Furniture: A Step-by-Step Guide
Tips
- Avoid spray painting on windy days.