Sharing your bedroom with a furry friend doesn't mean sacrificing style or functionality. This DIY project offers a practical and aesthetically pleasing solution: a custom-built dog-friendly nightstand with a sophisticated two-tone stain. Imagine a stylish piece of furniture that not only holds your belongings but also incorporates clever features designed for your canine companion’s comfort and needs, all without breaking the bank or requiring advanced woodworking skills. We're talking hidden storage for leashes and toys, perhaps a discreetly placed food and water bowl area – all seamlessly integrated into a beautiful design.
This guide will walk you through building your own dog-friendly nightstand, step-by-step, from selecting the right materials to applying the striking two-tone stain. Prepare to be amazed by how easily you can create a functional and charming addition to your bedroom, while simultaneously spoiling your beloved pet with a dedicated space of their own. Let's get started!
Preparation and Safety Guidelines
- Orbital sander
- Drill
- Screws
- Jigsaw
- Chisel
- Clamps
- Speed square
- Measuring tape
- Foam brush/synthetic staining pad
- Staining sponge
- 220 grit sandpaper
- Microfiber rags
- Minwax water-based colored wood stains
- Minwax polycrylic clear coat
- MDF
- Plywood
- Canvas
- Staple gun
- Foam
- Use non-toxic wood and finishes. Dogs often lick or chew on furniture, so choose materials and stains specifically designed for pet safety. Always research the toxicity of any product before using it near your dog.
- Avoid sharp corners and edges. Sand all surfaces thoroughly to prevent splinters or injuries to your dog. Consider adding rounded edges for extra safety.
- Secure all hardware. Ensure all screws, hinges, and other hardware are firmly attached to prevent them from becoming loose and posing a choking hazard.
Step-by-Step Instructions
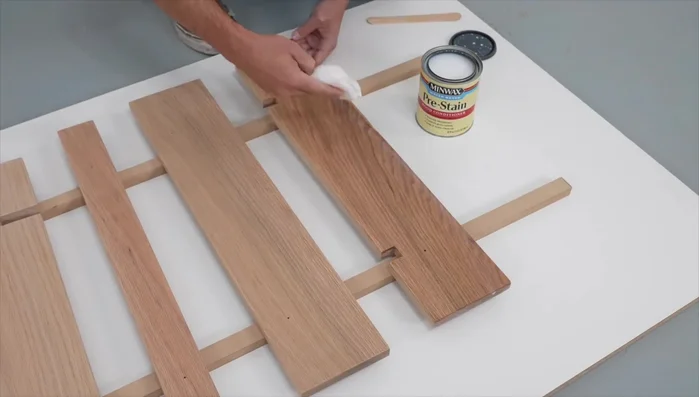
Prepare the Wood
- Cut and sand all the oak pieces to 220 grit.
- Prepare wood surfaces by removing dust and applying pre-stain wood conditioner. Sand lightly after conditioner dries.

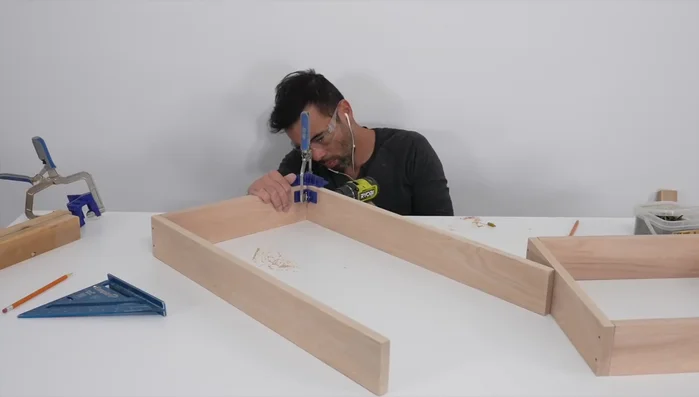
Prepare the Wood Construct the Base
- Assemble the base frame using finish screws, pre-drilling holes to prevent splitting.
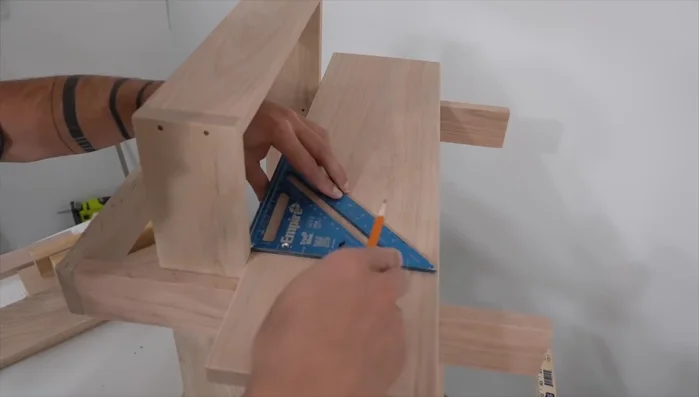
Build the Vertical Supports
- Create and attach the U-shaped vertical support using field measurements and clamps for precise fitting.
Build the Vertical Supports Attach Upper Shelf Supports
- Attach the upper shelf supports, using the structure itself as a guide for precise fitting.
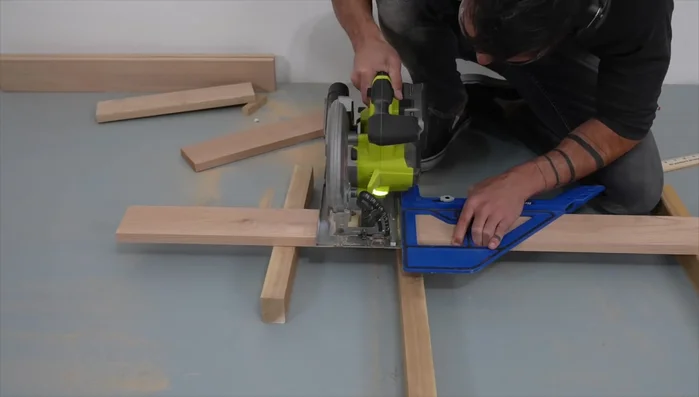
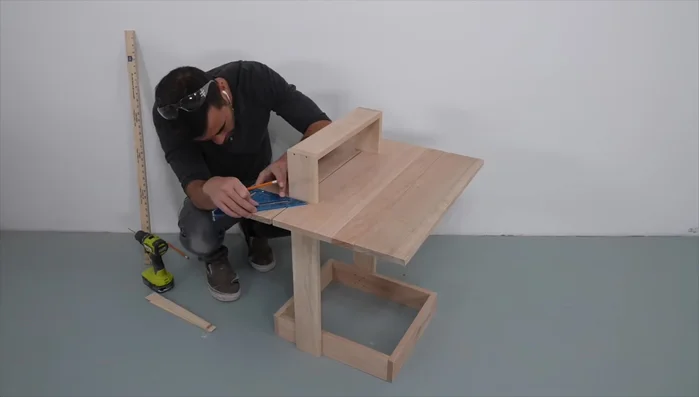
Cut Tabletop Notches
- Cut notches in the tabletop boards to fit around the vertical supports, utilizing the first piece as a template for the second.
Cut Tabletop Notches Assemble the Tabletop
- Assemble the tabletop, using MDF spacers to maintain level alignment during screwing.
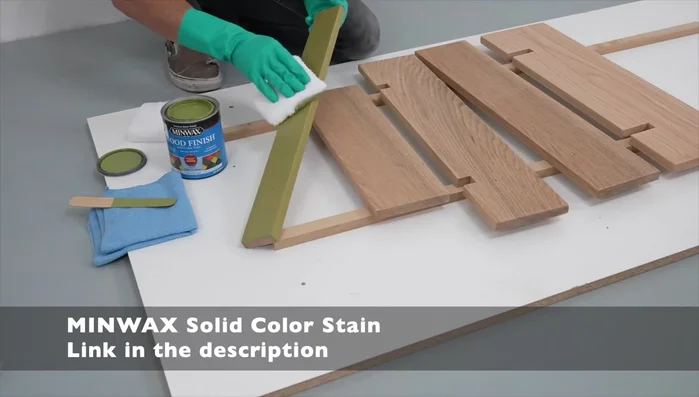
Assemble the Tabletop Stain the Wood
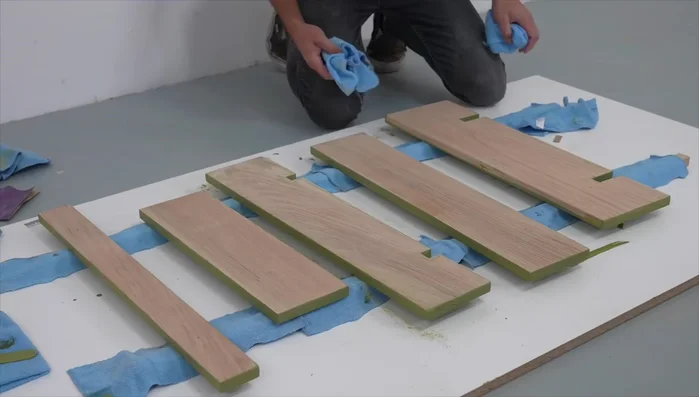
- Apply Minwax solid color stain, wiping in the direction of the grain and removing excess after 2 minutes. Let dry for 2 hours.
- Lightly sand any stain that seeped to unwanted areas. Apply stain to the other side, let dry 2-3 hours.
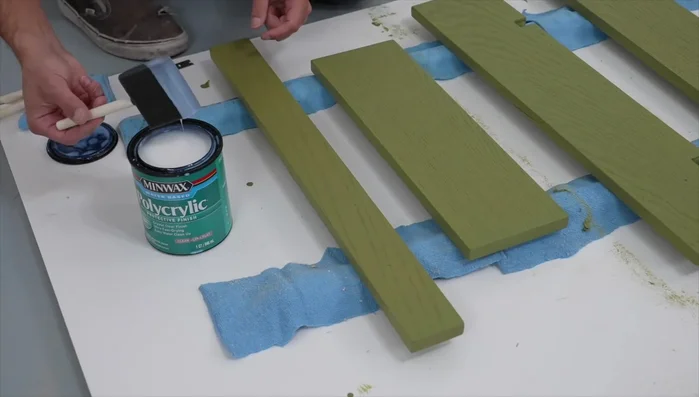
Stain the Wood Apply Protective Finish
- Apply Minwax Polycrylic clear ultra-flat coat, ensuring consistent application and avoiding build-up. Let cure overnight.
Apply Protective Finish Final Assembly
- Assemble the final nightstand, adding the upper shelf and tabletop pieces with consistent gaps.
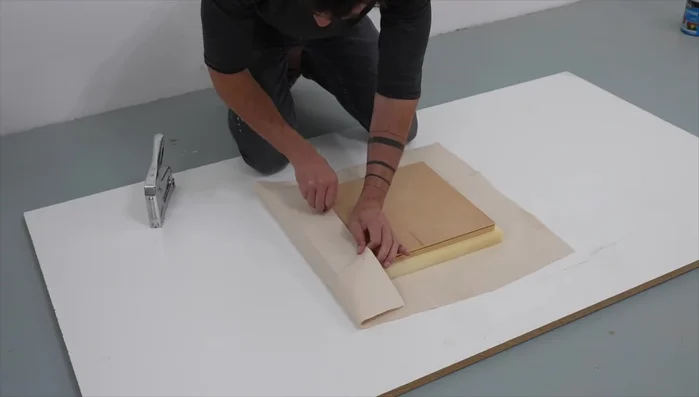
Add Dog Bed
- Create and attach the dog bed to the base.
Add Dog Bed
Read more: DIY Glamorous Pet Beds from Upcycled Furniture: A Step-by-Step Guide
Tips
- Use field measurements to ensure precise fitting of parts.
- Pre-drill holes to prevent wood splitting when using screws.
- Use clamps and spacers to maintain consistent distances and perpendicular angles during assembly.
- Use the first piece as a template for the second to ensure precise fitting in symmetrical parts.
- Apply consistent pressure when wiping off excess stain to avoid uneven coloration.