Spoiling your furry friend doesn't have to break the bank! A comfortable and cozy dog bed is essential for a happy pup, but store-bought options can be surprisingly expensive. This is where a no-sew DIY dog bed comes in – a perfect solution for pet owners looking for an easy, affordable, and surprisingly stylish alternative. Forget complicated stitching and pricey materials; this project utilizes readily available items you likely already have around the house, making it a truly budget-friendly endeavor.
Creating a luxurious haven for your canine companion is simpler than you think. This guide provides a straightforward, step-by-step process for constructing a no-sew dog bed that's both comfortable and aesthetically pleasing. Prepare to be amazed at how quickly and effortlessly you can transform ordinary household items into a custom-made dog bed that your pet will adore. Let's get started!
Preparation and Safety Guidelines
- Memory foam
- Fleece fabric (two colors)
- Scissors
- Always supervise your dog with any new bed, especially initially, to ensure they don't ingest or damage the filling materials. Choose filling materials that are non-toxic and won't pose a choking hazard.
- Ensure the chosen fabric is durable and tear-resistant to prevent your dog from accessing and ingesting the filling. Avoid fabrics that could easily unravel or pose a strangulation risk.
- Regularly inspect the dog bed for any damage or wear and tear and replace it if necessary to maintain your dog's safety and comfort.
Step-by-Step Instructions
Prepare the Materials
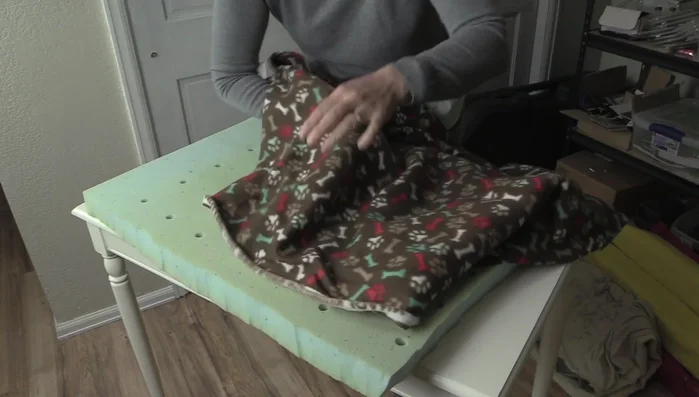
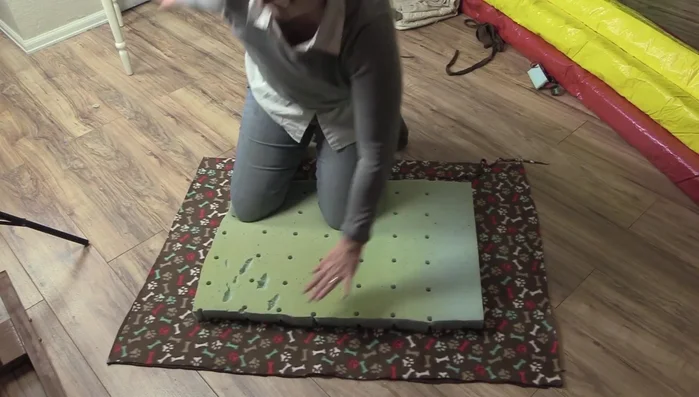
- Use an old dog bed pad as a template to cut out a piece of memory foam.
- Cut out a piece of your chosen fleece fabric (top piece) larger than the memory foam, allowing extra fabric for tying.
- Cut out a second piece of fleece fabric (bottom piece) the same size as the top piece.

Prepare the Materials Assemble the Layers
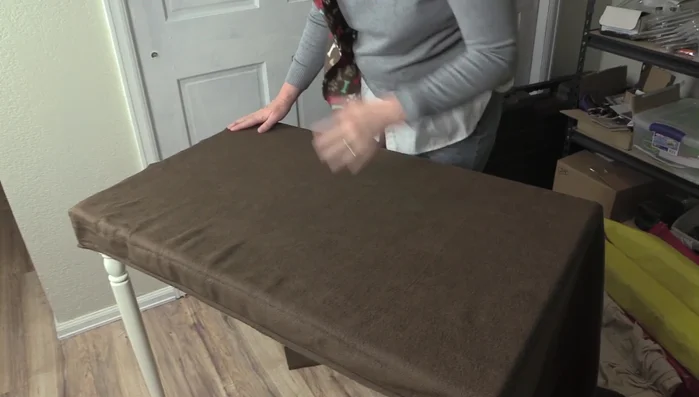
- Place the memory foam on top of both fleece pieces.
Assemble the Layers Tie the Bed Together
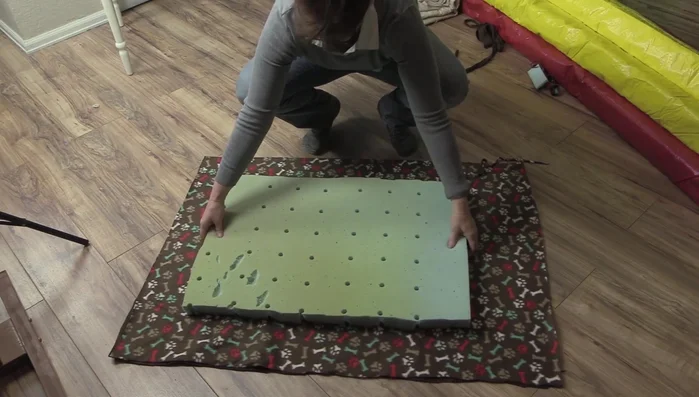
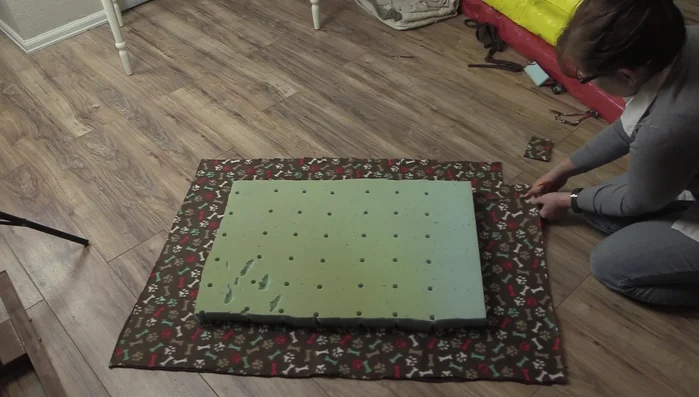
- Cut strips around the edges of both fleece pieces.
- Tie the strips from the top and bottom fleece pieces together, creating a knot for each strip. Use scissors to make the strips thinner if needed for easier tying.
Tie the Bed Together
Read more: DIY Glamorous Pet Beds from Upcycled Furniture: A Step-by-Step Guide
Tips
- Use thinner strips for easier knot-tying.
- Shop for fabric on sale to keep costs down.