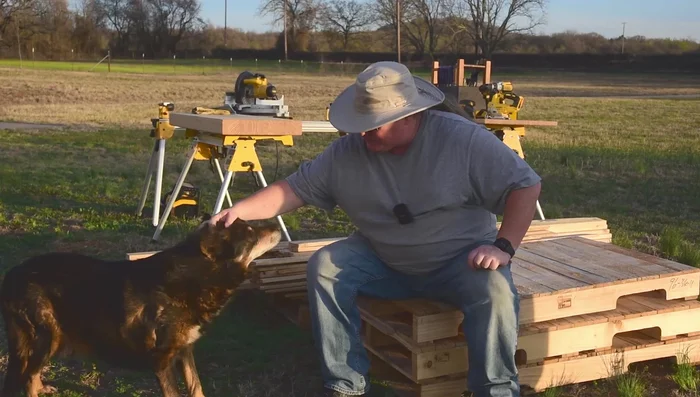
Want a charming and cozy dog house without breaking the bank? Then get ready to unleash your inner builder with this DIY pallet dog house project! Using reclaimed wood pallets, readily available (and often free!) from construction sites or online marketplaces, you can create a sturdy and stylish shelter for your furry friend. This project is surprisingly simple, requiring minimal tools and expertise, making it perfect for beginners and seasoned DIY enthusiasts alike. Forget expensive pet stores – you’ll be amazed at how much you can save while simultaneously giving those old pallets a new lease on life.
Building your dog's dream house is easier (and cheaper!) than you think. This guide provides a complete step-by-step walkthrough, complete with clear instructions and helpful images, to ensure a smooth and successful construction process. So grab your safety glasses, gather your supplies, and let’s get started on crafting the perfect, almost-free haven for your beloved canine companion!
Preparation and Safety Guidelines
- Hand saw
- Hammer
- Nails
- Glue (waterproof)
- Screws (optional)
- Jigsaw (optional)
- Clamps (optional)
- Level
- Measuring tape
- Safety glasses
- Thoroughly clean and sand all pallet wood to remove splinters, nails, and any potential chemical residue. Treat the wood with a pet-safe sealant or paint to protect against weather and parasites.
- Ensure the dog house is well-ventilated to prevent overheating and moisture buildup. Leave gaps or add vents for proper airflow.
- Check the structure regularly for any signs of damage or deterioration. Repair or replace any damaged parts promptly to maintain a safe and secure environment for your pet.
Step-by-Step Instructions
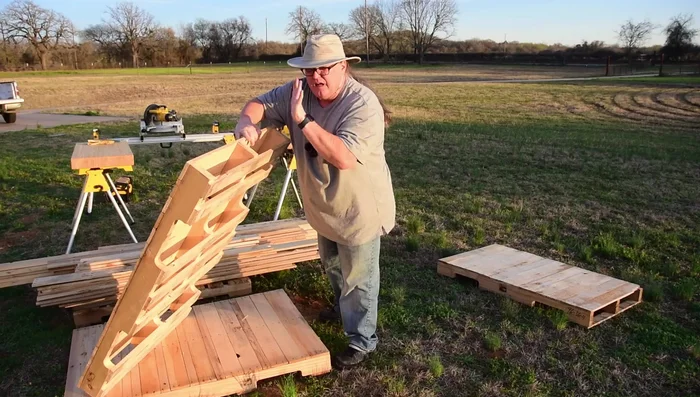
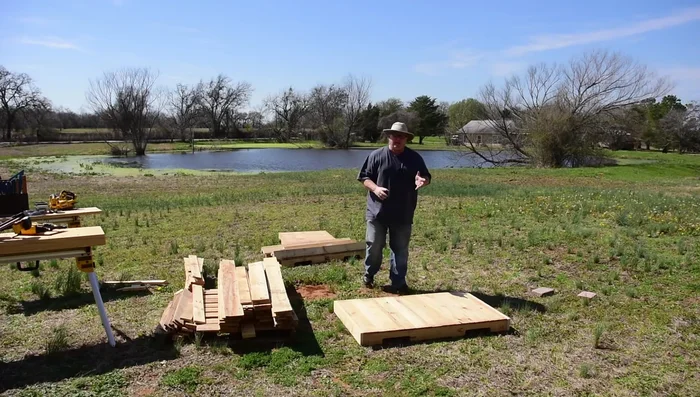
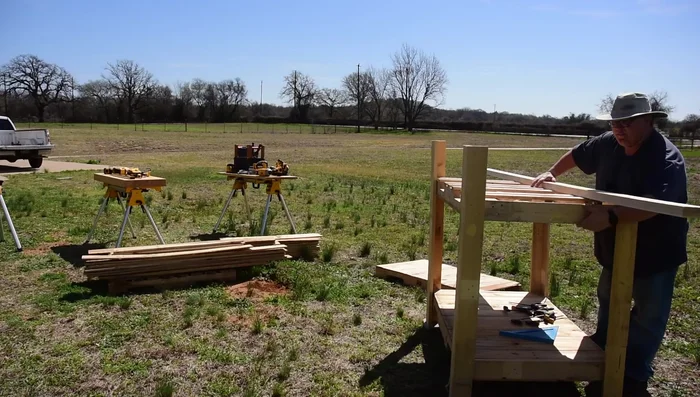
Gather and Prepare Materials
- Collect free pallets and disassemble them, keeping identically sized ones for the floor and ceiling. Supplement with extra boards to fill gaps.

Gather and Prepare Materials Construct the Base Platform
- Secure extra boards around the perimeter of the chosen pallet to create a solid frame for the walls and to cover gaps. Use thicker material (from pallet underpieces) to construct four legs (two long for the back, two short for the front) that lift the platform off the ground.
- Attach the legs to the base using glue and nails, ensuring level placement using a level. Only use one nail initially for flexibility during leveling.
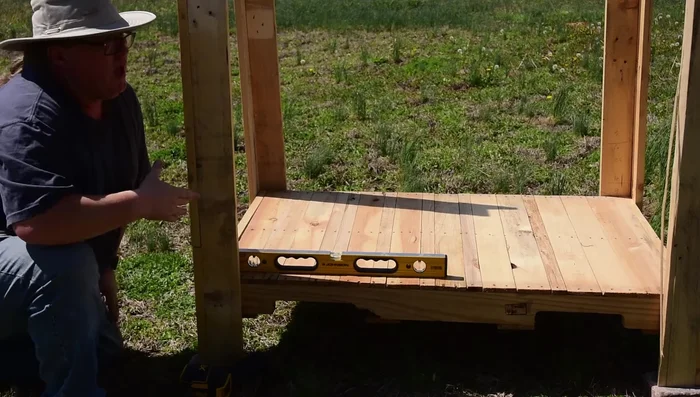
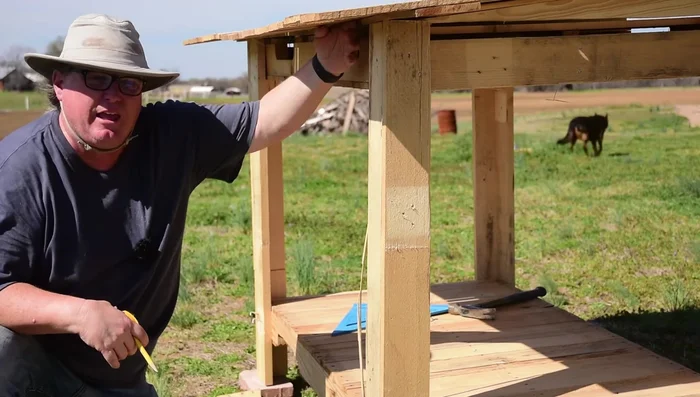
Construct the Base Platform Install the Roof Structure
- Mark a line 29 inches up on each leg to serve as a ledge for the roof. Clamp or partially drive nails into the legs at that mark. Position the roof pallet, ensuring level alignment, and secure it using nails.
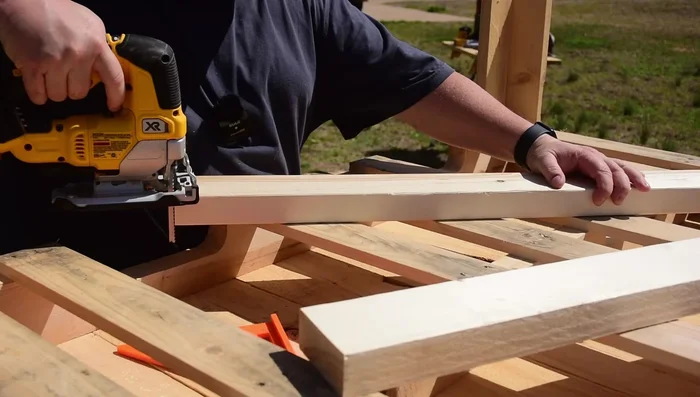
Install the Roof Structure Create and Attach the Roof
- Using a two-by-four, determine the roof's angle by creating a diagonal cut on the two-by-four. Use this angle as a guide to cut the roof boards for a tapered effect.
- Cut side boards to fit against the roof supports. Ensure they're flush with the sides of the roof structure. Then, install the roof boards, ensuring a proper overhang (about 6 inches).
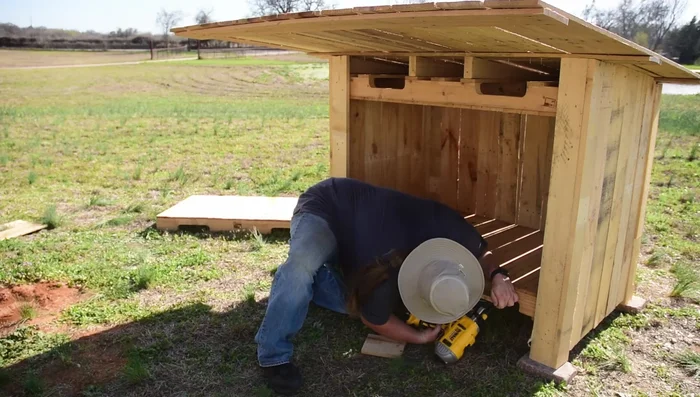
Create and Attach the Roof Build the Walls
- Cut and attach pallet slats vertically to form the walls. Nail the slats into the existing pallet structure, hiding the nails. Do not worry about perfect fitment; subsequent layers will cover any gaps.
Build the Walls Construct the Front Porch
- Attach a board to the front, creating a base for the porch. Measure and cut supporting legs for the porch, ensuring it is level with the main floor. Securely attach the supports.
Construct the Front Porch Finishing Touches and Refinements
- Add a new floorboard to cover gaps, potentially prime and paint for weather protection, and add any additional trim or decorative elements.
Read more: DIY Glamorous Pet Beds from Upcycled Furniture: A Step-by-Step Guide
Tips
- For colder climates, add insulation (pink foam) between layers for better weather protection.
- Use waterproof glue to ensure durability.
- Use alternating left-right nail placement for better structural integrity.
- Prime and paint pallet wood to prevent splintering and improve durability, especially in areas with harsh weather.