Spoil your furry friend with the ultimate comfort upgrade – a DIY super comfy pet bed! There’s nothing quite like seeing your beloved pet curled up contentedly in a cozy, personalized haven, and creating one yourself is easier than you think. Forget expensive store-bought options filled with questionable materials; this tutorial empowers you to build a luxurious, safe, and affordable bed tailored perfectly to your pet's size and preferences. You'll be surprised by how simple and satisfying this project is, using materials readily available at most craft or home improvement stores.
This step-by-step guide will walk you through creating a plush, supportive bed that your pet will adore. We’ll cover everything from choosing the right materials and crafting the perfect shape to adding those extra touches that elevate a simple bed into a cozy retreat. Get ready to unleash your inner crafter and create a custom-made masterpiece your pet will thank you for, night after night.
Preparation and Safety Guidelines
- Duck canvas or heavy cotton
- Fleece (1/2 - 2 yards)
- Chalk or Fabric Marker
- Measuring Tape
- Clips or Safety Pins
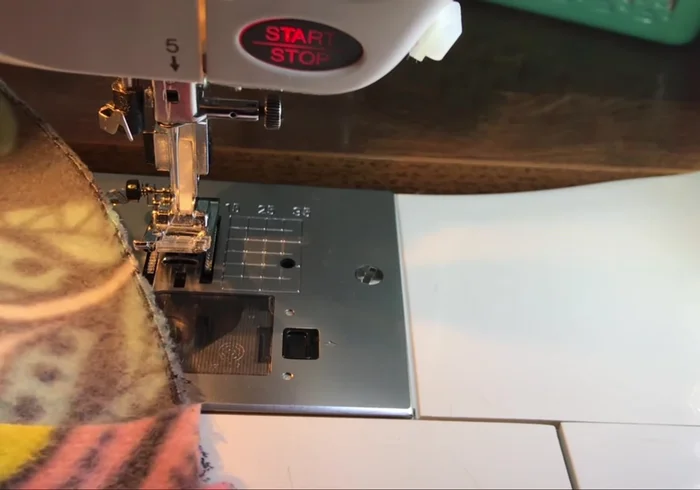
- Sewing Machine
- Poly Fill
- Always supervise pets with new bedding, especially initially, to ensure they don't ingest any filling materials.
- Choose filling materials that are non-toxic and safe for pets if they chew or ingest them. Avoid using materials like foam rubber or anything that could cause choking hazards.
- Ensure the pet bed is securely stitched and free of loose threads or parts that your pet could pull off and swallow.
Step-by-Step Instructions
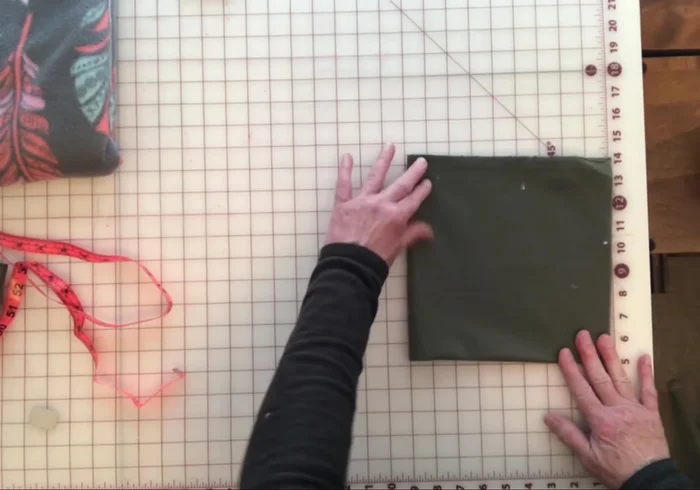
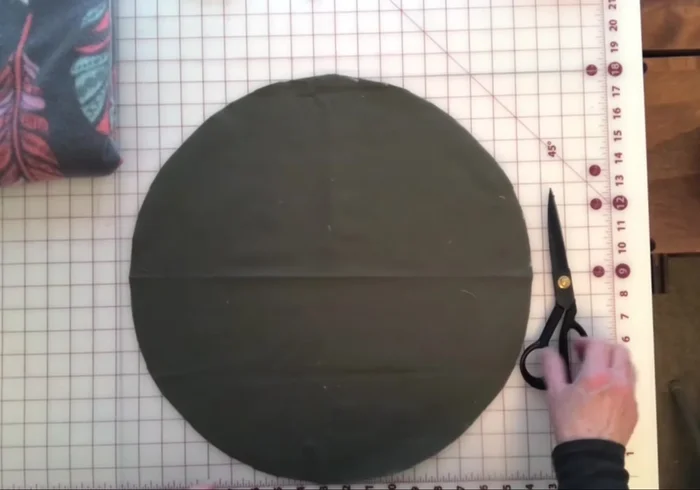
Prepare the base
- Measure your pet and cut a square piece of duck canvas/heavy cotton based on the pattern's instructions. The example uses an 18-inch diameter circle, starting with an 18x18 inch square.
- Fold the square into fourths, aligning the folds neatly.
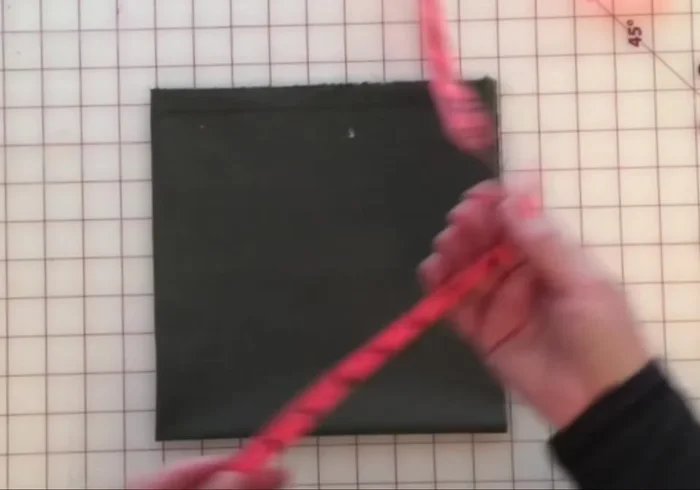
- Measure 9 inches (half the diameter) from the folded corner and mark an arc with chalk.
- Cut along the chalk mark to create a perfect circle.

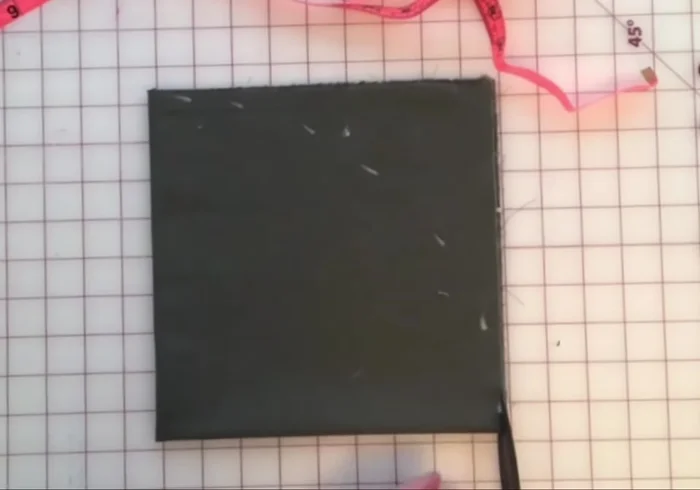
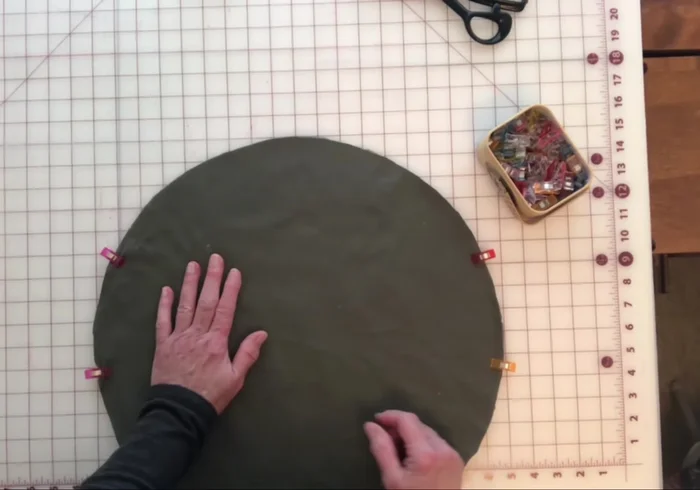
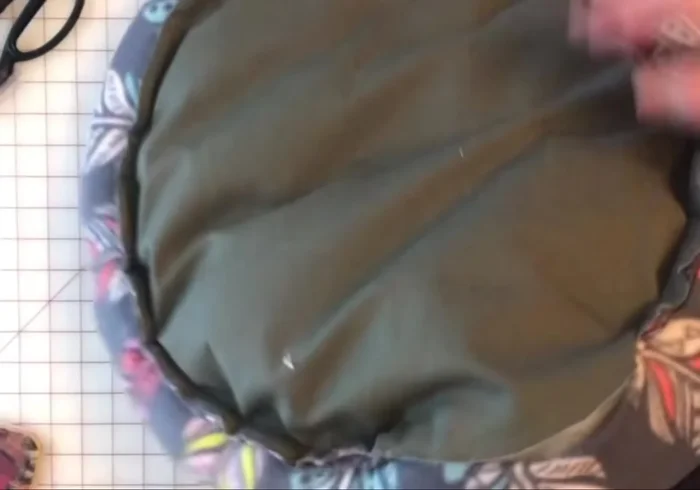
Prepare the base - Cut a circle of fleece with the same dimensions. Place the fleece circle wrong-side up, and position the canvas circle on top, wrong side facing the fleece.
- Mark an 8-inch opening on the fleece circle. Zigzag stitch around the edge to prevent fraying.
- Zigzag stitch around the perimeter of the fleece and canvas circle, leaving the 8-inch opening unstitched.
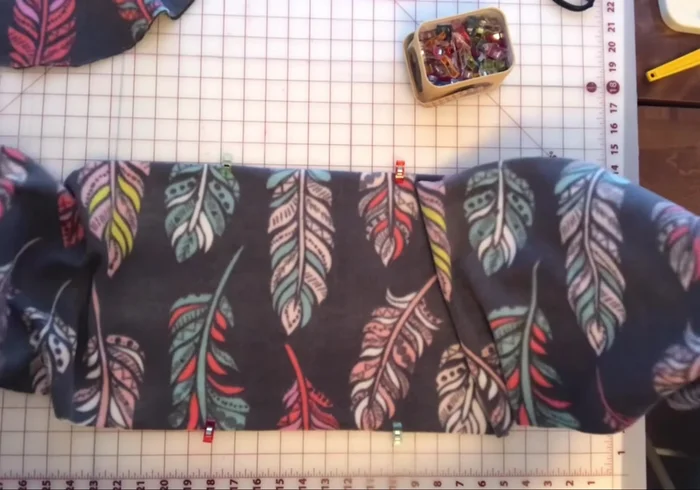
Prepare the base Create the bolster
- Cut and sew the bolster pieces. Zigzag the edges of the opening. If using multiple pieces, sew right sides together with a 1-inch seam.
- Fold the bolster wrong sides together, flattening the seam. Clip around the edges and stitch closed using an elastic zigzag stitch, leaving the previously zigzagged opening unstitched.
Create the bolster Attach the bolster
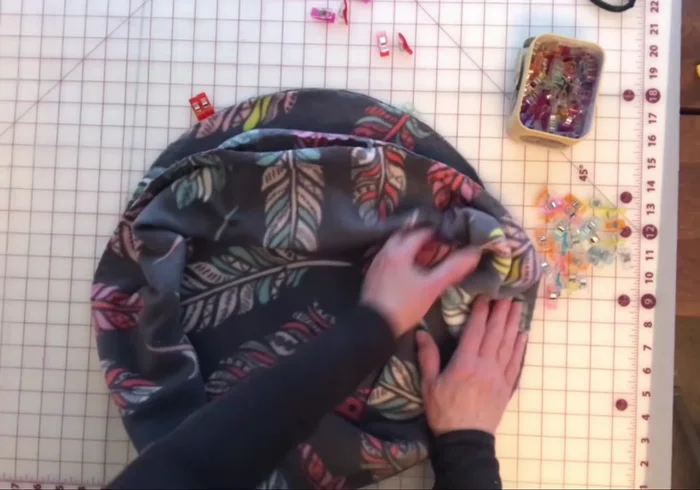
- Pin the bolster to the circular base, matching raw edges and openings. Sew together using an elastic zigzag stitch.
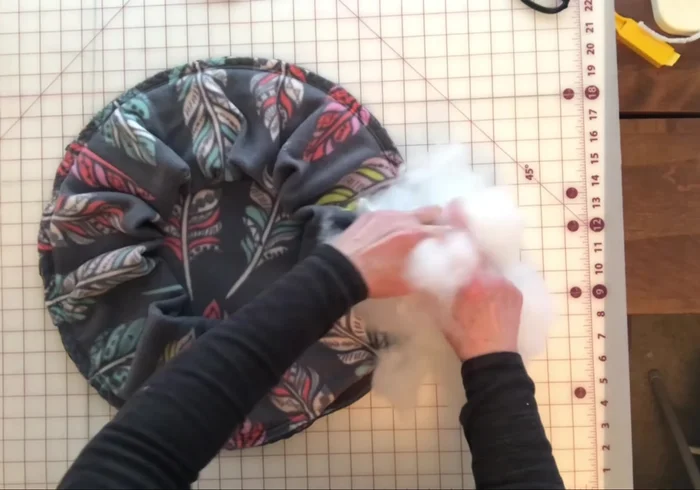
Attach the bolster Stuff and finish
- Stuff the pet bed with polyfill through the openings.
- Close the openings with a straight stitch.
Stuff and finish
Read more: DIY Glamorous Pet Beds from Upcycled Furniture: A Step-by-Step Guide
Tips
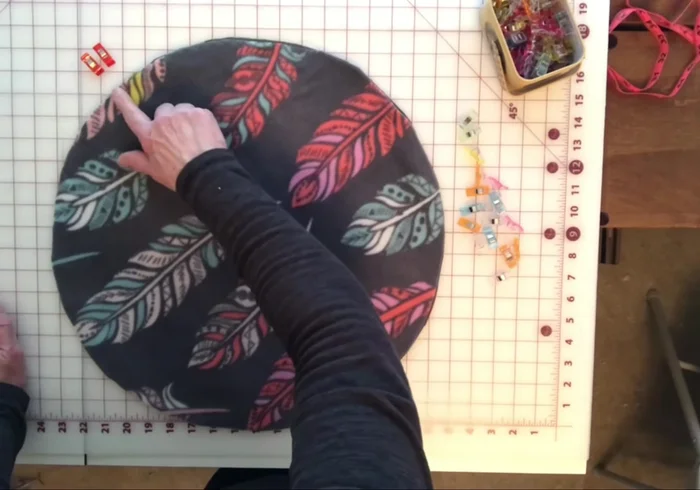
- Use clips instead of pins to avoid losing pins in the fleece.
- To determine the right and wrong side of fleece, pull the fabric. It will curl towards the wrong side.