Is your aging dog struggling to jump onto the couch, bed, or into the car? Are you tired of lifting your furry friend, straining your back in the process? Many pet owners face this common challenge, and the solution might be simpler than you think. Building a multi-functional pet ramp and steps is a rewarding DIY project that provides a safe and accessible way for your canine companion to navigate everyday obstacles, regardless of their size or age. This affordable alternative to expensive store-bought options allows you to customize the design and materials to perfectly suit your pet's needs and your home's aesthetic.
This guide offers a comprehensive, step-by-step approach to crafting a sturdy and comfortable ramp and steps suitable for dogs of all sizes, from tiny Chihuahuas to large Great Danes. We'll walk you through selecting the right materials, cutting them to size, and assembling the structure, providing clear instructions and helpful tips along the way, ensuring even novice DIY enthusiasts can create a functional and stylish addition to their home. Let’s get started!
Preparation and Safety Guidelines
- 3/4 in plywood
- circular saw
- edge guide
- 3/8 in drill bit
- 1/2 in drill bit
- 3/4 in forcer bit
- glue
- small roundover bit or sandpaper
- 3/8 in Dow stock
- screws
- washers
- lock nuts
- adhesive-backed grip tape
- Ensure the steps/ramp is sturdy and stable enough to support your pet's weight, even if they jump or run on it. Regularly check for any signs of wear and tear.
- Use non-slip materials on the stepping surfaces to prevent accidents. Consider adding carpet or rubber grippers for enhanced traction.
- The height and incline of the steps/ramp should be appropriate for your pet's size and mobility. Avoid excessively steep inclines that could strain their joints.
Step-by-Step Instructions
Cutting and Shaping the Wood
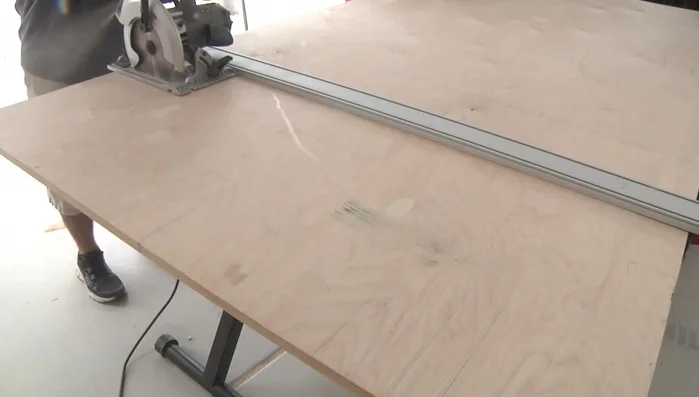
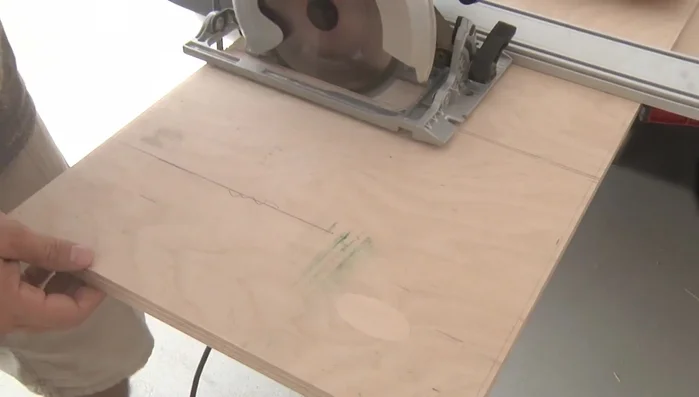
- Break down the plywood according to the cut diagram using an edge guide and a circular saw.
- Rip the various project parts. The stringers have a 50° angle cut at the bottom and a 40° angle cut at the top. The legs also have a 40° angle cut at the bottom.

Cutting and Shaping the Wood Drilling Holes for Assembly
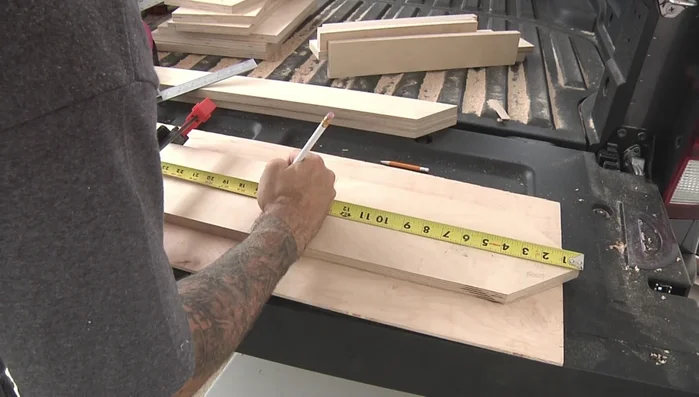
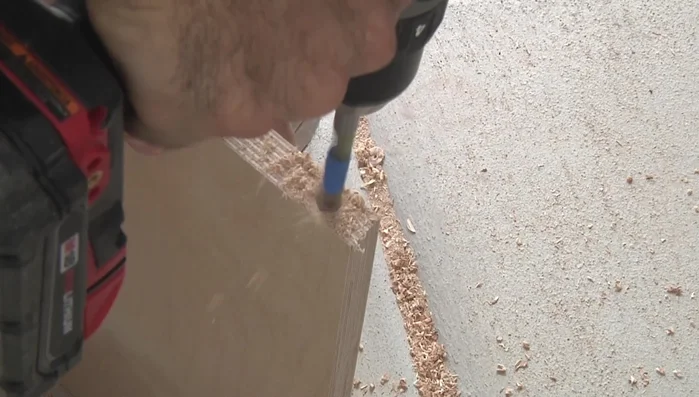
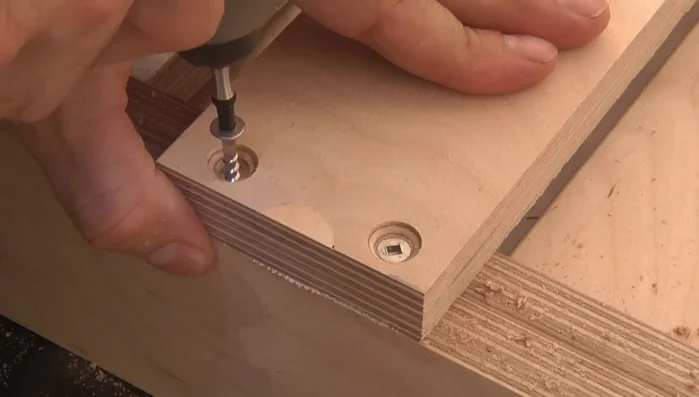
- With the stringers clamped together, make careful measurements for the various 3/8 in holes. Most are 1/2 in deep, but some go all the way through.
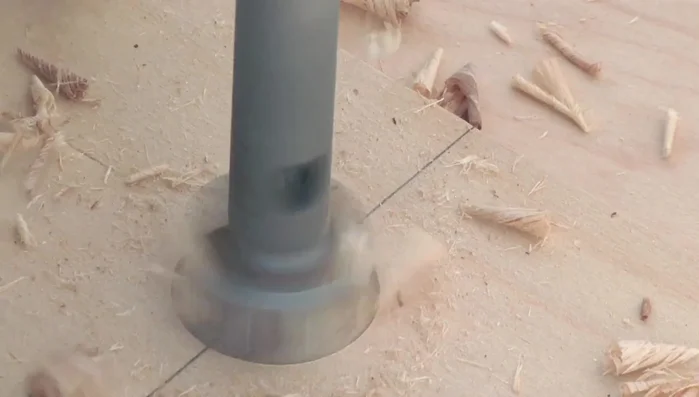
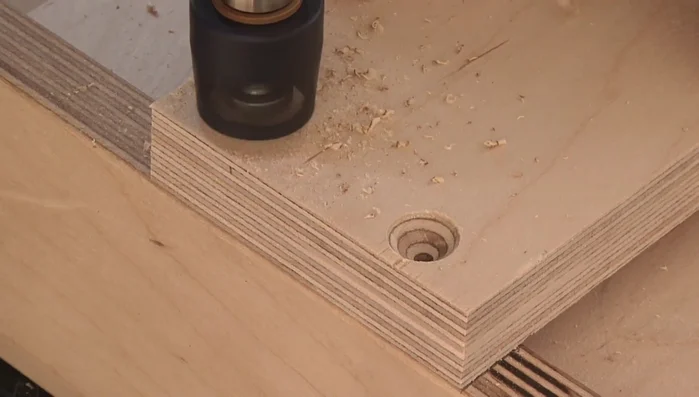
- For the through hole in the stringers, start with a 3/4 in forcer bit hole, then drill the 3/8 in hole all the way through.
- Drill 1in deep holes into the ends of the treads and risers.
Drilling Holes for Assembly Preparing the Treads and Risers
- Glue the tread cleats to the underside of the treads. Once dry, use a small roundover bit or sandpaper to ease all the edges.
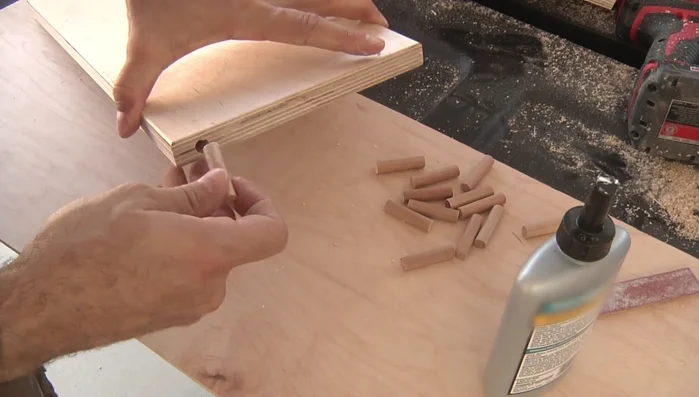
- Glue dowels into the treads and risers.
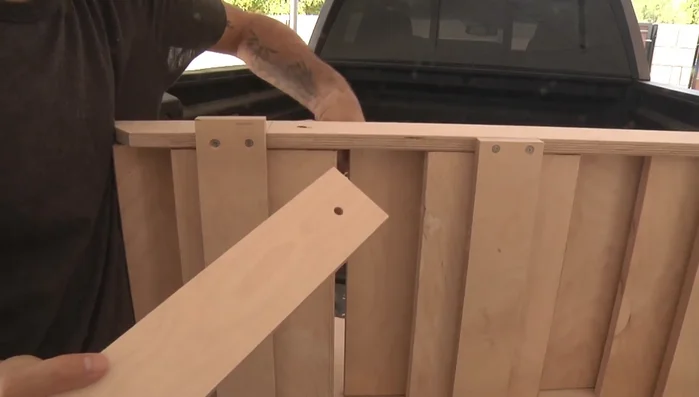
Preparing the Treads and Risers Assembling the Steps
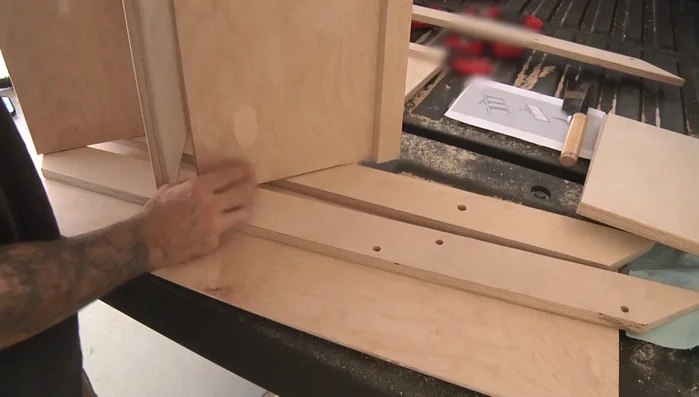
- Drop the treads and risers into the respective holes and attach the second riser on the other side to secure the assembly.
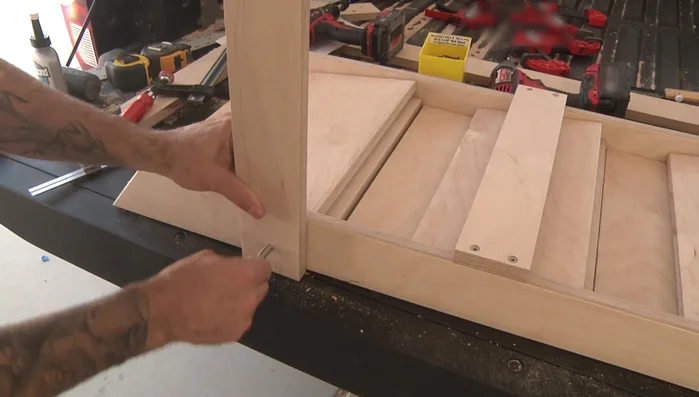
Assembling the Steps Attaching Stretchers and Legs
- Pre-drill and attach the two short stretchers with screws.
- Use the 3/8 in bit to help align the leg, making sure it's square to the edge. Strike a line to show where to install the third long stretcher (which acts as a stop for the legs).
- Attach the legs using bolts, washers (as spacers), and lock nuts.
- Attach the leg stretcher to the legs.
Attaching Stretchers and Legs Finishing Touches
- Add adhesive-backed grip tape to the treads for added safety.
Finishing Touches


Read more: DIY Glamorous Pet Beds from Upcycled Furniture: A Step-by-Step Guide
Tips
- N/A