Does your furry friend deserve a bed as unique and lovable as they are? Then get ready to unleash your creativity with this fun and festive DIY pizza dog bed project! Forget expensive, mass-produced pet beds; this project allows you to craft a cozy and adorable sleeping spot for your canine companion, completely tailored to their size and your style preferences. You'll be surprised how easily you can transform simple fabric into a delicious-looking haven using materials you likely already have around the house. The best part? It’s a fantastic way to bond with your pet while flexing your crafting muscles.
This delightful project is perfect for beginner sewers and experienced crafters alike, offering a satisfying blend of ease and customization. From choosing your fabrics to adding fun finishing touches, we'll guide you through every step of the process. Ready to get started on creating the ultimate pizza-themed dog bed? Let's dive into the step-by-step instructions below!
Preparation and Safety Guidelines
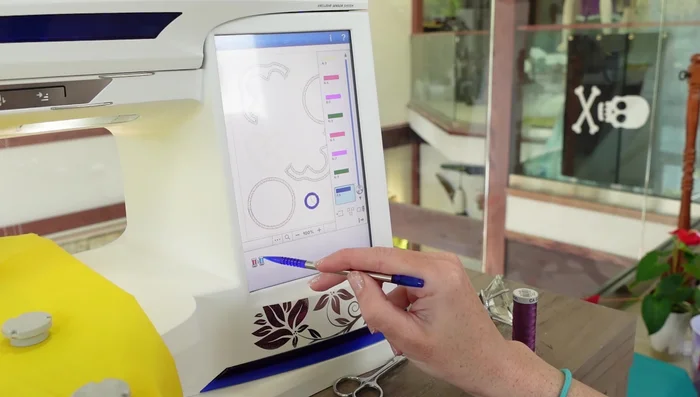
- Embroidery machine
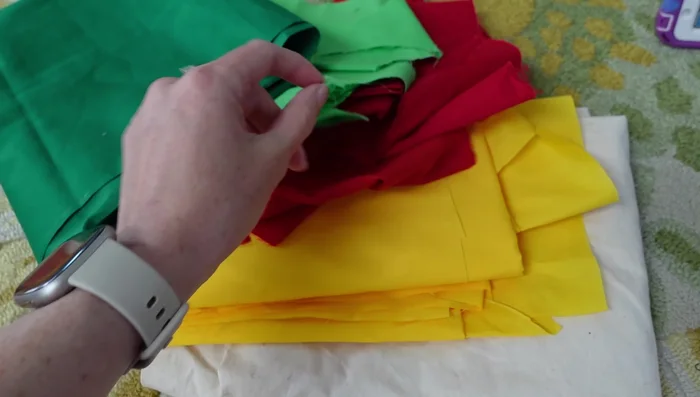
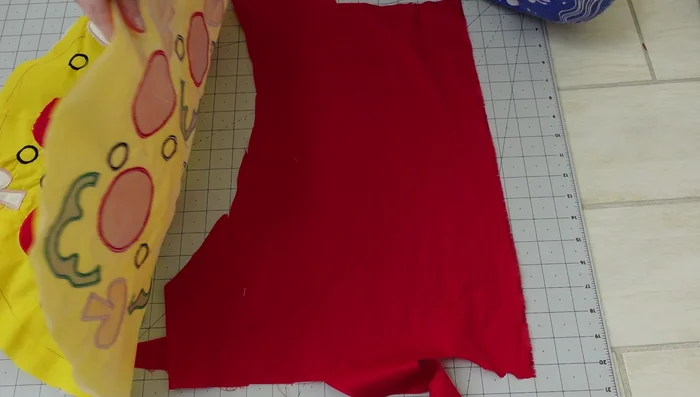
- Fabric (various colors)
- Disappearing ink marker
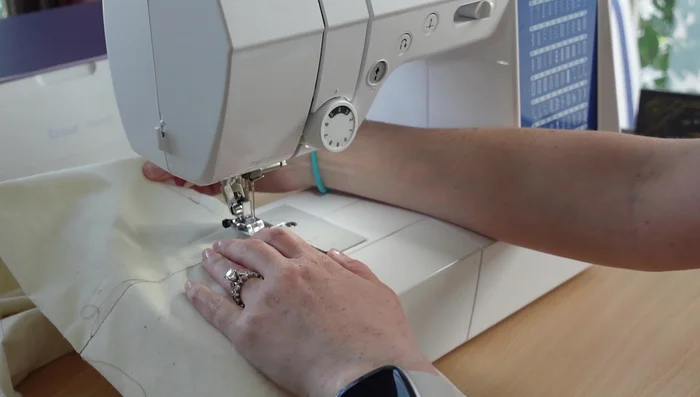
- Sewing machine
- Fiberfill
- Bias tape (optional)
- Elastic
- Squeaker toy
- Always supervise children around sewing machines and sharp tools. This project involves needles and scissors.
- Use only pet-safe fabrics and stuffing. Avoid using fabrics treated with chemicals that could be harmful if ingested or that may irritate your pet's skin.
- Ensure all seams are securely stitched and there are no loose threads or small parts that your pet could chew off and swallow.
Step-by-Step Instructions
Pizza Design & Prep
- Design and digitize embroidery designs for pizza toppings (pepperoni, mushrooms, etc.).
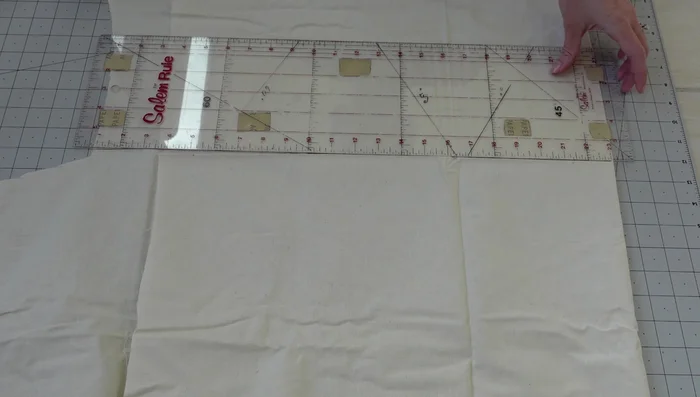
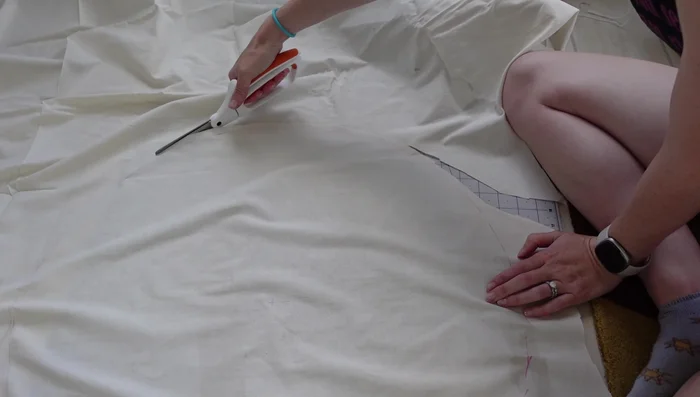
- Cut out fabric circles for the pizza base and toppings.

Pizza Design & Prep Assemble Pizza Toppings
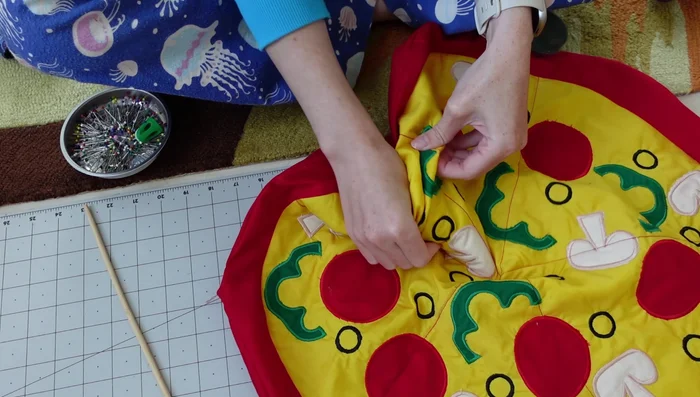
- Arrange and sew on the embroidered pizza toppings using applique.
Assemble Pizza Toppings Create the Pizza Crust
- Cut and sew two rectangles for the crust, then fold and stitch to create a tube, and stitch lines to create pizza slices.
Create the Pizza Crust Assemble the Pizza Base
- Stitch the crust slices closed, leaving an opening for stuffing each slice with fiberfill.
- Cut a large circle for the pizza base, pin the unstuffed crust to the edge and stitch, leaving stuffing holes.
Assemble the Pizza Base Stuff & Finish the Crust
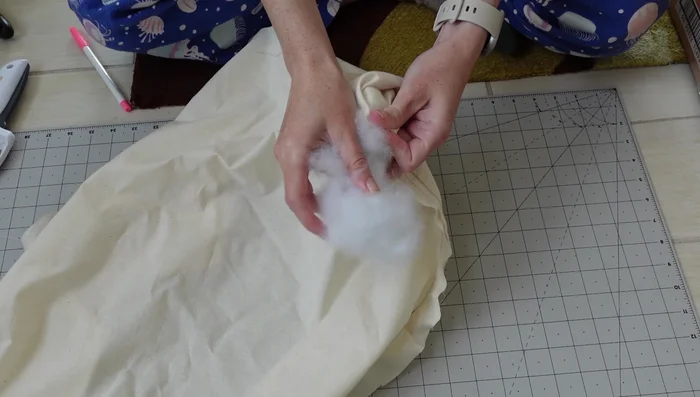
- Stuff each pizza slice with fiberfill.
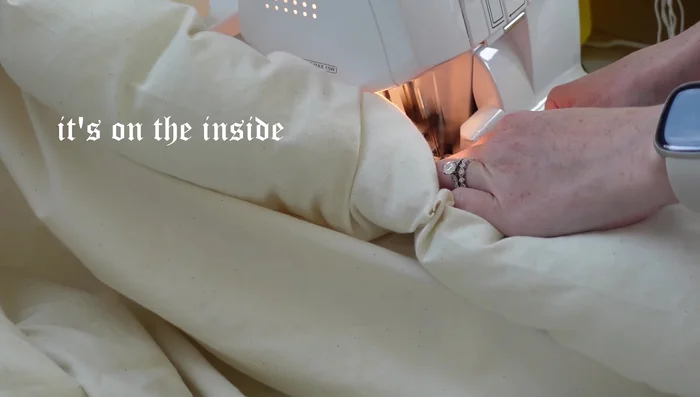
- Close the stuffing holes.
Stuff & Finish the Crust Add Pizza Sauce Layer
- Add a bottom layer of fabric for the pizza sauce.
Add Pizza Sauce Layer Finishing Touches
- Top stitch each pizza slice.
Finishing Touches Create Accessories
- Create and attach a pepperoni toy.
- Create a chef's hat for the dog.
Create Accessories

Read more: DIY Glamorous Pet Beds from Upcycled Furniture: A Step-by-Step Guide
Tips
- Use applique for the toppings for a neat finish.
- Don't skip the step of leaving openings for stuffing the pizza slices.
- Use a walking foot for top-stitching the pizza slices for a clean look.