Is your furry friend tired of the same old dog bed? Do you crave a unique and stylish addition to your home, while saving money on expensive pet furniture? Then look no further! This guide will show you how to craft a charming and functional DIY pop-up dog tent and bed, a project perfect for both novice and experienced crafters. Imagine your dog snuggled happily inside their own personal, portable haven, a space they can call their own. It’s surprisingly easier to make than you might think, utilizing readily available materials and simple techniques.
Forget costly pet stores and complicated designs; this project prioritizes affordability and ease. We’ll walk you through every step, from selecting the right fabrics and finding the perfect size to assembling the structure and adding those finishing touches that will make your dog’s new bed truly special. Ready to get started on creating a comfortable and stylish retreat for your beloved canine companion? Let's dive into the step-by-step process!
Preparation and Safety Guidelines
- Miter saw
- Air compressor
- Nail gun
- Glue
- Wood filler
- Sandpaper
- Stain
- Spar urethane
- Drill
- Forstner bit
- Sewing machine
- Rotary cutter
- Fabric tape
- Always supervise your dog when they are inside the tent. Never leave them unattended for extended periods.
- Ensure all materials used are non-toxic and dog-safe. Avoid using fabrics or paints that could be ingested or cause irritation.
- Make sure the tent is well-ventilated to prevent overheating, especially in warmer climates. Provide adequate shade if using outdoors.
Step-by-Step Instructions
Build the Dog Bed Frame
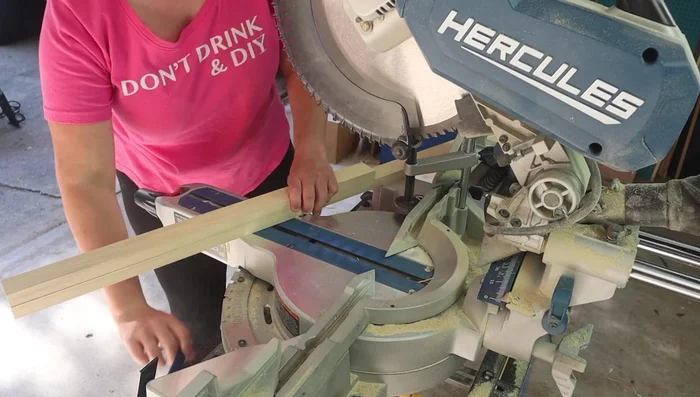
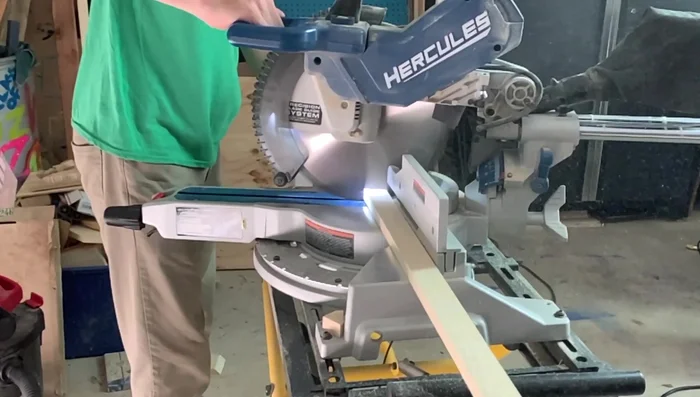
- Cut the wood for the dog bed frame using a miter saw. This includes four sides, two long rails, several slats for the middle, and four legs.

Build the Dog Bed Frame Assemble the Dog Bed
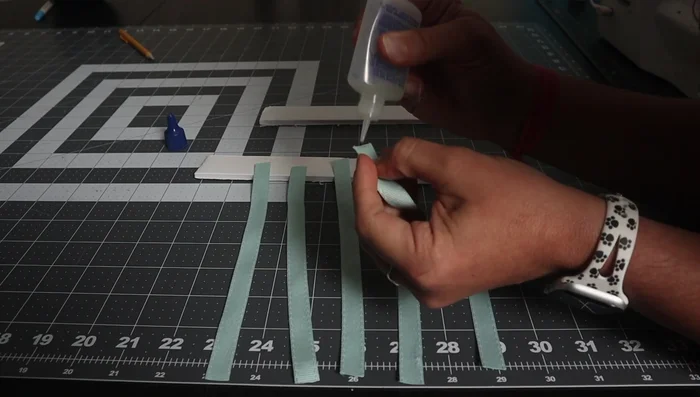
- Apply glue to your fingers first, then spread it evenly.
- Add the slats to the bottom of the dog bed. Space them evenly and glue and nail them in place.
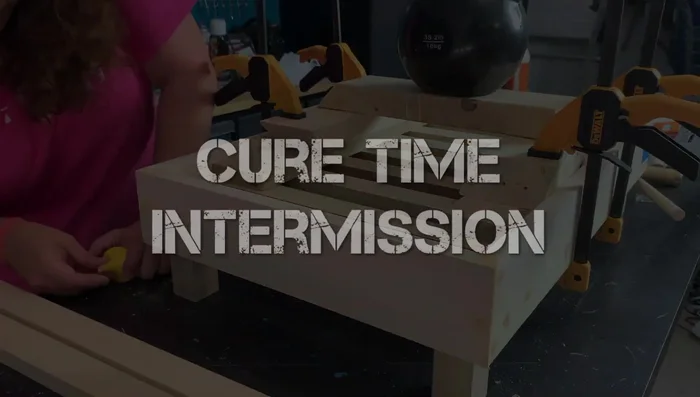
Assemble the Dog Bed Finish the Dog Bed
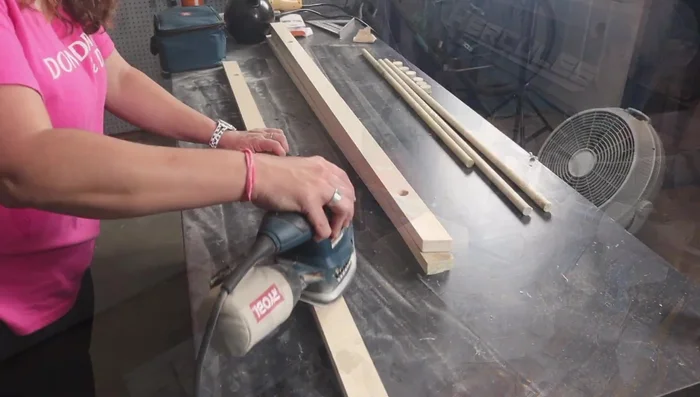
- Fill nail holes with wood filler and sand smooth.
- Stain and seal the dog bed with spar urethane for outdoor use.
Finish the Dog Bed Cut Tent Legs
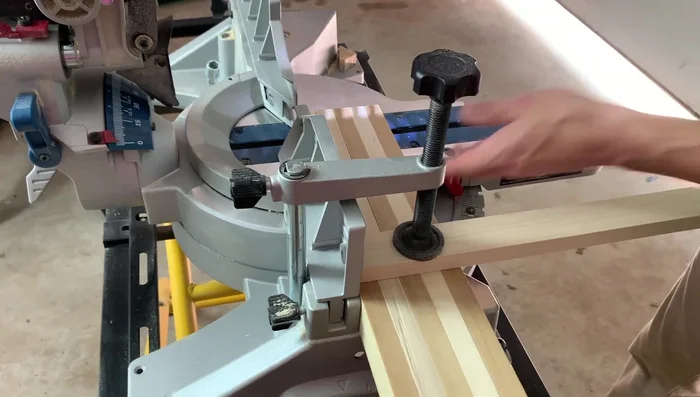
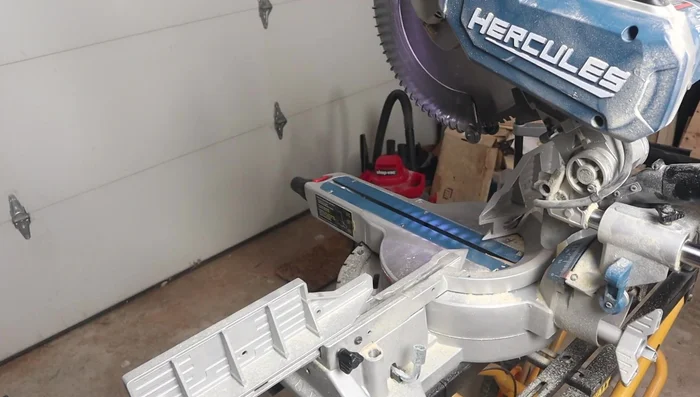
- Cut the wood for the tent legs at a 15-degree angle.
Cut Tent Legs Prepare Tent Dowels and Holes
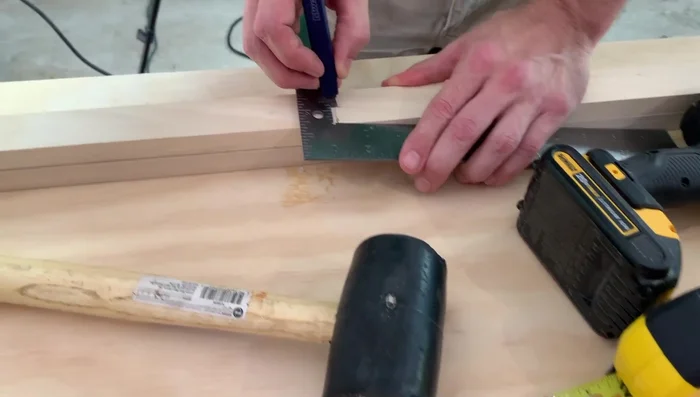
- Drill holes in the tent legs and frame pieces for the dowels.
- Cut and sand the dowels to size. Create end caps for the dowels.
Prepare Tent Dowels and Holes Assemble the Tent Frame
- Assemble the tent frame using dowels and glue. Glue the inside legs to the frame, but leave the outside legs unglued for mobility.
Create Tent Cover
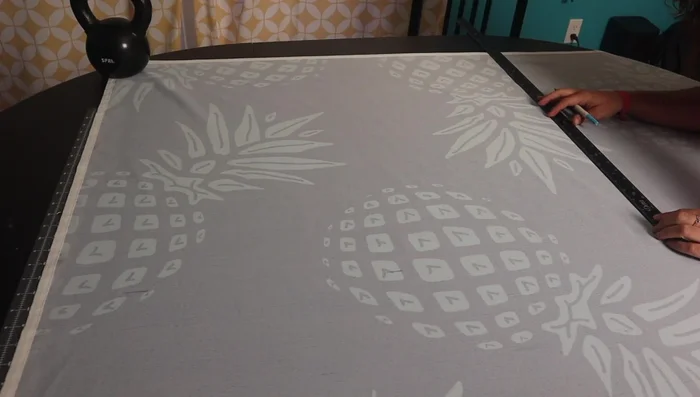
- Cut and sew the fabric for the tent cover, ensuring to hem the edges to prevent fraying.
Create Tent Cover Attach Tent Cover
- Attach the tent cover to the frame using ribbons.
Attach Tent Cover
Read more: DIY Glamorous Pet Beds from Upcycled Furniture: A Step-by-Step Guide
Tips
- Apply glue to your fingers first, then spread it evenly for better adhesion when assembling the dog bed.
- When assembling the dog bed corners, do both corners simultaneously for even results.
- Sand inside the holes for the dowels to ensure smooth movement when assembling the tent.