Spoiling your furry friend doesn't have to break the bank! Tired of overpriced dog beds that lack durability? Then get ready to unleash your inner DIY enthusiast with this incredibly simple and budget-friendly project: a no-sew PVC pipe dog bed. This ingenious design utilizes readily available PVC pipes to create a sturdy and comfortable resting place for your canine companion, all without the need for any sewing skills. Forget complicated instructions and expensive materials; this project is surprisingly easy and utilizes materials likely already found in your garage or easily accessible at your local hardware store.
Forget expensive pet store purchases and enjoy the satisfaction of crafting a personalized bed that perfectly suits your dog's size and your home's aesthetic. This project requires minimal tools and provides maximum comfort and durability. Ready to get started building your dog's new favorite spot? Let's dive into the step-by-step instructions to construct your very own DIY no-sew PVC pipe dog bed!
Preparation and Safety Guidelines
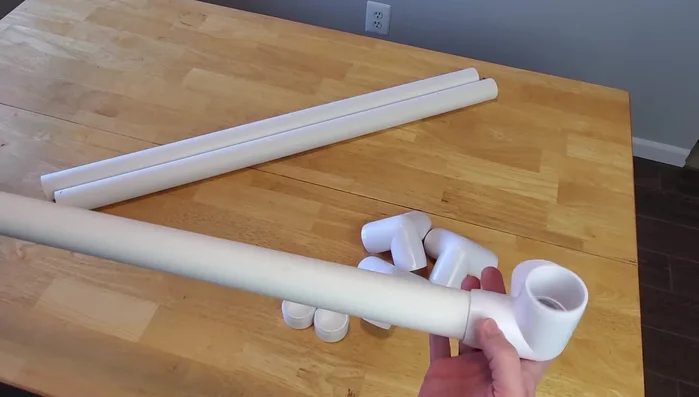
- PVC pipes (1 ¼ inch)
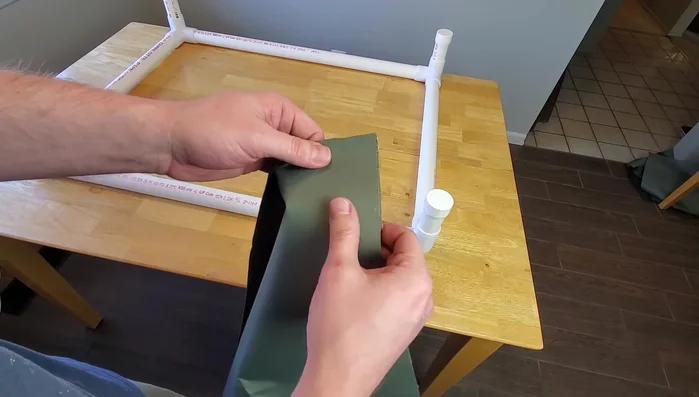
- Durable outdoor fabric (marine fabric recommended)
- PVC fittings (three-way corner fittings, end caps)
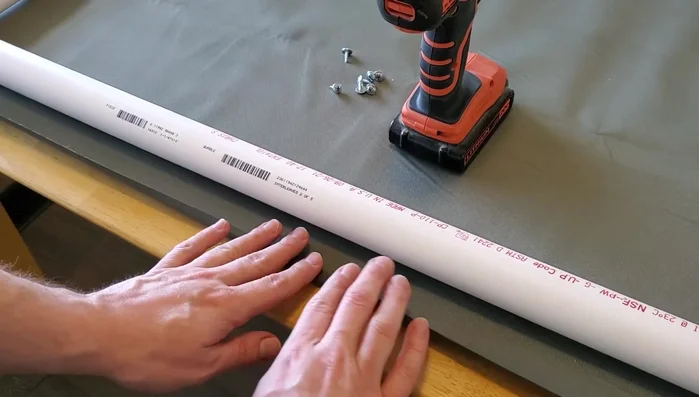
- Screws (self-tapping, half-inch lath screws with built-in washers)
- Rubber mallet
- Clamps
- Sandpaper
- Compressed air
- Always supervise your dog around the PVC pipe bed to prevent chewing or ingestion of PVC pieces, which can be toxic.
- Ensure all PVC pipe ends are capped or sealed securely to avoid sharp edges that could injure your pet.
- Use a soft, pet-safe fabric or padding for the bed's surface to provide comfort and prevent your dog from getting hurt against the hard PVC.
Step-by-Step Instructions
Prepare Materials
- Two pieces at 32.5 inches and two pieces at 23.5 inches. Sand and clean the pipes.
Assemble the Frame
- Connect the pipes and fittings to form a rectangle, ensuring the short ends are opposite each other. Attach the four legs (4-inch PVC segments) using the flat end caps.

Assemble the Frame Position Fabric
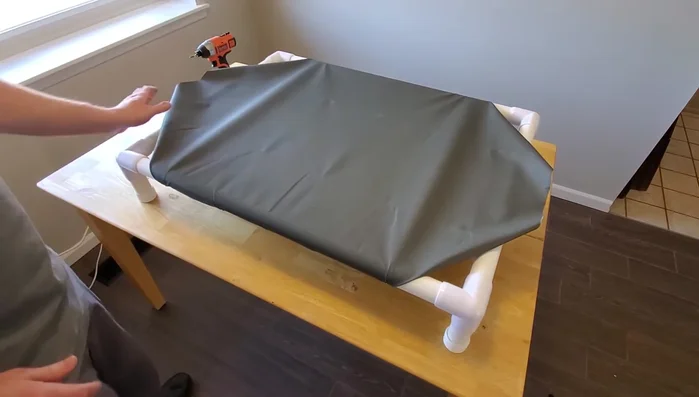
- Lay the 42x32 inch fabric rectangle upside down. Center the upside-down frame on the fabric.
Position Fabric Prepare Corners
- Fold the corners of the fabric over to clear the corner fittings. Use clamps to hold fabric in place while you check for evenness.
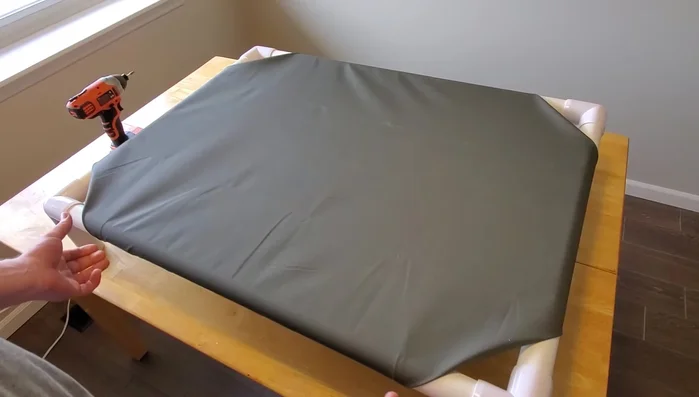
Prepare Corners Attach Fabric to Long Sides
- Begin by folding the fabric edge over to create a lip and securing the middle with a screw. Then, work down the long sides, stopping before the corners to fold the fabric around the fittings. Repeat for the opposite long side.
Attach Fabric to Long Sides Secure Corners
- Carefully fold and secure each corner around the fittings.
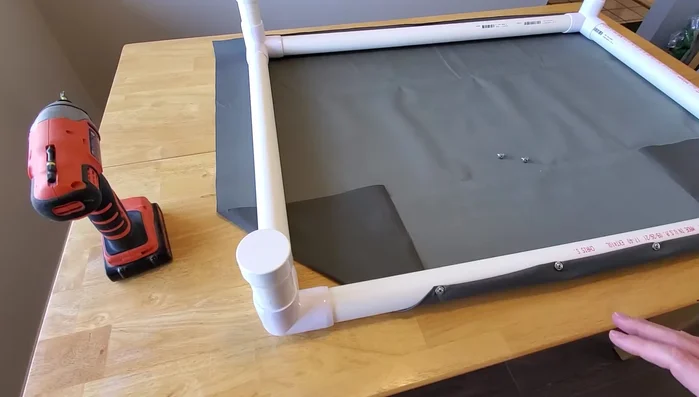
Secure Corners Complete Fabric Attachment
- Continue adding screws along all four sides, tightening the fabric and ensuring evenness. Add extra screws for added strength.
Complete Fabric Attachment Finalize and Stabilize
- Twist the pipes to tighten the fabric and smooth out wrinkles. Add screws to the end fittings to prevent swiveling.
Finalize and Stabilize

Read more: DIY Glamorous Pet Beds from Upcycled Furniture: A Step-by-Step Guide
Tips
- Use a marine fabric for durability.
- Use flat end caps for a neater look.
- Use self-tapping screws with built-in washers for easier assembly and strength.
- Check for evenness frequently during assembly using clamps to hold fabric in place.
- Gradually add screws, keeping a tight hold on the fabric to prevent twisting.