Is your furry friend deserving of a comfy, elevated haven? A raised dog bed offers numerous benefits, from improved joint support for senior dogs to better airflow for those prone to overheating. Commercial options can be expensive, however, leaving many pet owners searching for more affordable alternatives. Fortunately, crafting a sturdy and stylish DIY raised dog bed is surprisingly simple and achievable, even for novice DIY enthusiasts. Building your own allows for complete customization, ensuring the perfect size and style to complement your home décor and your dog's individual needs.
This guide will walk you through a straightforward process, using readily available materials and simple tools. Forget complicated instructions and expensive materials; prepare to discover just how easy it is to build a comfortable and durable raised dog bed for your beloved canine companion. Let's get started with our step-by-step guide to creating the perfect sleeping spot for your furry friend!
Preparation and Safety Guidelines
- Plywood (half sheet)
- Poplar (approx. 11 feet)
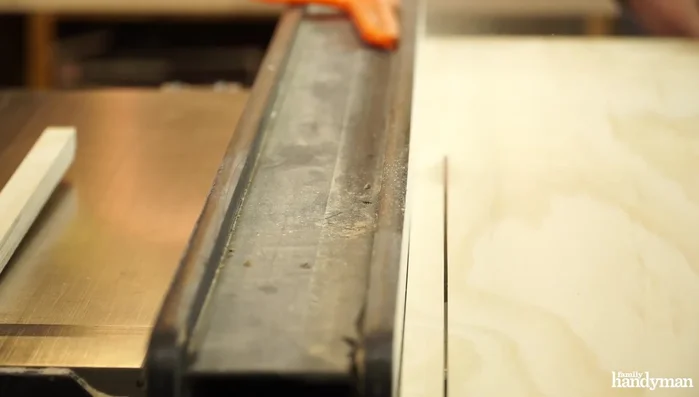
- Circular Saw or Miter Saw
- Handsaw or Jigsaw
- Adjustable Square or Angle Finder
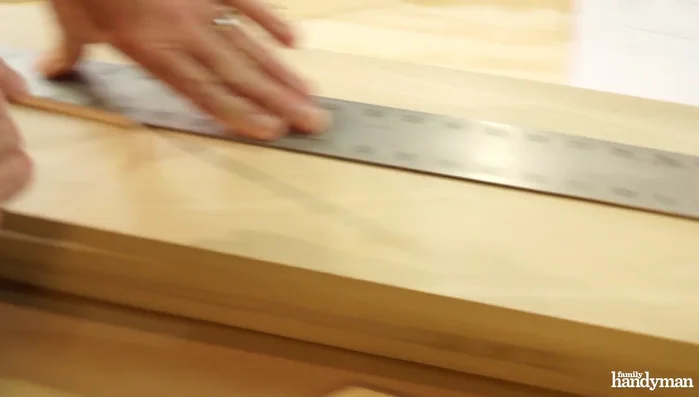
- Measuring Tape
- Pencil
- Wood Glue
- 1 1/4 inch Nails
- Hammer
- Sandpaper
- Paint (optional)
- Always supervise your dog when they are using the raised bed, especially during the initial adjustment period. Ensure the structure is stable and won't tip over.
- Use non-toxic materials and finishes for construction and padding. Avoid anything that your dog could chew and ingest.
- Choose a suitable height for your dog's breed and size. The bed should provide comfortable support without being too high or too low.
Step-by-Step Instructions
Cut the Wood
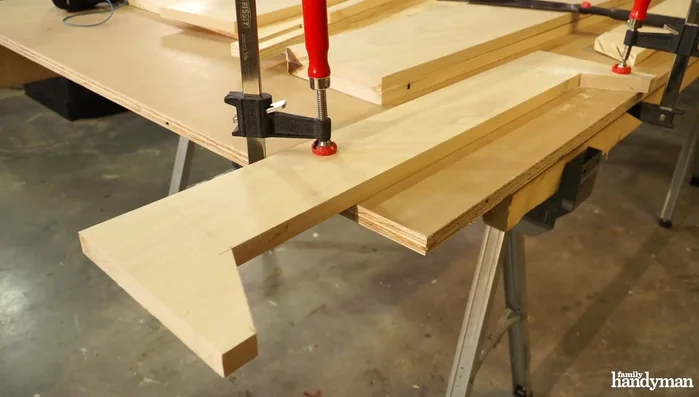
- Two 7 1/4" x 41 1/2" pieces for front and back legs, two 7 1/4" x 30" pieces for side legs, and a 30" x 40" piece for the plywood bottom.
- Two 34 1/2" pieces for front and back, and two 24" pieces for the sides.

Cut the Wood Create Leg Templates
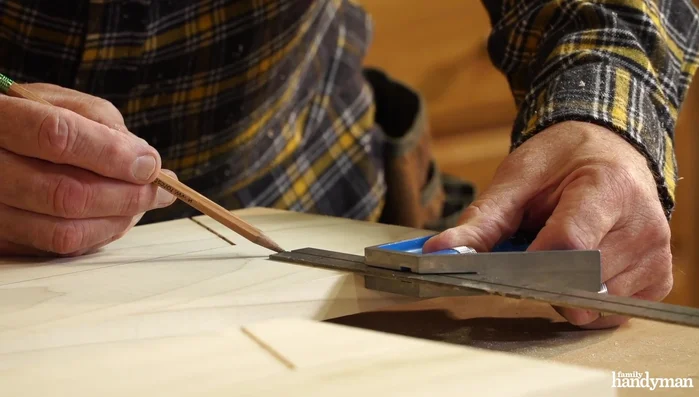
- Lay out the angle cuts on the legs using an adjustable protractor or angle finder. Alternatively, cut a test angle on a chop saw and use it as a template.
Create Leg Templates Cut Side Legs
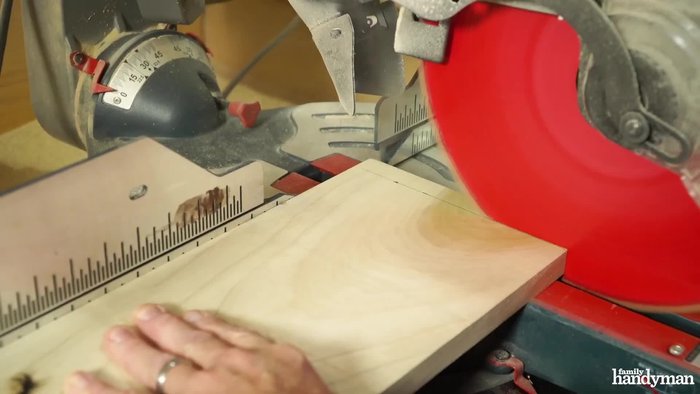
- Make a pencil mark 1 inch in from each end on the bottom edge. Draw a line 3 1/4 inches up from the bottom across the length of each board. Use a 28-degree angle to connect the 1-inch marks with the 3 1/4-inch line. Cut the angles using a circular saw or miter saw, ensuring you don't cut past the horizontal line. Make a plunge cut for the horizontal line.
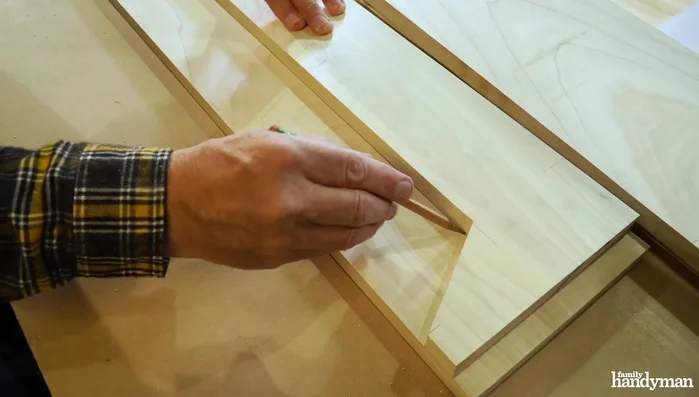
- Use the cut side leg as a template to trace the angle onto the other side leg.
Cut Side Legs Cut Front Legs
- Make a pencil mark 3/4 inch in from each end. Draw a line 2 1/4 inches down from the top. Use a 50-degree angle to connect the marks. Cut the angles using a circular saw or miter saw, ensuring you don't cut past the horizontal line. Make a plunge cut for the horizontal line.
- Use the cut front leg as a template to trace the angle onto the other front leg.
Cut Front Legs Attach Cleats to Legs
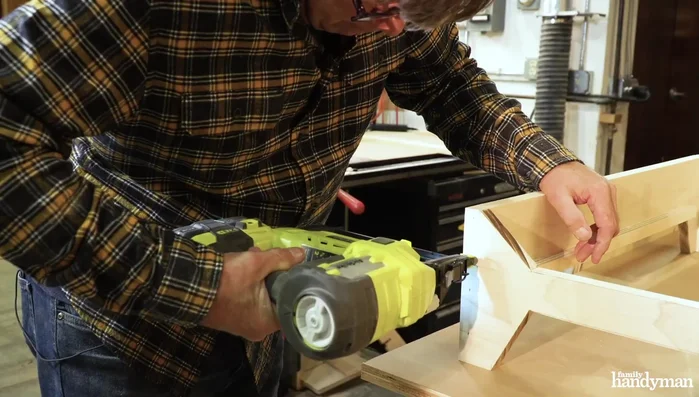
- Apply glue to the 24" cleats and attach them flush to the bottom inside edge of each leg using 1 1/4" nails. Apply glue to the 34 1/2" cleats and attach them to the inside edge of the front and back legs using 1 1/4" nails.
Assemble the Frame and Attach Plywood Bottom
- Attach the side legs to the back legs, then attach the front legs to the side legs. Apply glue to the top of all four cleats, place the plywood bottom on top, and attach it with nails.
Assemble the Frame and Attach Plywood Bottom Finishing Touches
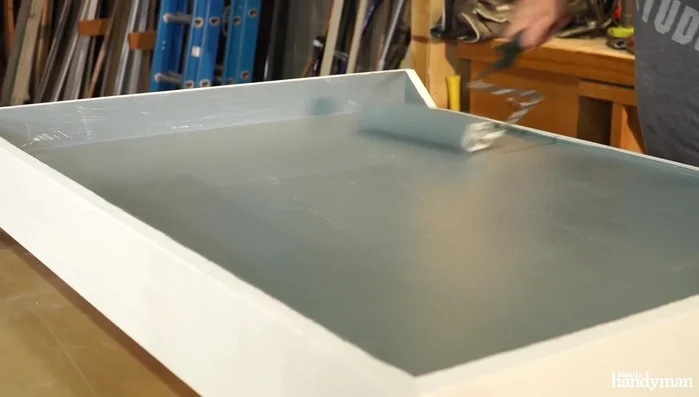
- Fill nail holes, sand, and paint (optional).
Finishing Touches
Read more: DIY Glamorous Pet Beds from Upcycled Furniture: A Step-by-Step Guide
Tips
- If you don't have an adjustable protractor or angle finder, cut a test angle on a chop saw and use it as a template.
- For precise cuts, use a combination of a circular saw or miter saw for the angled cuts and a handsaw or jigsaw to finish the cuts.