Spoil your furry friend with the ultimate comfort and style by building a sturdy, raised wooden dog bed! Tired of flimsy, easily-destroyed pet beds that end up costing you a fortune in replacements? A DIY raised dog bed offers a durable, elevated sleeping space that keeps your canine companion off the cold, damp ground and provides excellent support for their joints. This project is surprisingly straightforward, even for novice DIY enthusiasts, requiring only basic tools and readily available materials. You'll be amazed at how easily you can create a customized bed perfectly sized and styled to complement your home and your dog's unique needs.
Forget expensive store-bought options! This guide will walk you through the process of building a beautiful and functional raised dog bed, step by step. From selecting the right wood and cutting the pieces to assembling the frame and adding a comfortable mattress, we'll ensure you have a comfortable, long-lasting haven for your beloved pet. Let's get started on building the perfect resting place for your furry friend.
Preparation and Safety Guidelines
- Wood
- Polypropylene webbing
- Miter saw
- Wood glue (Tight Bond Original)
- Wood stain (Dark Oak)
- Paint sprayer (Wagner)
- Jig for gluing corners
- Screws
- Upholstery tacks
- Stanley staple gun
- Corner brackets
- Dog bed feet (with wooden spigot or threaded bar)
- Clamps
- Use pet-safe wood and finishes. Avoid pressure-treated lumber, which contains chemicals toxic to pets. Opt for untreated wood and non-toxic paints or stains.
- Ensure all screws, nails, and staples are securely fastened and countersunk to prevent your dog from getting injured on protruding hardware.
- Check the bed regularly for any signs of damage or wear and tear and repair or replace as needed to maintain safety and structural integrity.
Step-by-Step Instructions
Construct the Frame
- Create the wooden frame using mitered corners (45-degree angles). Ensure accuracy; using a jig can be helpful.
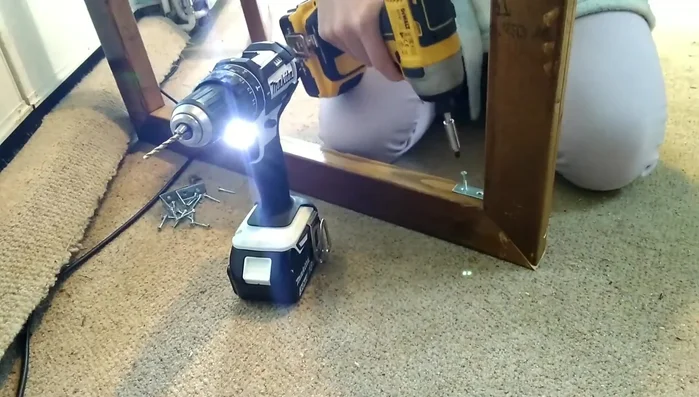
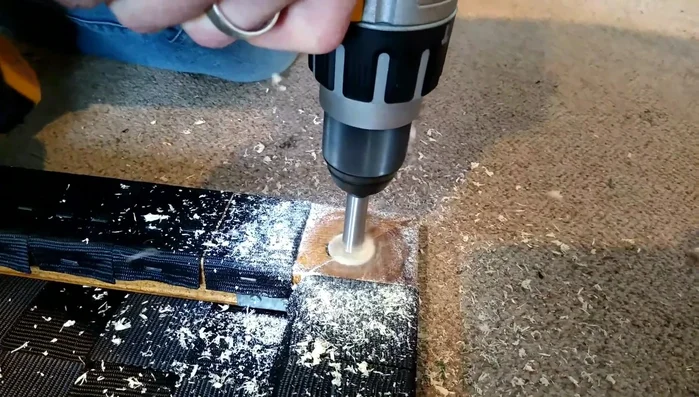
- Glue the mitered corners together using wood glue and a jig for clamping. Use screws to reinforce the corners after the glue dries and countersink them.
- Add corner brackets to the inside of the frame for additional strength.

Construct the Frame Prepare the Straps
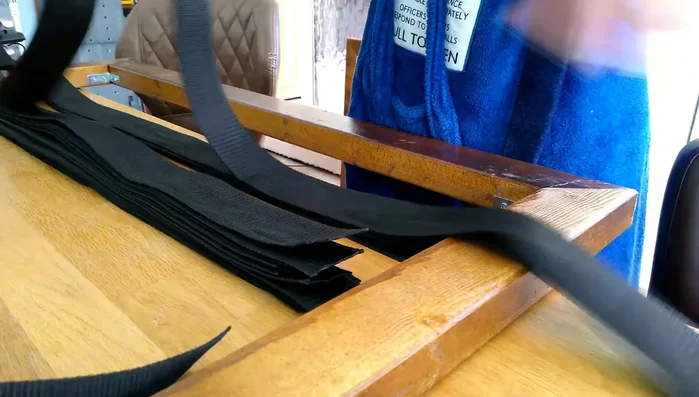
- Pre-cut and singe the ends of the polypropylene webbing straps to prevent fraying.
Prepare the Straps Attach the Straps
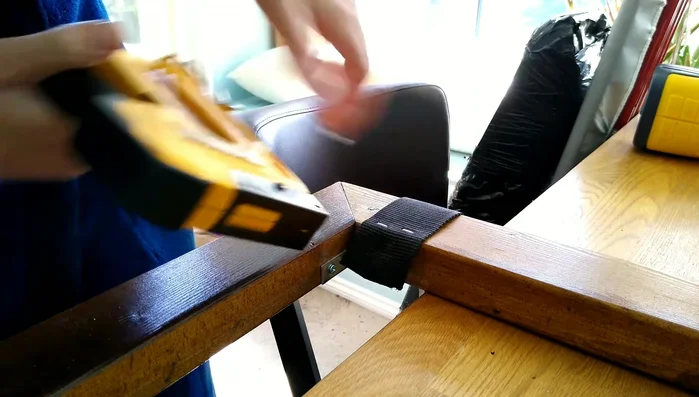
- Attach the straps using a staple gun, ensuring they are pulled tightly to minimize sagging over time. Use extra length to allow for gripping during tightening.
- Weave the straps across the frame, alternating the over/under pattern on each strap. Securely staple the straps on both sides.
- Add upholstery tacks to the ends of the straps for a finished look (optional).
Attach the Straps Finish the Frame
- Apply a dark oak wood stain using a paint sprayer for even coverage.
- Attach the feet using wood glue and clamps. Allow at least 12 hours for the glue to dry completely.
Finish the Frame

Read more: DIY Glamorous Pet Beds from Upcycled Furniture: A Step-by-Step Guide
Tips
- Use a jig to accurately create mitered corners for a stronger frame.
- Pull the webbing straps as tight as possible during installation to prevent excess sagging.
- Cut straps slightly longer than needed for easier handling while tightening.
- Check that you're alternating the over/under pattern correctly before stapling the straps on the other side.