Spoil your furry friend with a cozy and stylish dog bed, crafted entirely by your own hands! Forget expensive store-bought options; building a rustic dog bed is a surprisingly simple and rewarding project, perfect for those with a touch of DIY spirit and a desire for a truly unique piece. Using readily available materials and basic tools, you can create a comfortable haven for your canine companion that complements any home décor, from farmhouse chic to modern rustic. The best part? It'll be far more durable and, likely, much more affordable than anything you could find in a pet store.
This guide will walk you through each step of the process, from selecting the right materials to the final touches. Whether you’re a seasoned DIY enthusiast or a complete beginner, this easy-to-follow, step-by-step instruction will have you creating your dog's dream bed in no time. Let's get started on building the perfect rustic retreat for your beloved pet!
Preparation and Safety Guidelines
- Plywood
- 1x2x6 lumber
- Jointer
- Table saw
- Band saw
- Random orbital sander
- Steel brush
- Dark brown stain
- Golden Oak stain
- Tongue oil
- Steel wool
- 1 1/2 in angle iron
- Drill
- Wrench
- Bolts
- Painter's tape
- Hammered black spray paint
- Cotton fabric
- Sheepskin fur
- Sewing machine
- 1-in foam cushion
- Always supervise your dog when they are on or near the dog bed, especially during the initial introduction period. Ensure there are no loose parts or hazards that your dog could chew off and ingest.
- Use only pet-safe materials. Avoid toxic paints, stains, or fabrics. If using reclaimed wood, thoroughly clean and inspect it for splinters, nails, or any potential dangers before construction.
- Ensure the bed is sturdy and will not collapse under your dog's weight. Properly secure all joints and connections to prevent injury.
Step-by-Step Instructions
Prepare the Base and Sides
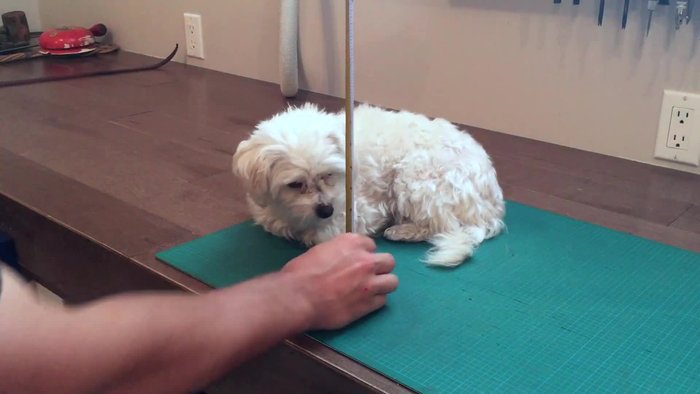
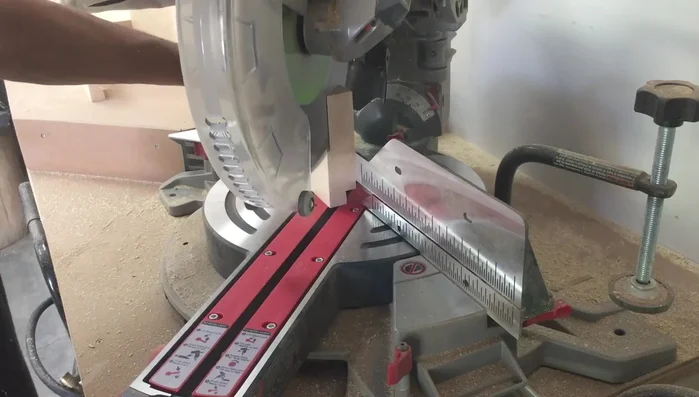
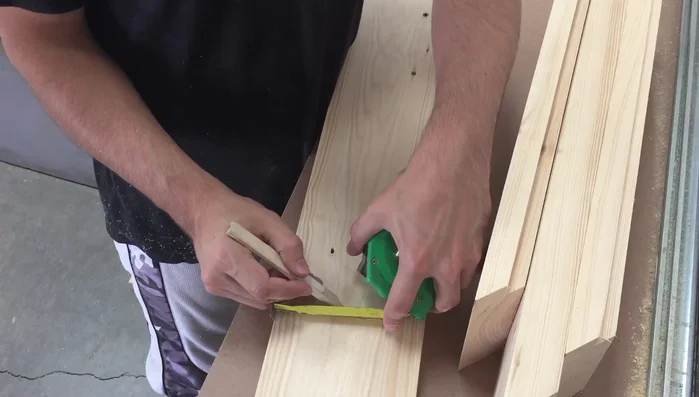
- Measure and cut plywood for the base (approximately 18x24 inches).
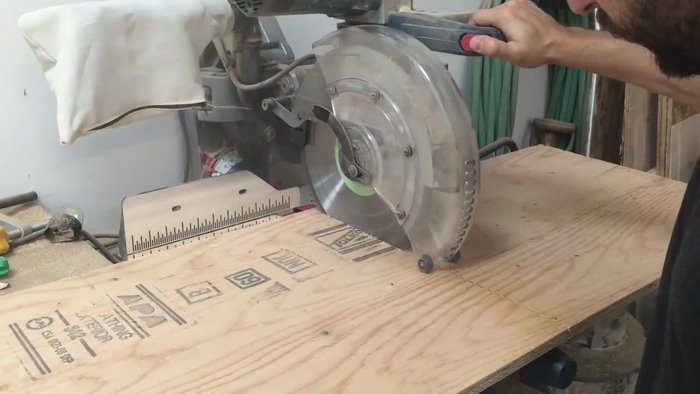
- Cut four side pieces from 1x2x6 lumber.
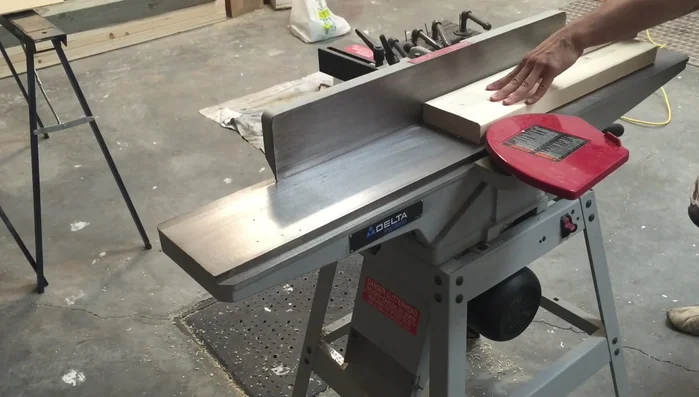
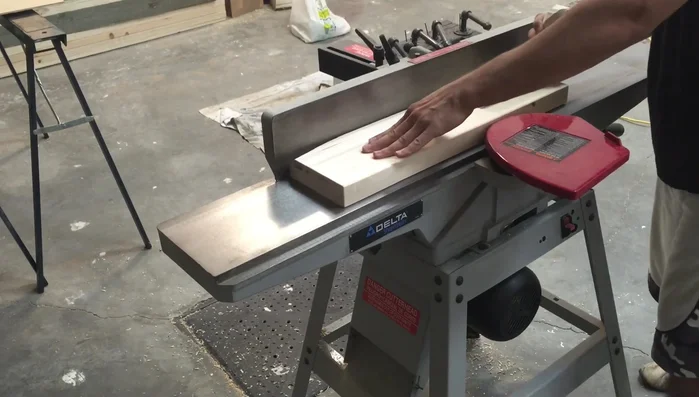
- Use a jointer to flatten the sides of each piece.
- Cut a rabbit on the bottom inside edge of each side piece to receive the plywood.

Prepare the Base and Sides - Miter each corner of the side pieces to 45° and cut to final dimensions.
- Mark and cut out an opening (approximately 7 inches in from each side and 2 inches up from the bottom) on the front piece.
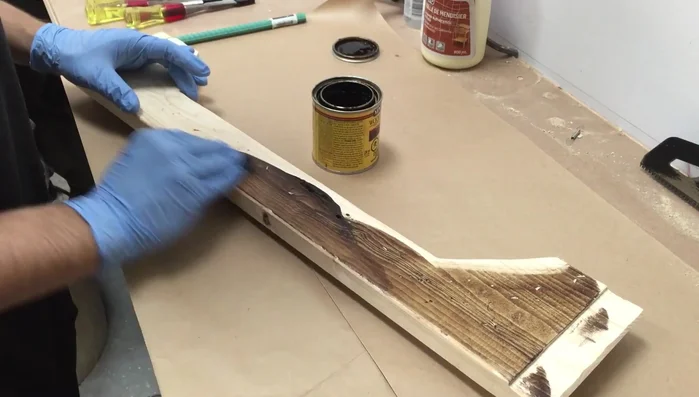
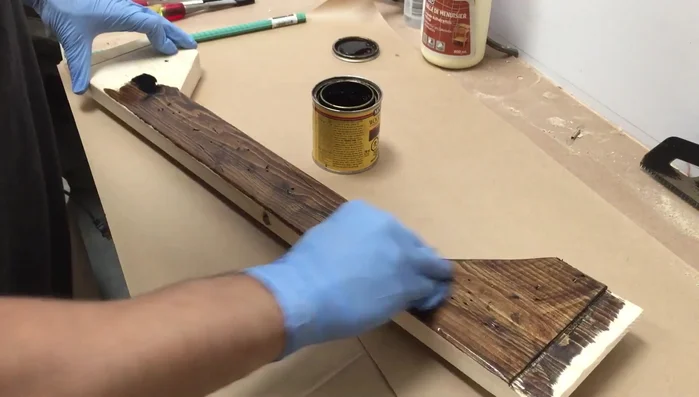
Prepare the Base and Sides Distress and Stain the Wood
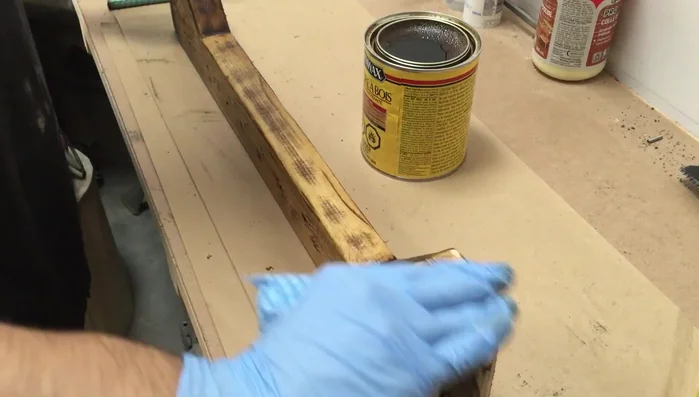
- Distress the wood by adding dents and scratches using nails and a hammer.
- Apply a dark brown stain, ensuring it gets into the scratches and dings.
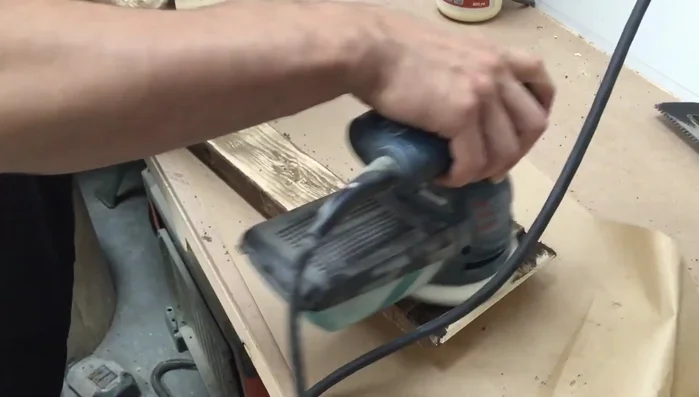
- Sand off some of the stain with a random orbital sander and use a steel brush to texture the wood for a weathered look. Apply a Golden Oak stain for a two-toned effect.
Distress and Stain the Wood Assemble the Frame
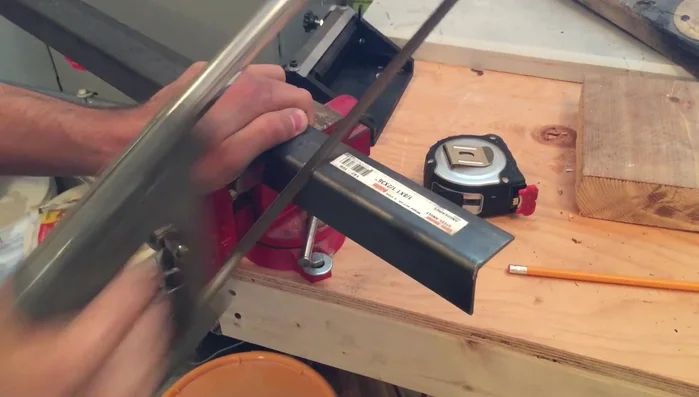
- Cut a shallow groove on each end of the four side pieces for angle iron.
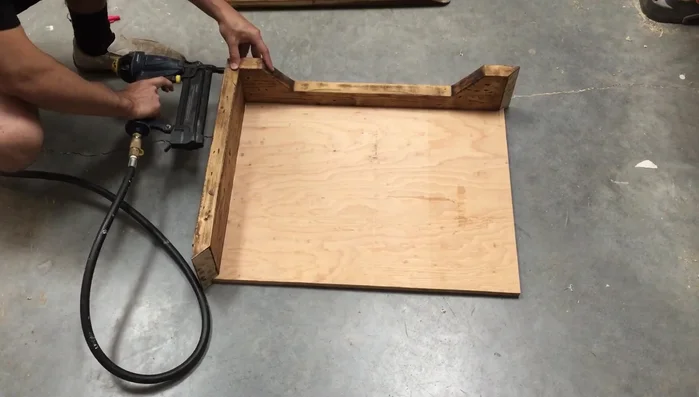
- Assemble the four side pieces to the plywood base using glue and brad nails.
Assemble the Frame Finish and Protect the Wood
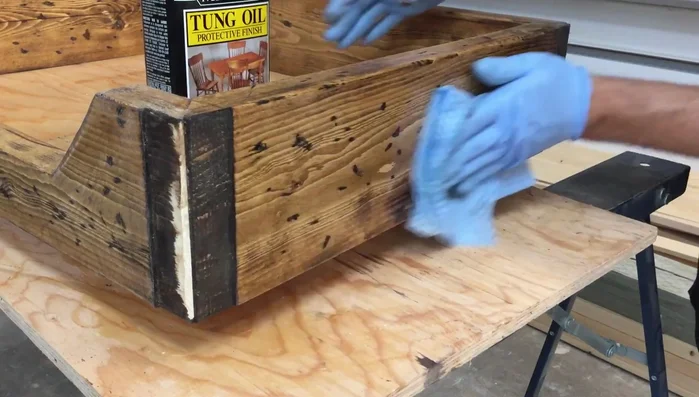
- Apply three coats of tongue oil, using steel wool to work it into the wood after each coat.
Finish and Protect the Wood Add Corner Braces
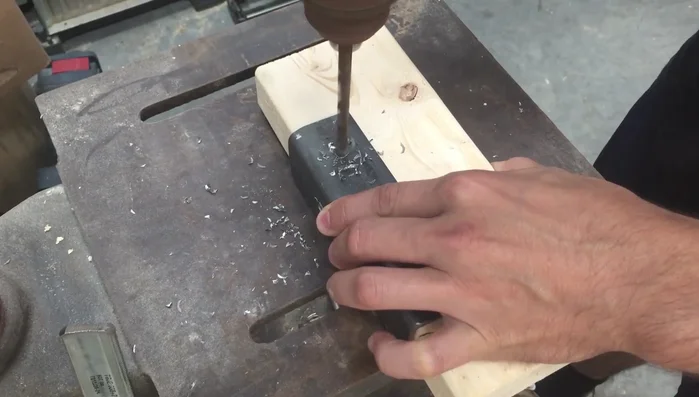
- Cut 1 1/2 inch angle iron into 6-inch pieces and drill four holes in each.
- Secure the angle iron to each corner of the dog bed using bolts.
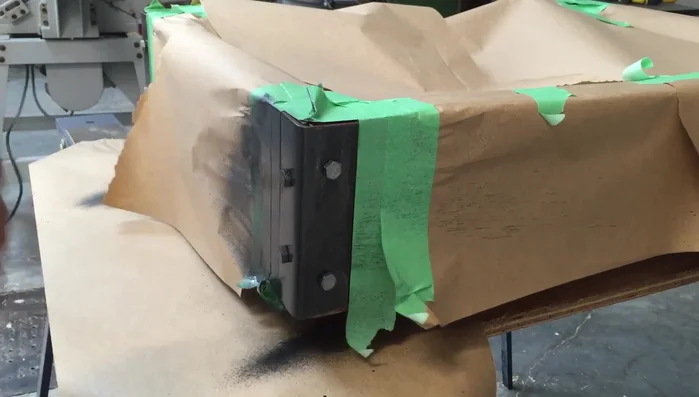
- Tape off the corners and spray them with hammered black spray paint.
Add Corner Braces Create the Pillow
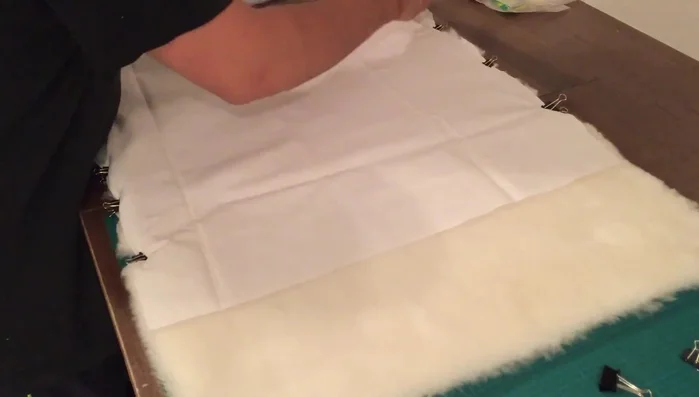
- Sew together cotton fabric (bottom) and sheepskin fur (top), insert foam cushion.
Create the Pillow
Read more: DIY Glamorous Pet Beds from Upcycled Furniture: A Step-by-Step Guide
Tips
- The distressing step (adding dents and scratches) is optional but adds to the rustic look.
- Sand as much or as little of the stain as desired to achieve the desired weathered look.