Spoil your furry friend with a luxurious, Victorian-inspired dog bed without breaking the bank! This DIY project shows you how to create a stunning tufted dog bed for under $50, proving that high style doesn't require a high price tag. Forget expensive pet store options; with a little creativity and some readily available materials, you can craft a truly unique and comfortable sleeping space for your beloved canine companion. This project is perfect for beginner crafters, requiring only basic sewing skills and readily available tools.
Imagine your dog lounging in regal comfort on a beautiful tufted bed, handcrafted with love. The rich textures and classic Victorian aesthetic will elevate your home's decor while providing your pet with an incredibly cozy spot to rest. Ready to get started on this rewarding and affordable project? Let's dive into the step-by-step instructions below!
Preparation and Safety Guidelines
- White foam boards (Dollar Tree)
- Mini columns (Dollar Tree)
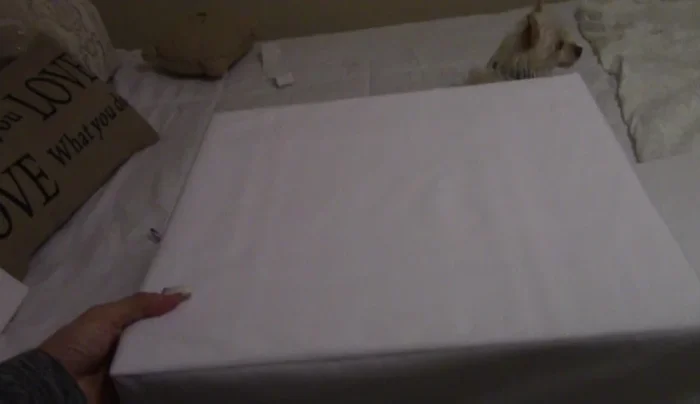
- White fabric (Walmart)
- Tacky glue
- E6000 glue
- Scissors
- Needle
- Thread
- Crystals
- Spray paint
- Wooden boards (Walmart)
- Always supervise children around the project and finished dog bed, as buttons or stuffing could pose a choking hazard.
- Use a non-toxic stuffing material like polyester fiberfill to avoid any potential harm to your pet. Avoid using recycled materials or scrap fabrics which may contain harmful chemicals or irritants.
- Ensure all fabric edges are securely sewn or finished to prevent your dog from ingesting loose threads or fabric.
Step-by-Step Instructions
Gather Supplies
- Gather supplies from Dollar Tree and Walmart.

Gather Supplies Prepare Columns
- Spray paint mini columns and let them dry in sunlight.
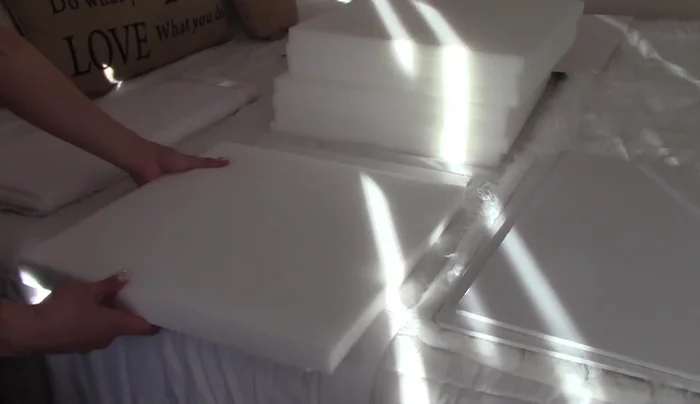
Build the Box Spring
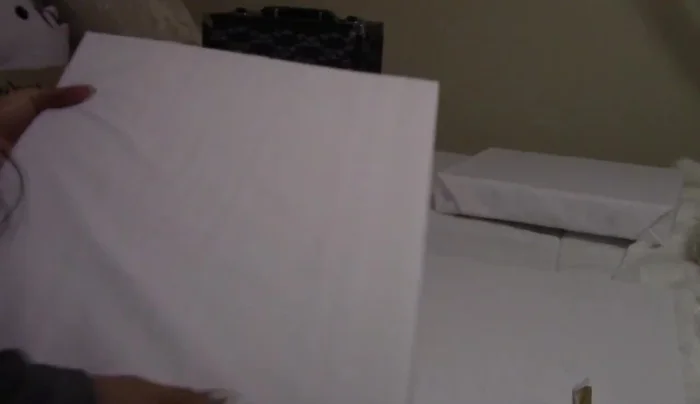
- Create the bed frame by stacking foam boards and securing them with tacky glue.
- Cut excess foam board.
- Cover the foam frame with white fabric, tucking and gluing the edges for a clean finish.
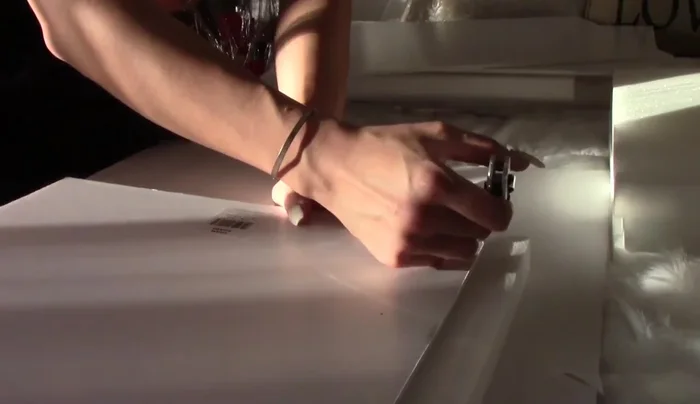
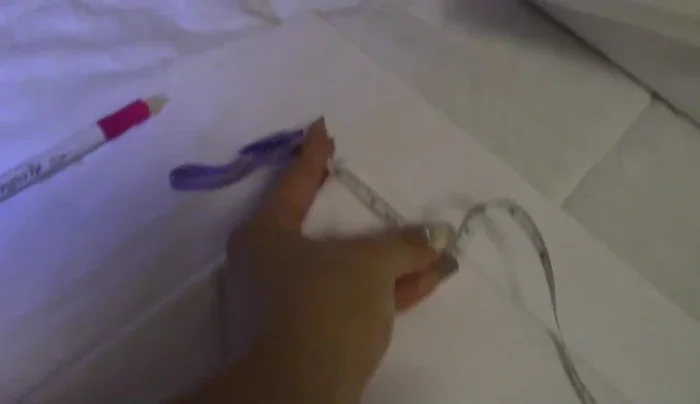
Build the Box Spring Create Tufted Headboard
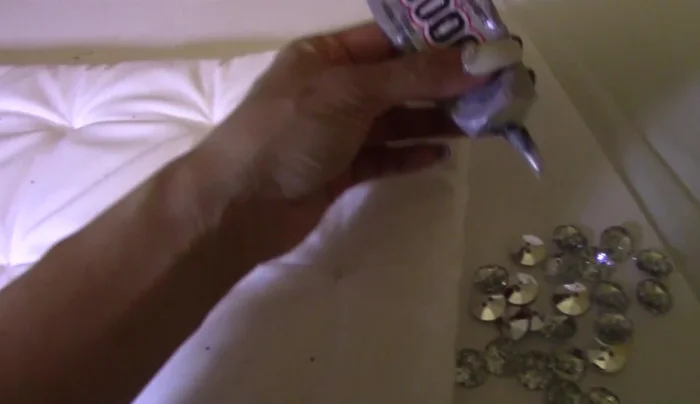
- Mark and sew tufted holes on the fabric-covered headboard, using a needle and thread.
- Glue crystals onto the tufted headboard using E6000 glue.
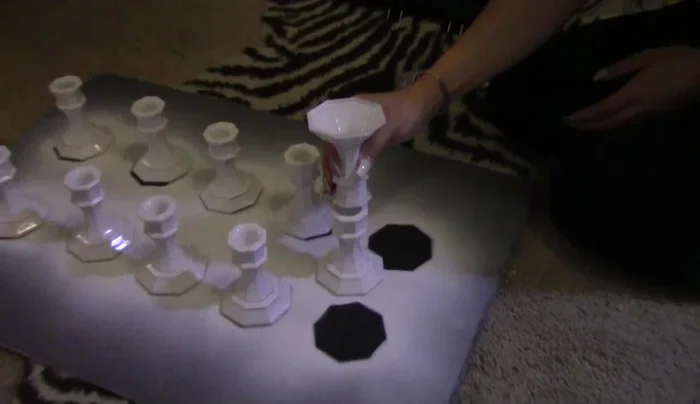
Create Tufted Headboard Assemble Headboard Columns
- Assemble the columns by gluing them together and attaching them to the headboard.
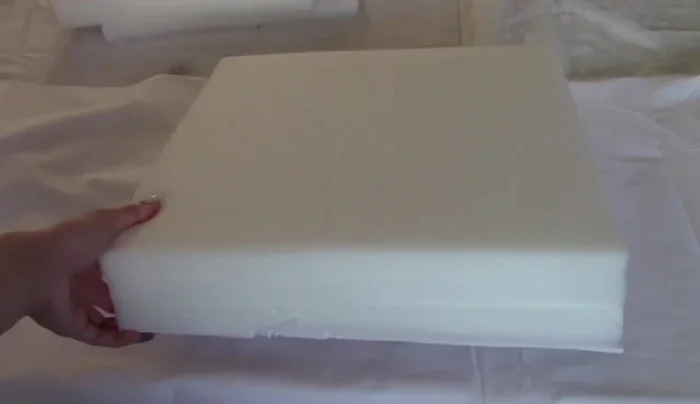
Assemble Headboard Columns Make Mattress
- Create and attach a smaller mattress, similarly covered in fabric.
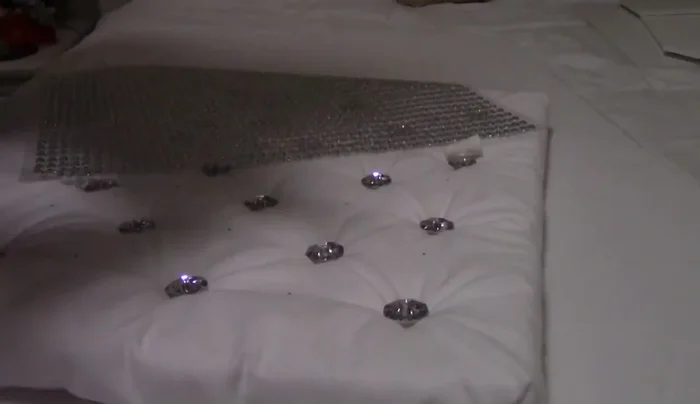
Make Mattress Decorate Mattress
- Add a decorative dog bone design to the mattress using crystals and tacky glue.
Decorate Mattress Assemble the Bed
- Assemble the final bed by layering the mattress on top of the box spring.
Assemble the Bed

Read more: DIY Glamorous Pet Beds from Upcycled Furniture: A Step-by-Step Guide
Tips
- Dry spray-painted items in sunlight for faster drying and to avoid strong odors indoors.
- Use gloves when cutting foam boards to avoid injury.
- E6000 glue is very strong; use it carefully.