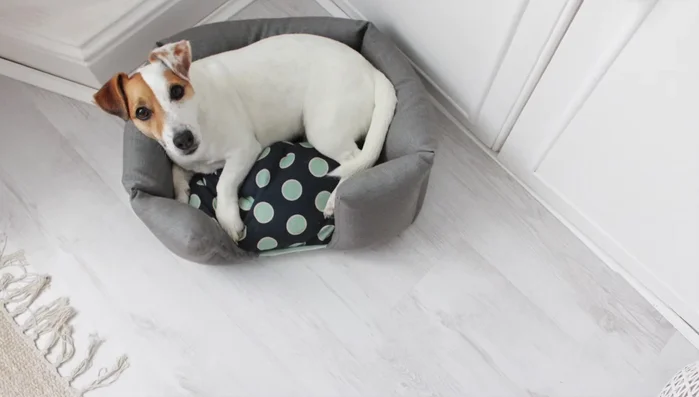
Tired of expensive, mass-produced dog beds that lack personality? Do you have a basket gathering dust in the garage or attic? Then get ready to unleash your inner crafter and transform that unwanted item into a cozy, one-of-a-kind dog bed! This DIY upcycled dog bed project is not only budget-friendly but also a fantastic way to give old items a new lease on life, reducing waste and adding a touch of handmade charm to your home. Plus, your furry friend will appreciate the comfy new sleeping spot.
Creating this adorable and functional dog bed is surprisingly simple, even for beginner DIYers. We'll guide you through each step, from choosing the perfect basket to adding the finishing touches, making it a fun and rewarding project for both you and your canine companion. Ready to get started? Let's dive into the easy-to-follow instructions below!
Preparation and Safety Guidelines
- Fabric (cotton, sturdy base fabric)
- Sewing Machine
- Thread
- Stuffing (synthetic duvet or down)
- Scissors
- Pins
- Measuring Tape
- Always ensure the upcycled materials are thoroughly cleaned and free of any harmful chemicals or sharp edges before use. Thoroughly inspect for any loose threads or parts that could pose a choking hazard to your dog.
- Choose a sturdy and breathable material for the base of the bed. Avoid using materials that are easily ripped or that could trap your dog's claws or limbs.
- Supervise your dog with the new bed, especially initially, to ensure they are comfortable and not attempting to ingest any part of it.
Step-by-Step Instructions
Measure and Calculate
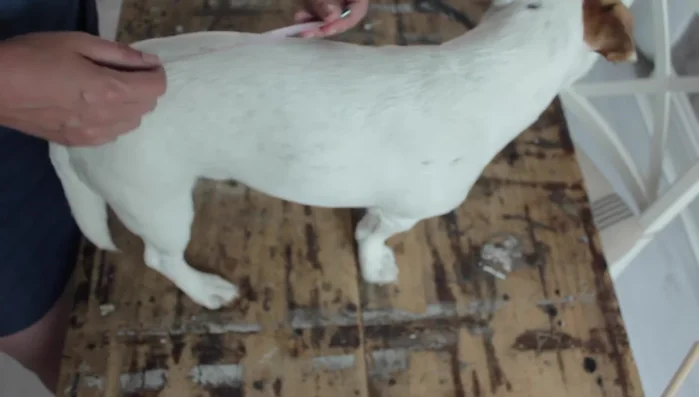
- Measure your dog from shoulder to tail to determine basket length (e.g., 40cm). Subtract 10cm for the width (30cm).

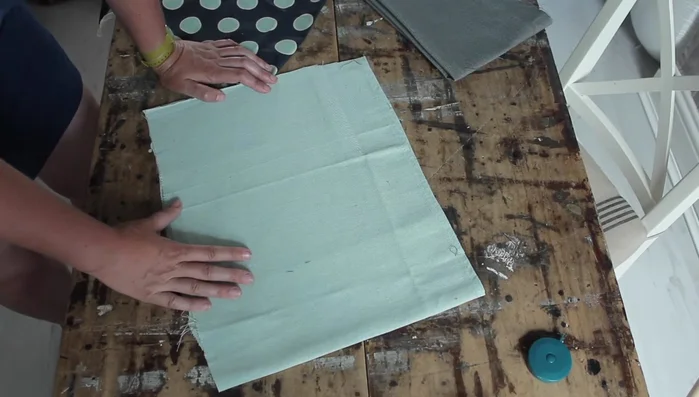
Measure and Calculate Cut Fabric Pieces
- Base (40cm x 30cm sturdy fabric), two cushion pieces (40cm x 30cm cotton), and side piece (130cm x 40cm, calculated based on length + seam allowances).
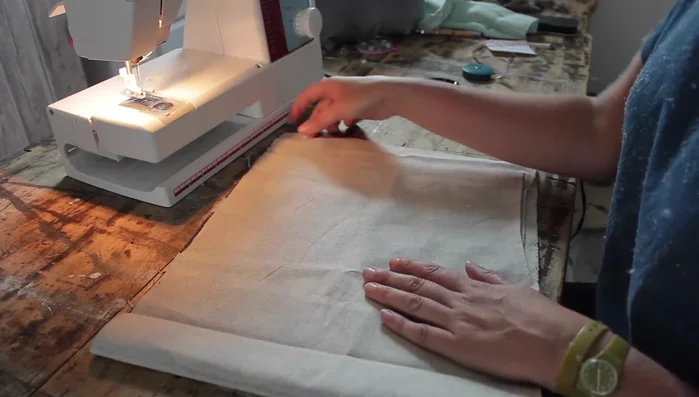
Cut Fabric Pieces Create the Base
- Stitch the base fabric with a 1cm seam allowance.
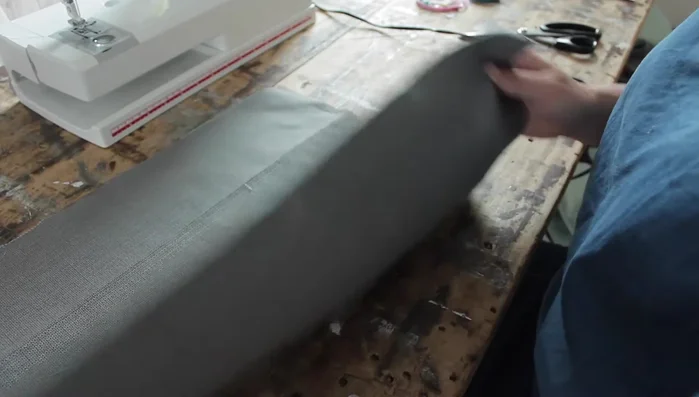
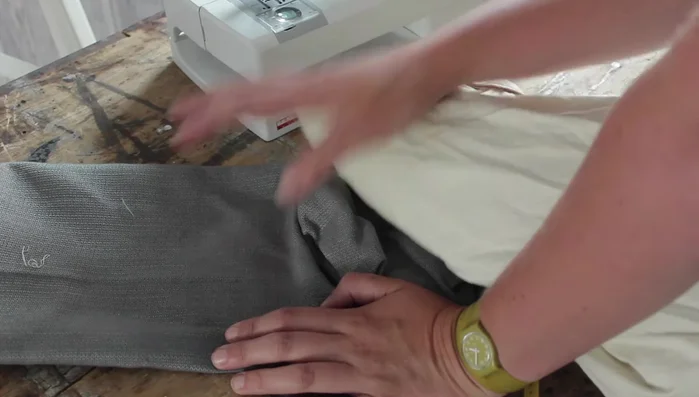
Attach Sides to Base
- Stitch the long edge of the side piece to the base fabric, folding over the edge for a clean finish.
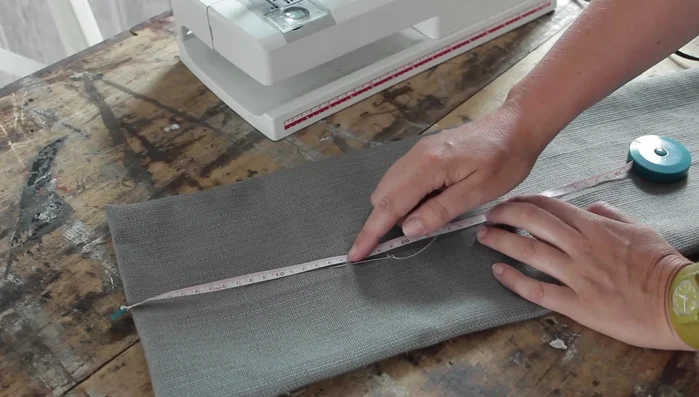
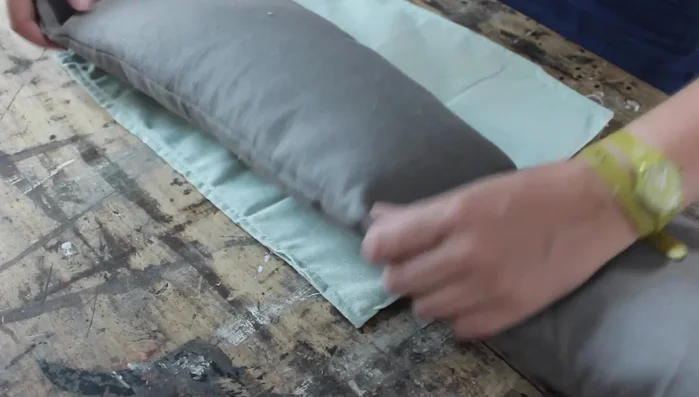
Attach Sides to Base Stuff and Shape Sides
- Mark stuffing points along the side piece (15cm, 30cm, 40cm, 30cm, 15cm).
- Stuff the side piece, stitch at each mark to secure and shape the sides.
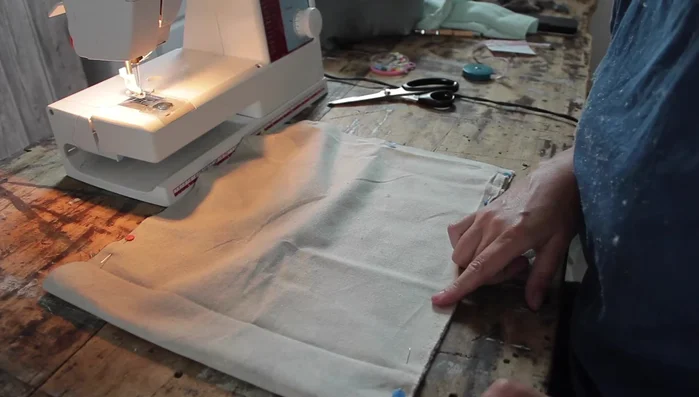
Stuff and Shape Sides Create and Stuff Cushion
- Stitch the cushion pieces together, leaving a 10cm gap for turning.
- Turn the cushion right side out, stuff, and stitch the gap closed.
Create and Stuff Cushion Assemble the Basket
- Attach the side piece to the base, aligning the edges and corners carefully. Stitch along the bottom edge, completing the basket.
Assemble the Basket Insert Cushion
- Insert the cushion into the basket.
Insert Cushion
Read more: DIY Glamorous Pet Beds from Upcycled Furniture: A Step-by-Step Guide
Tips
- Use synthetic stuffing to avoid mess.