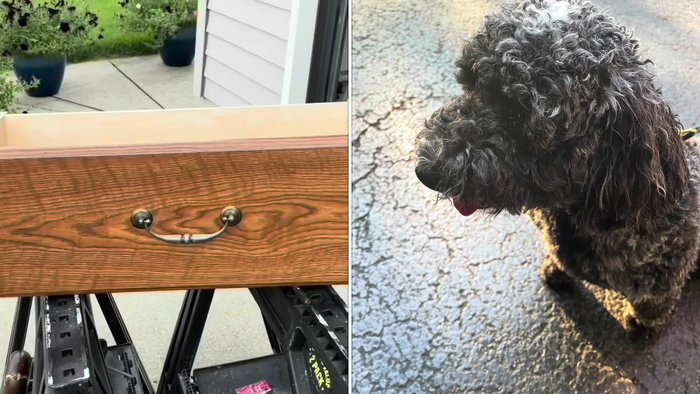
Millie, our beloved beagle, deserves only the best. And what's better than a cozy, custom-made dog bed? Forget expensive pet stores; we're embracing the spirit of DIY and upcycling to create a luxurious sleeping haven for our furry friend, transforming a discarded dresser drawer into a charming and comfortable bed. This project is not only a fun and rewarding way to repurpose an old item, but also a fantastically affordable alternative to commercially made dog beds. We'll be using readily available materials and simple techniques, making it a perfect project for beginners.
This upcycled dresser drawer dog bed isn't just practical; it's undeniably cute! We'll be adding personal touches to truly make it Millie's special space. From choosing the perfect fabric to adding extra cushioning, every step is designed to ensure ultimate comfort and style. Ready to see how we transformed a forgotten drawer into a cozy retreat for Millie? Let's dive into the step-by-step process!
Preparation and Safety Guidelines
- Dresser drawer
- Table feet
- Level
- Bowl
- Scroll saw
- Plywood
- Sandpaper
- Nails
- Wood putty
- Spray paint (charcoal gray, hunter green)
- Small paintbrush
- Ruler
- Cedar board
- Circular saw
- Drill
- Screws
- Calipers
- Seed cushions/pads
- Dog toys
- Elmer's glue
- Foam brush
- Mini hand sander
- Detail sander
- Thoroughly clean the drawer before using it as a dog bed. Remove any leftover paint, varnish, or hardware that could be harmful if ingested.
- Ensure the drawer is stable and won't tip over easily, especially if your dog is a jumper or a larger breed. Secure any loose parts or add support if necessary.
- Use pet-safe materials for cushioning and bedding. Avoid fabrics or fillers that could be toxic if chewed or swallowed.
Step-by-Step Instructions
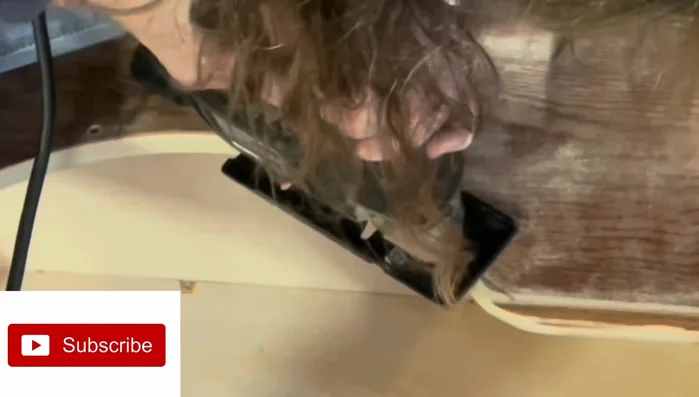
Prepare the Drawer
- Find and clean a dresser drawer.
- Remove drawer tracks.
- Patch holes from the drawer tracks with wood putty and sand smooth.

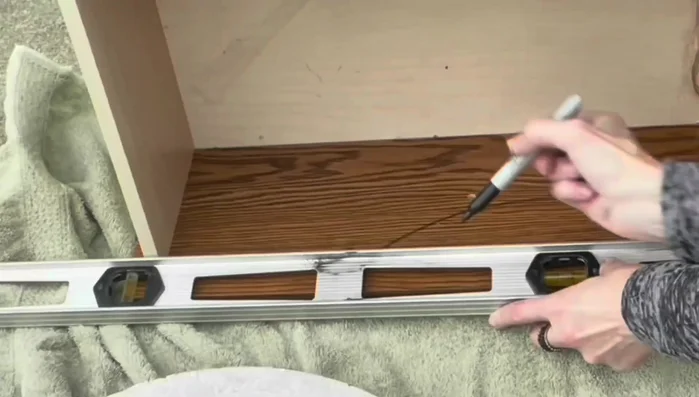
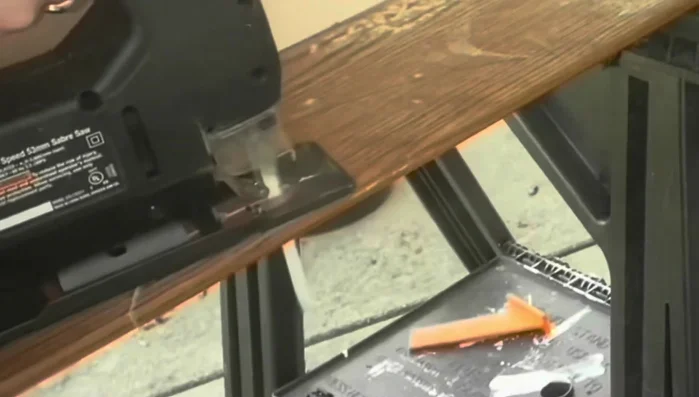
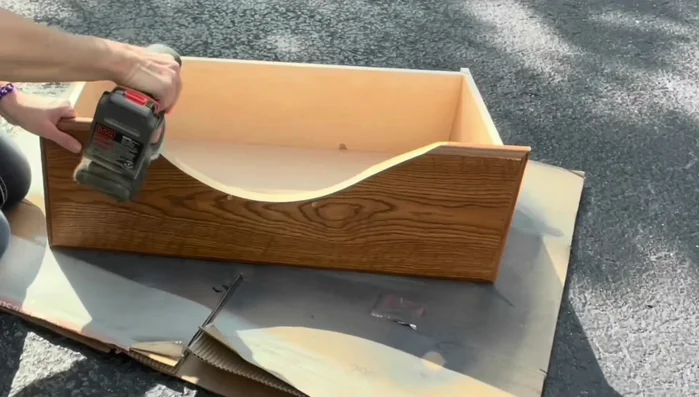
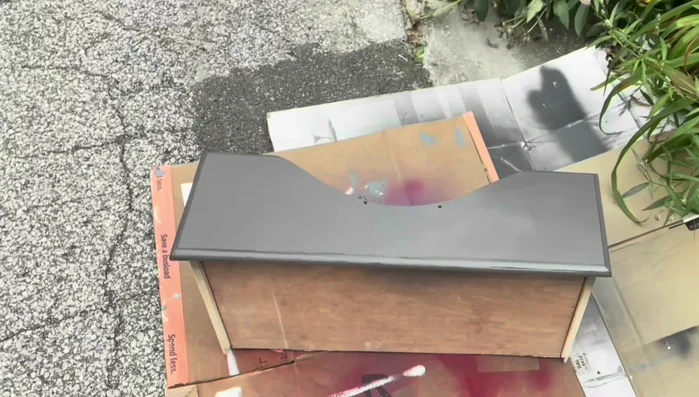
Prepare the Drawer Cut and Shape the Bed
- Mark out the design for the dog bed using a level and a bowl as a guide.
- Cut the design using a scroll saw.
- Use scroll saw to even out asymmetrical sides, then sand again.
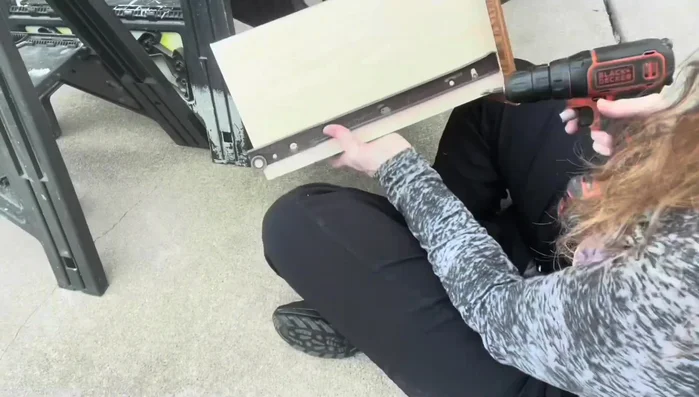
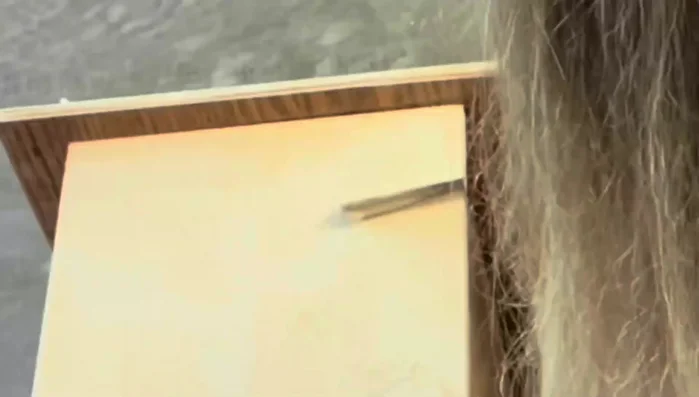
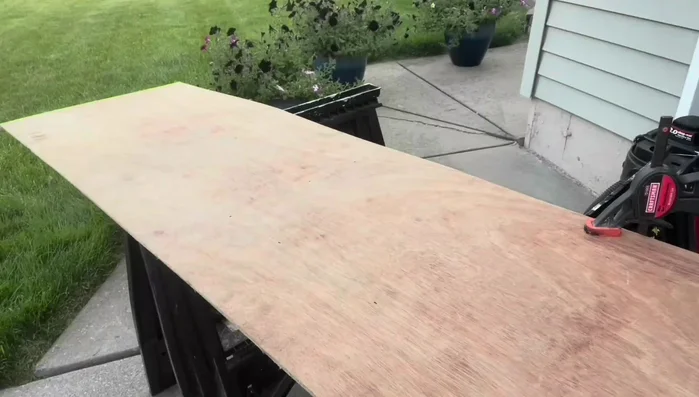
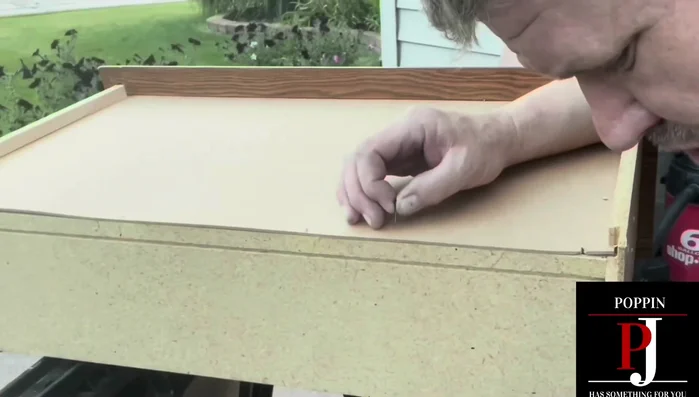
Cut and Shape the Bed Reinforce the Bottom
- Reinforce the bottom of the drawer with plywood.
- Remove the bottom caps of the drawer and attach the plywood reinforcement using small nails.
- Add extra cedar board reinforcement to the bottom of the drawer.
Reinforce the Bottom Prepare the Feet
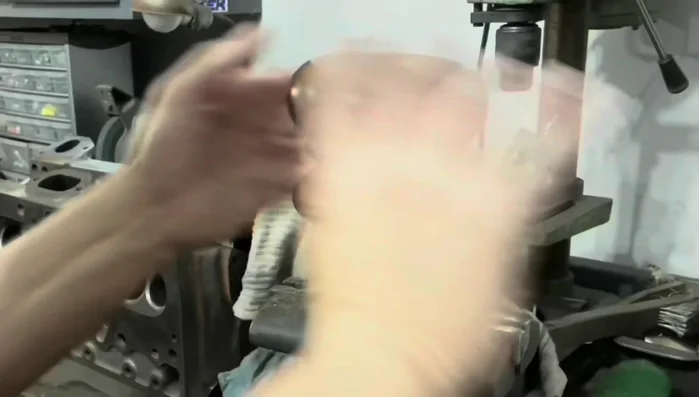
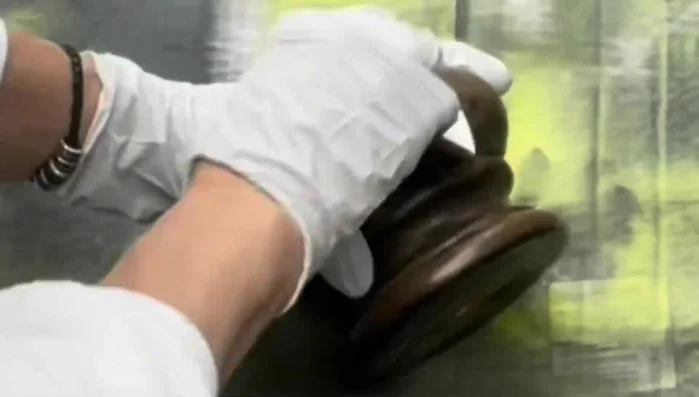
- Prepare the table feet by removing metal pieces.
- Sand the feet.
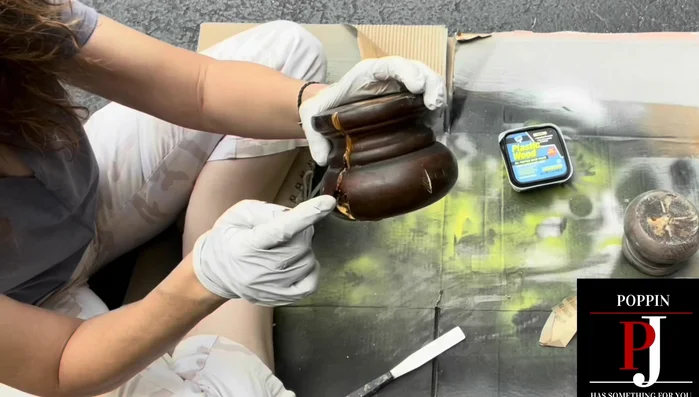
- Fill cracks in feet with wood putty and sand smooth.
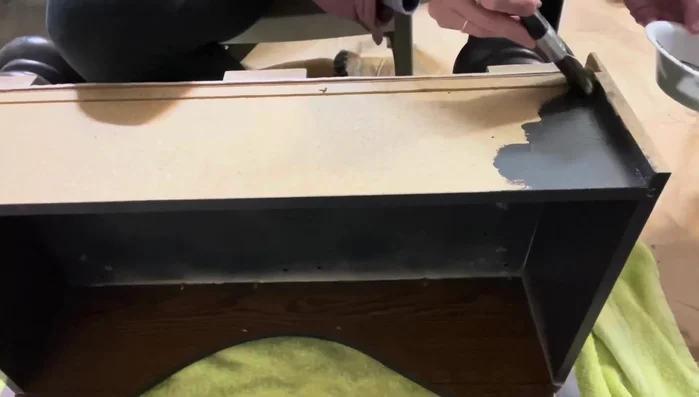
Prepare the Feet Paint the Dog Bed
- Sand the base of the dog bed to prepare for painting.
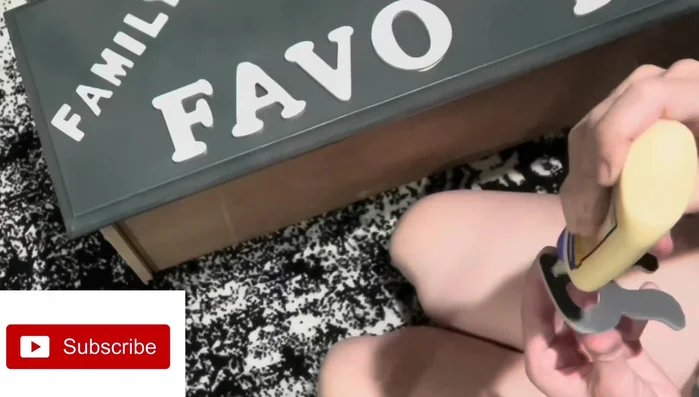
- Spray paint the dog bed (charcoal gray base with hunter green accents).
- Add lettering (Family Favorite).
- Paint the inside and outside edges of the dog bed.
Paint the Dog Bed Attach the Feet
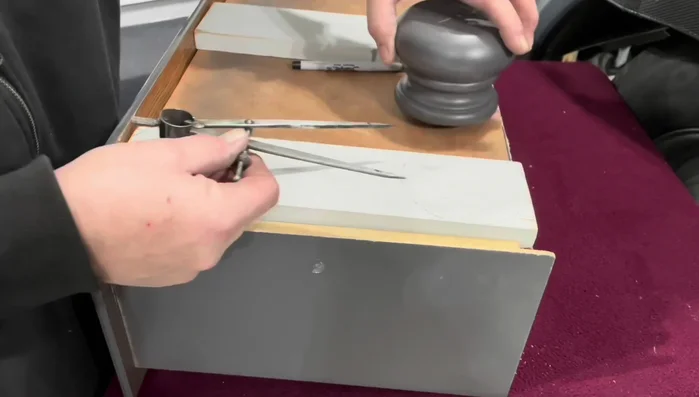
- Attach the feet using calipers to measure and long screws.
Attach the Feet Create and Attach the Paw
- Create and attach a wooden paw design using crackling paint technique.
Create and Attach the Paw Complete the Dog Bed
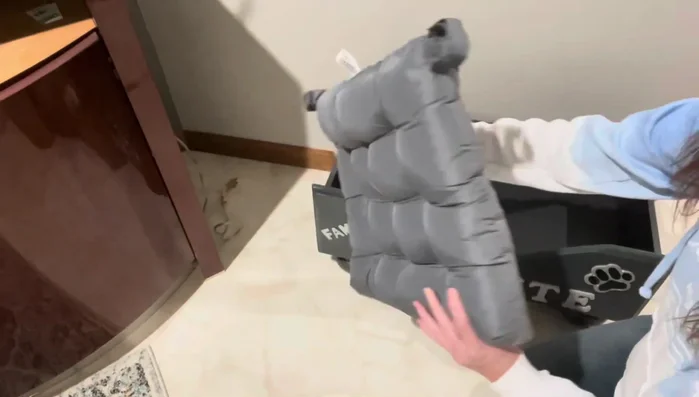
- Add cushions and toys to the dog bed.
Complete the Dog Bed


Read more: DIY Glamorous Pet Beds from Upcycled Furniture: A Step-by-Step Guide
Tips
- Always undercut when using a scroll saw.
- Use a level as a straight edge for marking and cutting.
- Use a bowl to create a half-circle cut.
- For crackling paint technique, use Elmer's glue as a base.