Give your canine companion the ultimate in comfort and style with this DIY walnut dog bed, a stunning mid-century modern masterpiece you can build yourself. Imagine your furry friend nestled in a luxurious bed crafted from rich, warm walnut, accented with gleaming brass hardware – a design that seamlessly blends sophisticated aesthetics with practical pet comfort. This project isn't just about building a bed; it's about creating a unique piece of furniture that elevates your home décor while providing your dog with a haven of relaxation. The rich tones of the walnut and the subtle shine of the brass create a truly captivating aesthetic that will complement any mid-century modern or contemporary interior.
This detailed guide will walk you through each step, from selecting the perfect lumber to attaching the final brass accents, ensuring even a novice woodworker can achieve this beautiful result. Prepare to be amazed as you transform simple materials into a bespoke dog bed that's as stylish as it is functional – a testament to your craftsmanship and your love for your pet. Let's get started!
Preparation and Safety Guidelines
- Wood
- Plywood
- Brass plugs
- Screws
- Wood glue
- Sandpaper
- Jigsaw
- Router
- Clamps
- Dowels
- Tapering jig (or alternative)
- Crosscut sled
- Random orbital sander
- Polycrylic finish (optional)
- Paste wax
- Steel wool
- Figure eight desktop fasteners
- Mattress pads
- Custom mattress cover
- Always use non-toxic wood finishes and fabrics. Dogs lick and chew, so ensure all materials are safe for ingestion.
- Securely attach all hardware, especially brass accents, to prevent ingestion or injury. Use appropriate screws and fasteners for the wood type and weight capacity.
- Ensure the dog bed's construction is sturdy enough to support your dog's weight and prevent collapse. Consider reinforcing corners and joints if necessary.
Step-by-Step Instructions
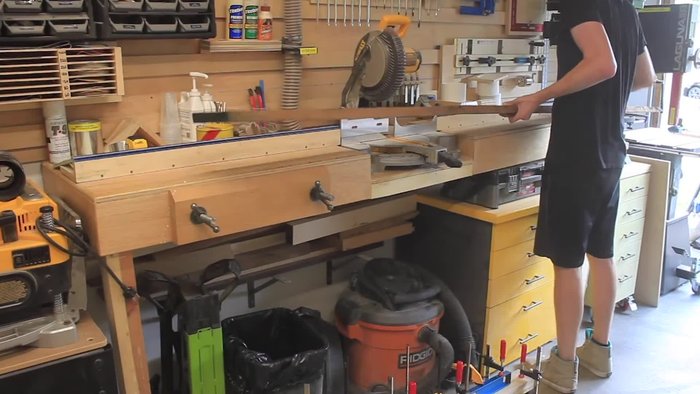
Prepare Materials
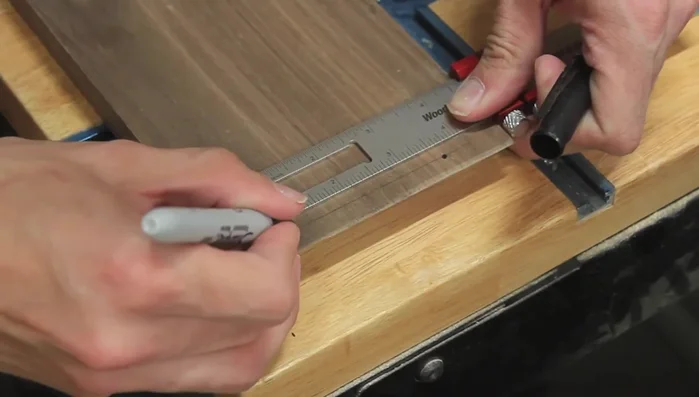
- Prepare walnut wood and mill it down to size.

Prepare Materials Prepare Box Structure
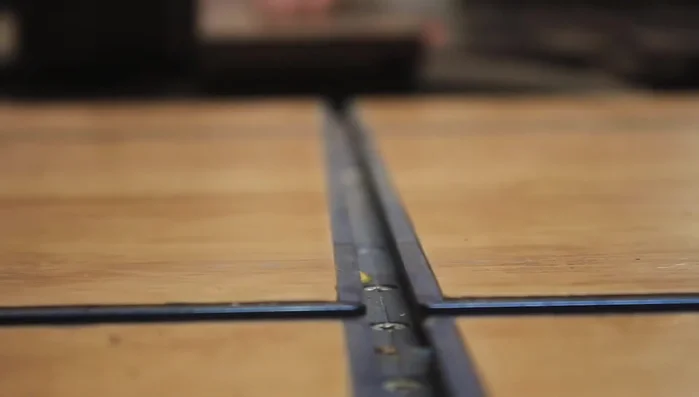
- Cut rabbets on the inside faces of the side pieces to accept plywood support.
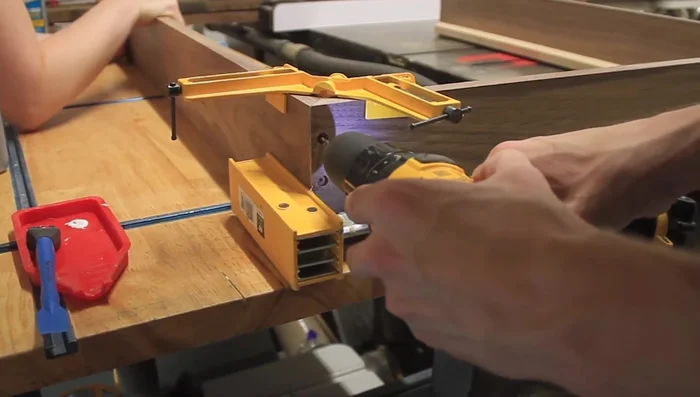
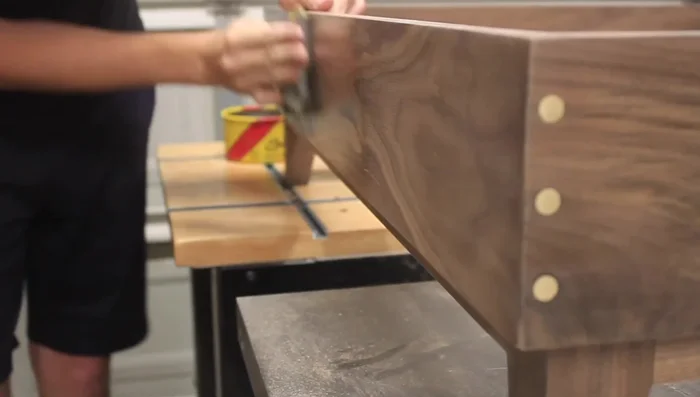
- Drill recesses for brass plugs before assembly (if possible).
Prepare Box Structure Assemble Dog Bed Box
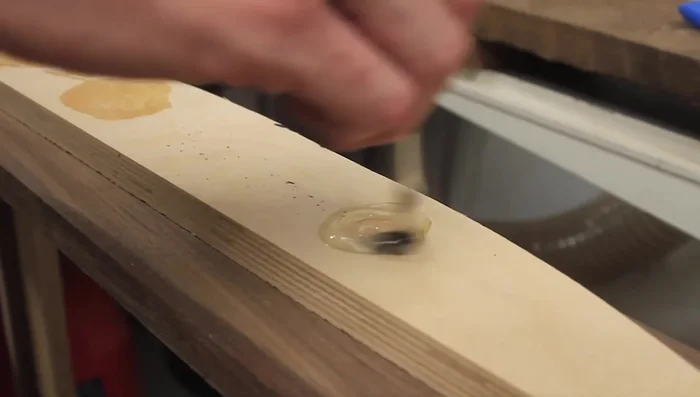
- Construct the dog bed box with glued mitered corners, reinforced with screws and decorative brass plugs.
- Assemble the box, burnish edges to fill gaps, and use wood glue and sanding dust as a filler.
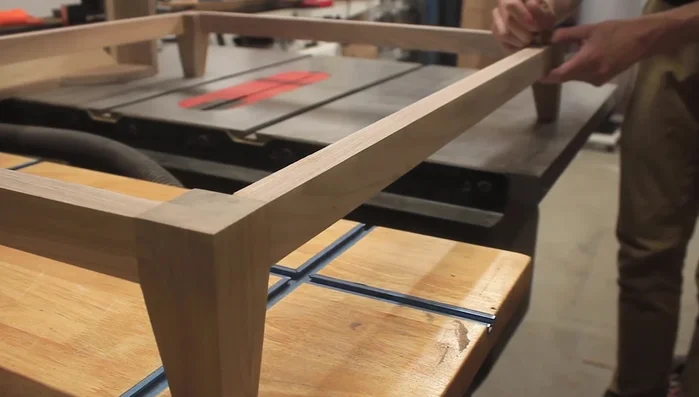
Assemble Dog Bed Box Create Legs and Stretchers
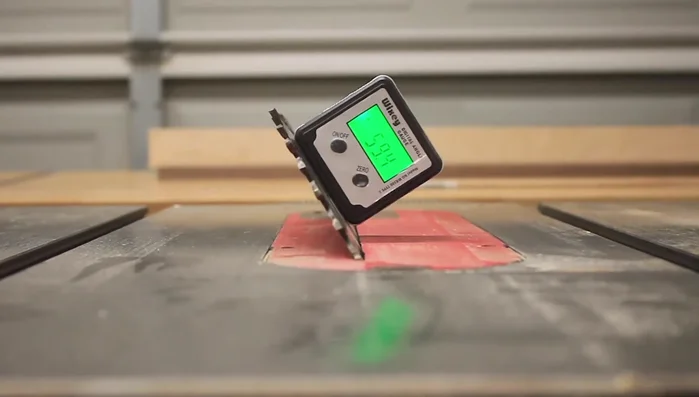
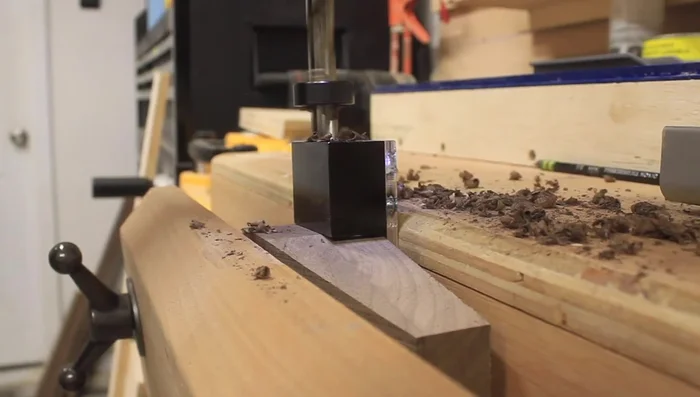
- Glue and cut leg blanks to size, then taper the inside edges.
- Cut stretchers to length and prepare for dowel joining with legs.
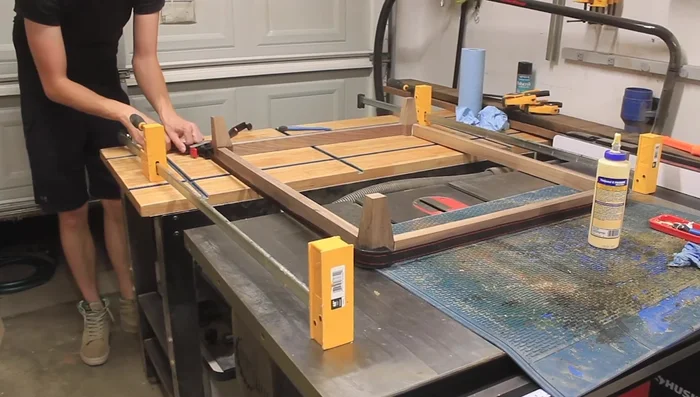
Create Legs and Stretchers Assemble Base
- Assemble the leg and stretcher base, ensuring it nests within the dog bed box.
Assemble Base Cut Front Opening
- Cut the opening on the front of the dog bed (ideally before assembling the box).
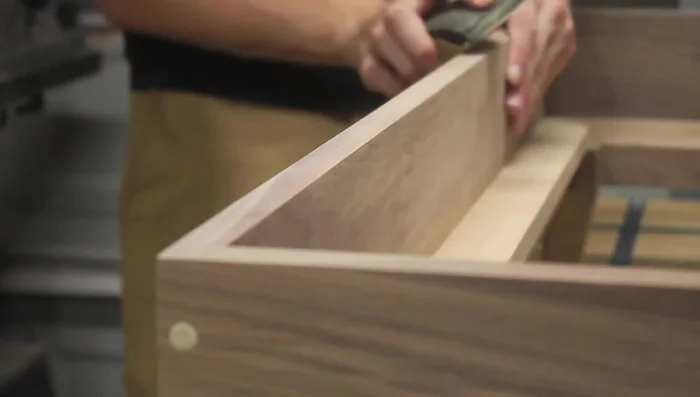
Cut Front Opening Install Brass Accents
- Glue brass dowels into place, sand flush.
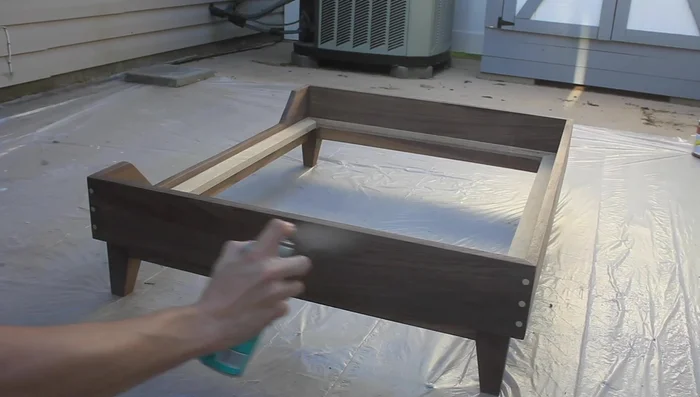
Install Brass Accents Attach Legs and Finish
- Attach legs to the dog bed using figure eight desktop fasteners.
- Ease edges, sand brass plugs to 2000 grit for polishing.
- Apply finish (Polycrylic is used in this example, but other finishes are recommended).
- Apply paste wax with steel wool to enhance the wood's natural beauty (optional, but recommended with Polycrylic).
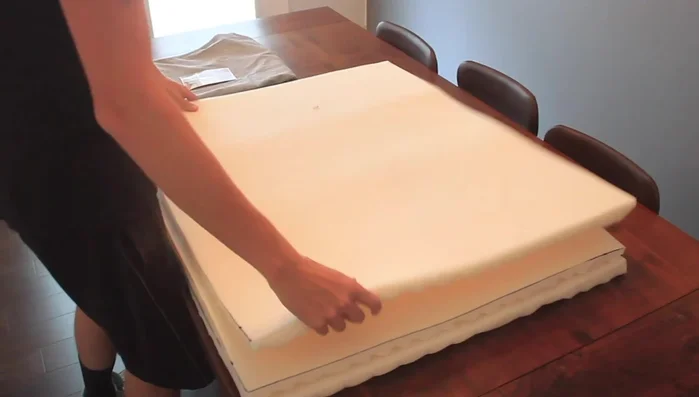
Attach Legs and Finish Add Mattress
- Insert mattress pads and custom mattress cover (from Covered Up).
Add Mattress

Read more: DIY Glamorous Pet Beds from Upcycled Furniture: A Step-by-Step Guide
Tips
- Use a custom wood filler made from wood glue and sanding dust to fill gaps and imperfections.
- If using small pieces for tapering, create a small attachment on your crosscut sled for safe cutting.
- Non-ferrous metals like brass cut easily with woodworking tools, but go slow.
- Consider using a finish other than Polycrylic to better showcase the walnut's beauty. If using Polycrylic, apply paste wax to restore some vibrancy.