Is your dog's bed looking a little worse for wear? Tired of battling stubborn stains and the endless cycle of washing and drying? Then get ready to transform your canine companion's sleeping space with this easy-to-follow tutorial on creating a durable and washable dog bed. We'll be utilizing Sunbrella outdoor fabric, renowned for its exceptional stain resistance and weather durability, to craft a bed that can withstand even the most enthusiastic mud-wrestling sessions. This project is surprisingly simple, even for beginners, and the result is a stylish and practical addition to your home.
Forget flimsy, cheaply made dog beds that quickly lose their shape and comfort. This DIY washable dog bed features a removable cover, making cleaning a breeze. The use of Sunbrella fabric guarantees longevity and easy maintenance, saving you time and money in the long run. Ready to get started on creating the ultimate dog bed? Let's dive into the step-by-step instructions below!
Preparation and Safety Guidelines
- Outdoor foam
- Outdoor fabric (Sunbrella recommended)
- Cushion underlining (optional)
- Ruler
- 3/4 inch sew-on velcro
- Clips or pins
- Scissors
- Thread
- Sewing machine
- Always supervise your dog while they are using their new bed to prevent chewing or swallowing fabric pieces. Sunbrella fabric, while durable, is not indestructible.
- Before washing, check the care instructions for your specific Sunbrella fabric. Some fabrics may have specific temperature or detergent requirements.
- Ensure all seams are securely stitched and reinforced before allowing your dog to use the bed to prevent tearing and potential hazards.
Step-by-Step Instructions
Prepare the Foam and Fabric
- Cut the foam to the finished width and length of the bed.
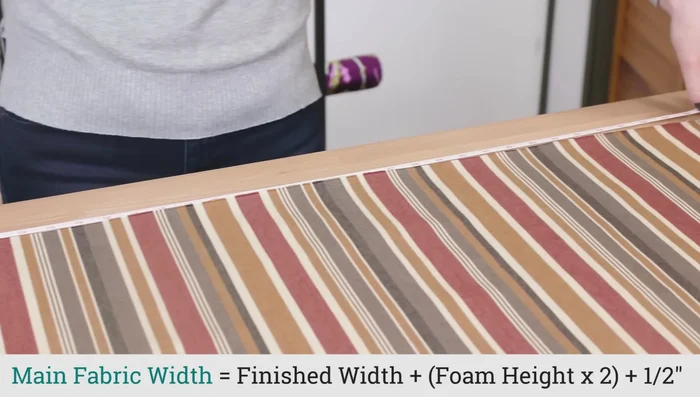
- Cut the main fabric to the correct dimensions. The width is the finished width + (foam height x 2) + 1/2 inch. The length is the finished length + (foam height x 2) + 2 inches.
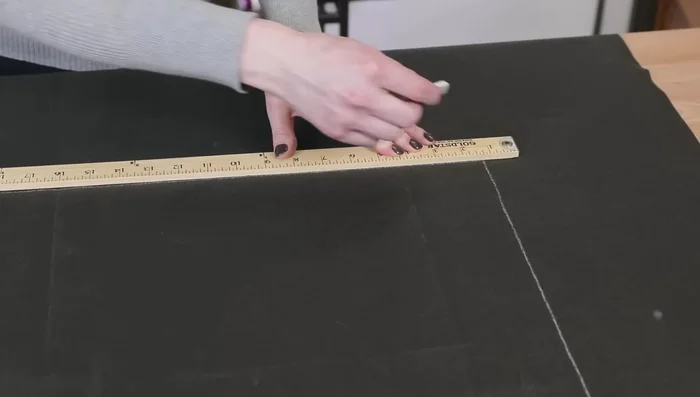
- Cut the cushion underlining to be the width of the bed + 1 inch and the length of the bed + 1 1/2 inches.

Prepare the Foam and Fabric Cut and Sew the Cover Fabric
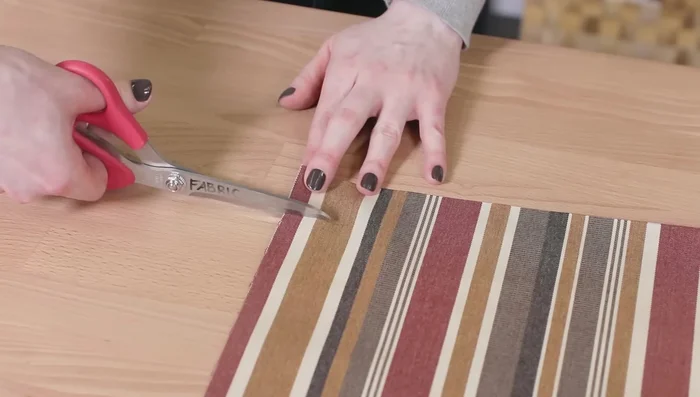
- Cut out squares at the corners (foam height - 1/2 inch).
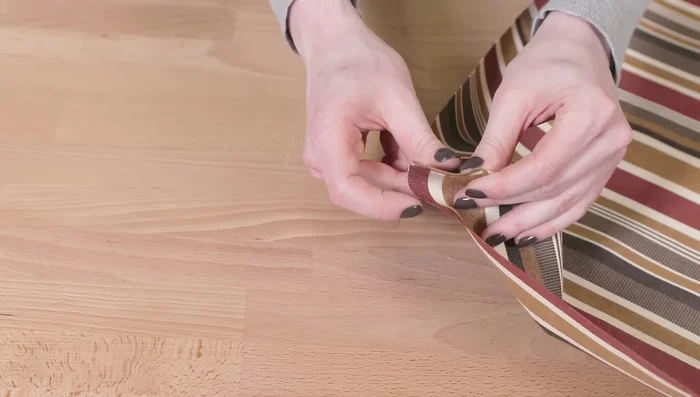
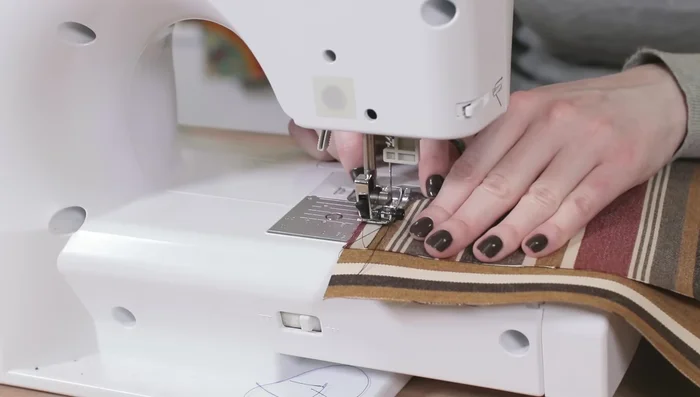
- Sew the square cutouts, with right sides facing, using a 1/2 inch seam allowance. Round the corners slightly.
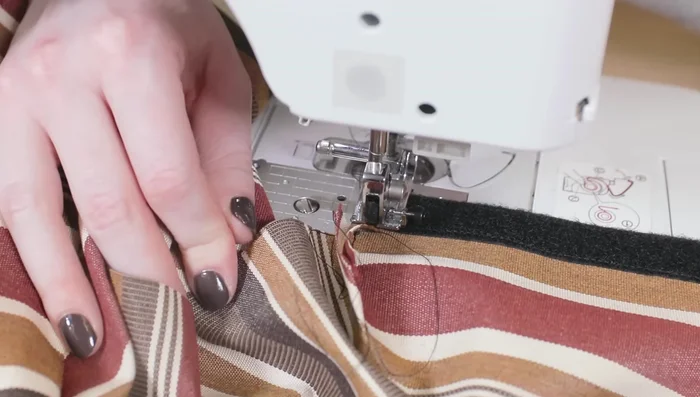
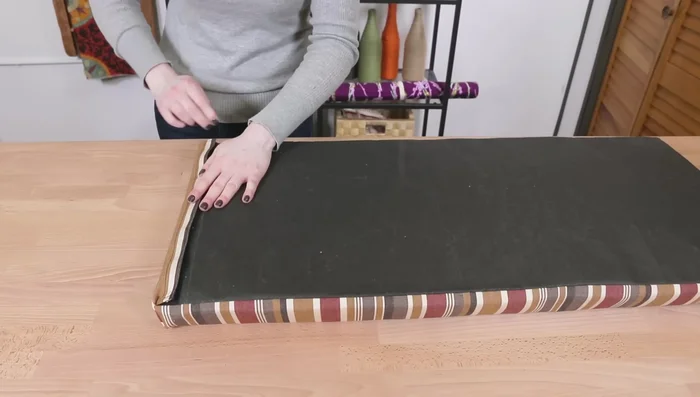
- Sew the rectangular cutouts. Fold the short edges of the flap in half an inch and pin or clip. Fold the longer edge in about half an inch and attach the velcro.
- Sew along the edges of the velcro on the bottom piece. Fold the end in half an inch and sew on the velcro.
Cut and Sew the Cover Fabric Assemble the Cover
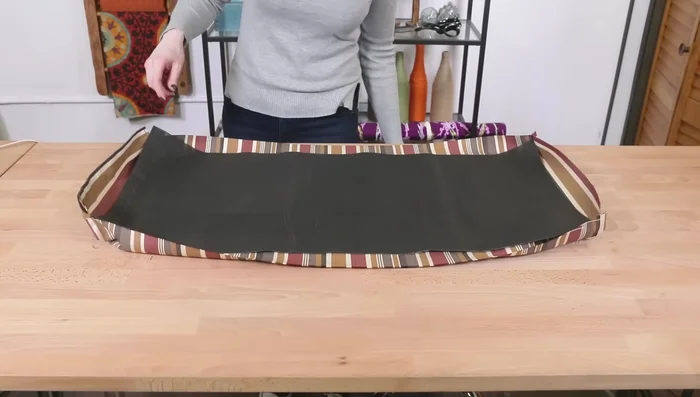
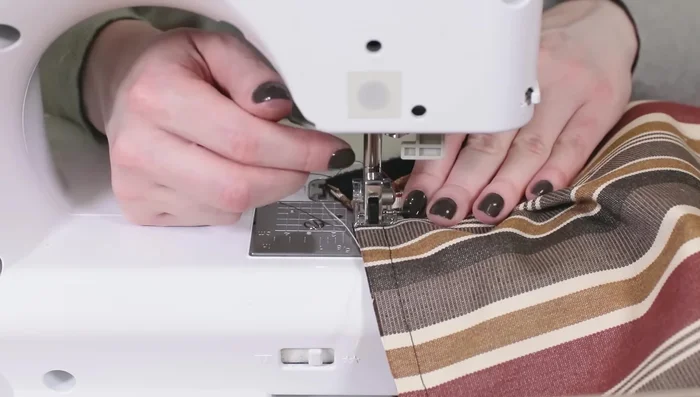
- Place the top and bottom edges together with right sides facing, sew along three sides (excluding the velcro side).
Assemble the Cover Finish and Insert Foam
- Cut the edges with pinking shears or sew a zig-zag stitch to prevent fraying.
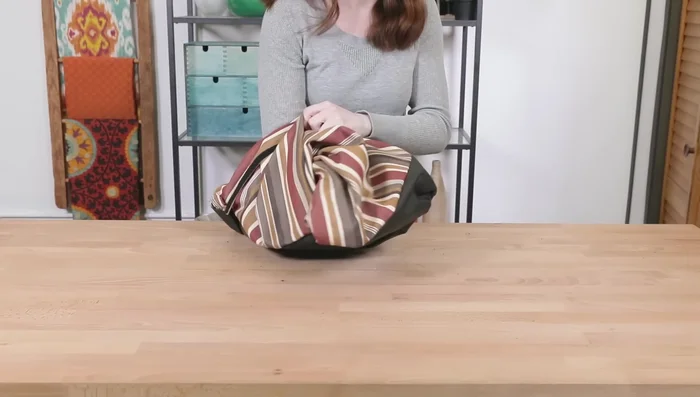
- Turn the cover right side out, push out the corners, and insert the foam.
- Close the velcro flap.
Finish and Insert Foam

Read more: DIY Glamorous Pet Beds from Upcycled Furniture: A Step-by-Step Guide
Tips
- Pre-wash your fabric, especially cotton fabrics.
- Use durable outdoor fabric like Sunbrella for a long-lasting bed.
- Cushion underlining helps with drainage, evaporation, and prevents sliding.
- Make the cover slightly smaller than the foam for a tighter fit.